
Building a python development environment on Windows
First you need to go to python’s official website to download the environment. Move the mouse to the Downloads tab and you can download it here.
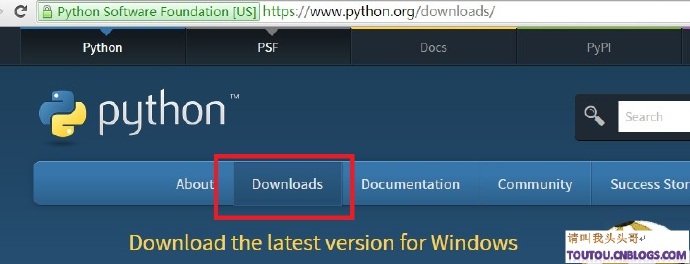
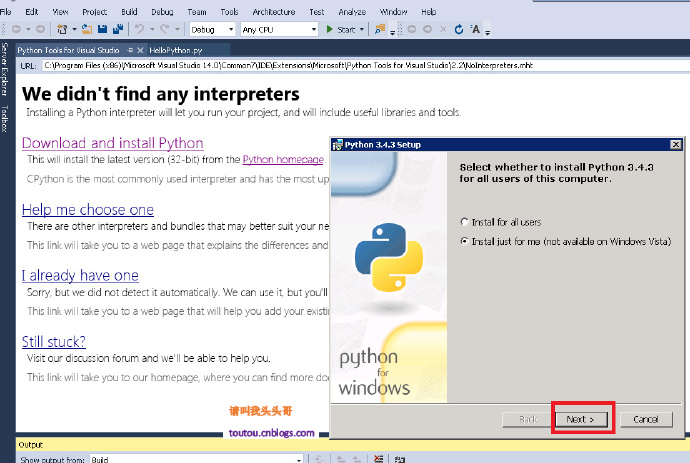
The python environment is still very user-friendly, there are not so many complicated configurations and so on. After downloading, just go to next without thinking until finish.
Python IDE
There are many excellent Python IDEs. Here I will introduce a few that are relatively common for me! In no particular order!
PyCharm
Here we take pycharm as an example
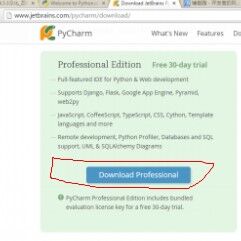
By default, pycharm can be used for free for 30 days
Start with Hello World
Hello world is relatively simple. After setting up the environment, it can be basically completed in one go. Here I will paste the map directly.
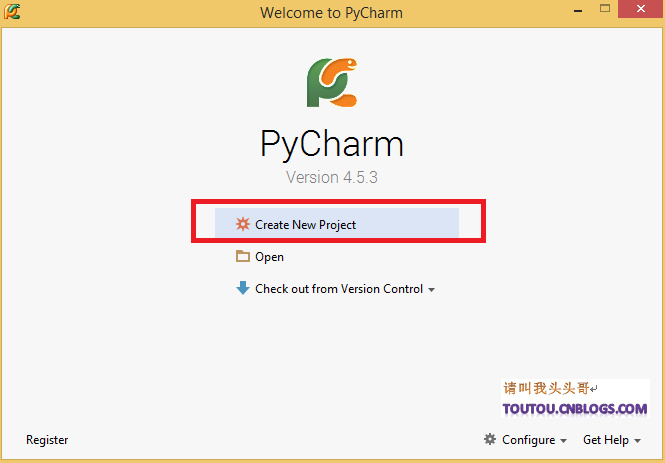
First open the installed pycharm

Click create to create a project
Print a "Hello World"
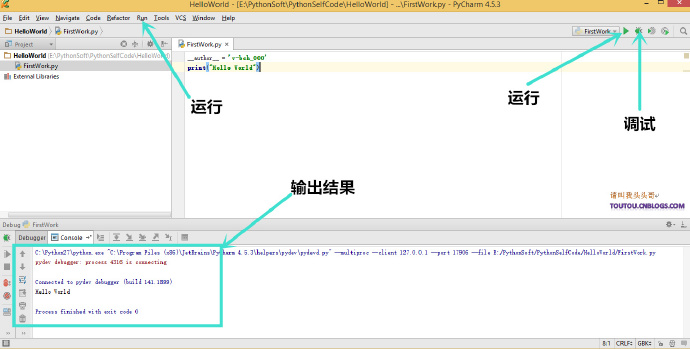
In fact, in terms of "learning python", it is more recommended to use pycharm. Pycharm can set the encoding of multiple IDEs such as VS or eclipse, making it easier for people who are accustomed to using IDEs in other languages to get started. This compatibility is really good. However, since so many gardeners require using VS to develop python, let me introduce the environment for developing python in visual studio 2015.
Build a development environment in VS 2015
Before we officially start, first of all, your computer must have visual studio 2013/2015. If not, go to download a visual studio
1. Create project:
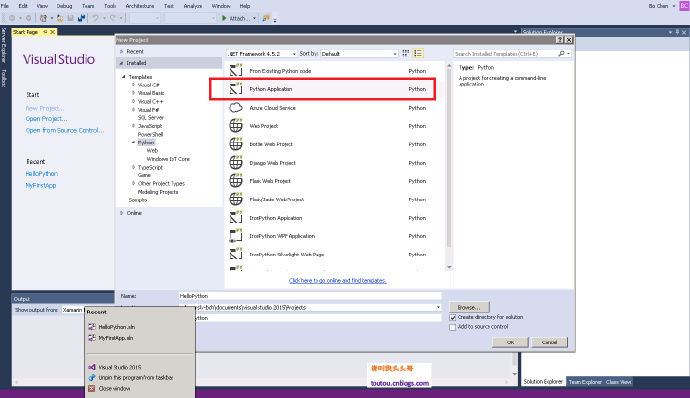
2. Download environment:
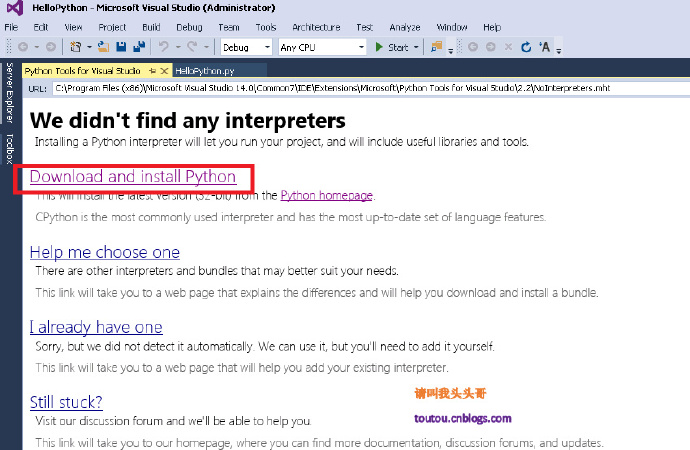
After creating the job, click Run, the following interface will appear, then click Download and install
2. Test environment:
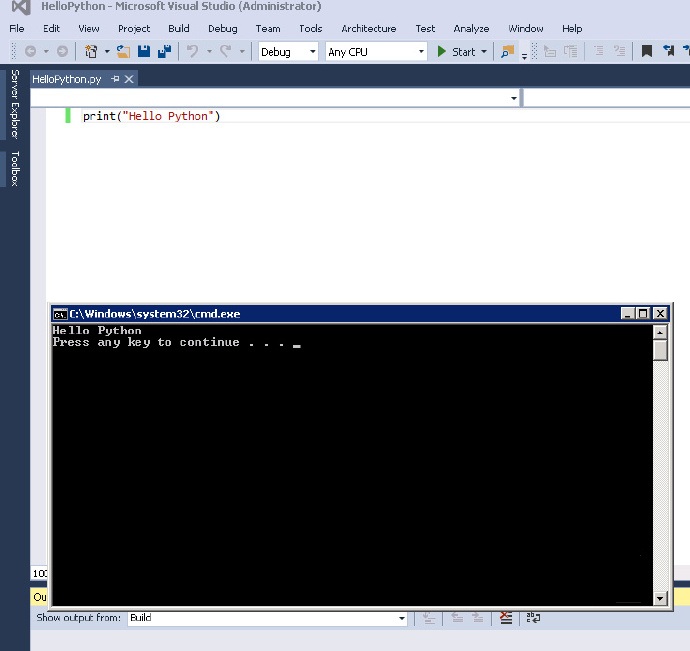
OK, running successfully!


