
psSkin color adjustment method:
1. First import our photos into the software, and then select "Select-Color Range".

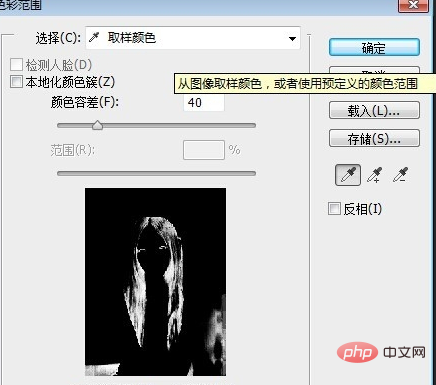
#2. Now a color range setting box will pop up. You can see that you can sample colors, adjust the tolerance, and there is a black and white picture. In the black and white picture , white represents the part we want to adjust.

#3. Let’s click on the sample color and aim the straw at the bright part of our skin. Let’s adjust the color of the bright part first. Then adjust the tolerance and, while looking at our preview, turn the highlights into white.

4. After setting the color range, click OK, and you will see that our highlights have been selected. At this time, you can adjust the color and select "Image - Adjustments - Color Balance".

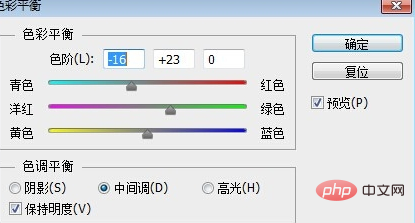
5. In the color balance setting box that pops up, adjust the skin color according to your needs, and then click OK.

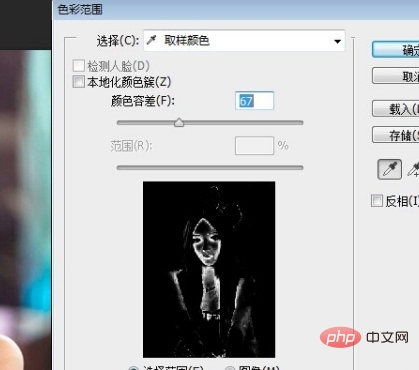
#6. After adjusting the bright parts, we then adjust the dark parts. First press ctrl D to cancel the selection. Then continue the previous operation, select "Select - Color Range", in the settings box, point the eyedropper at the dark part of the skin to sample, and then adjust the tolerance.

7. Then continue to select "Image - Adjustment - Color Balance" and continue to adjust the color in the pop-up box.

#8. If you don’t like the color you see very much, you can continue to adjust, sample the parts of the color you don’t like, and continue to adjust. Then achieve the best results.

Recommended tutorial: "ps tutorial"
The above is the detailed content of How to adjust skin tone in PS?. For more information, please follow other related articles on the PHP Chinese website!