
PHPStudy V8 is a brand new version. Compared with the previous version, it has changed a lot. Some novices don’t know how to use it. Therefore, this article teaches you how to quickly get started with PHPStudy V8, how to start the PHPStudy service (WNMP/WAMP), build a website and set a domain name, and what to pay attention to.
Step one: Start PHPStudy
First open PHPstudy, click StartWAMP or WNMP
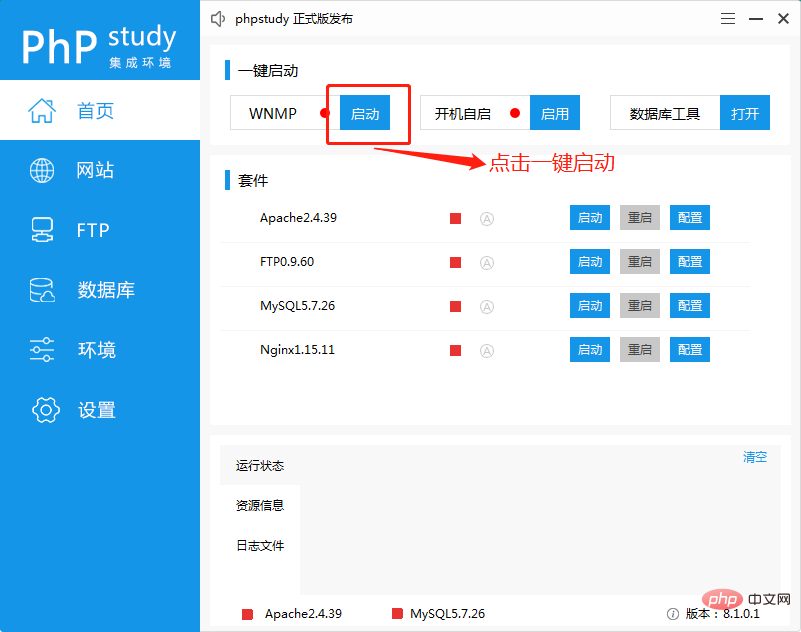
Apache and Mysql separately (As shown below)
Note: This example is the Apache MySQL suite environment, you can also choose the Nginx MySQL suite environment
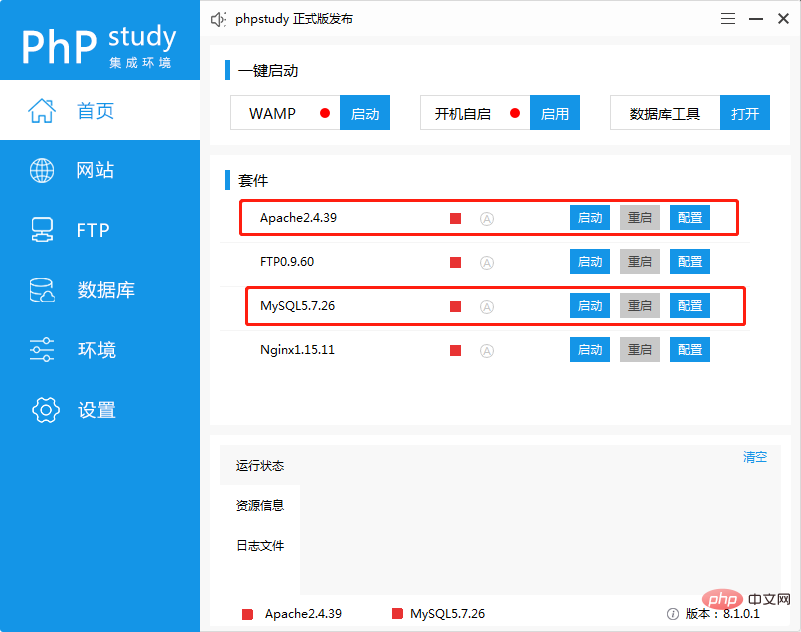
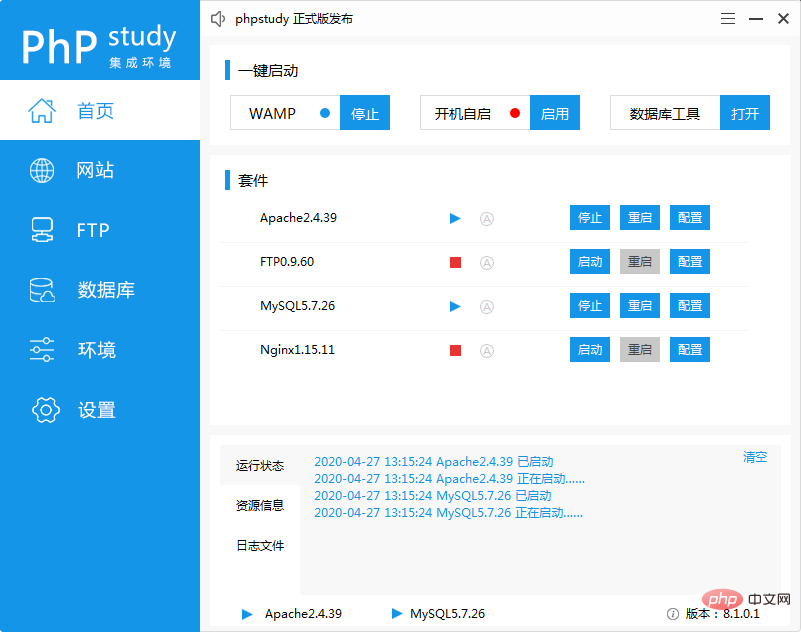
Apache and MySQL status icons will turn into blue triangles, as shown in the figure
##Second Step: Create a website
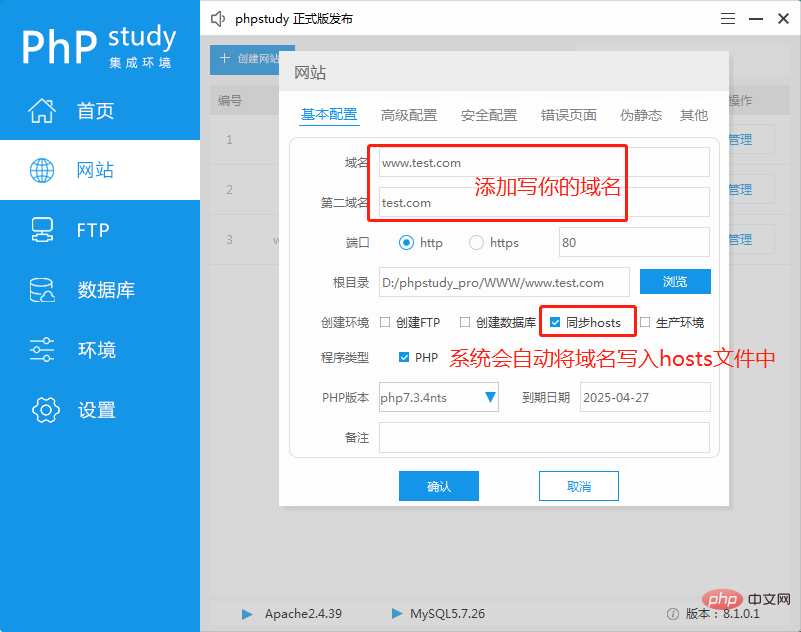
#First click [Website] on the sidebar, and then click [Create Website] on the page to create the website. Fill in the domain name (for example: www.test.com). The root directory is your project directory and can be changed by yourself. Default synchronization
hosts, the system will automatically write the domain name into the hosts file, eliminating the need to add it manually. After filling in, click Confirm.
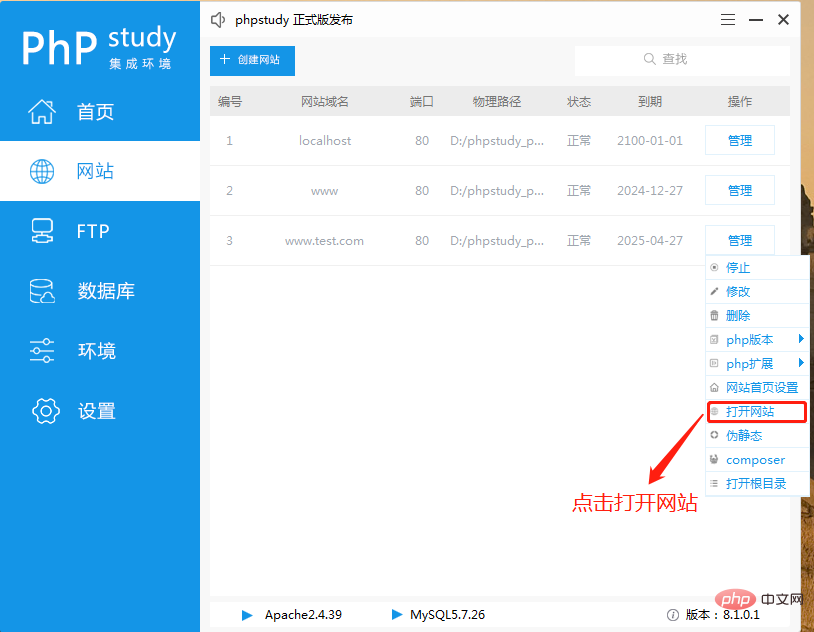
Step 4: Test the websiteOpen PHPStudy and switch to the website management page, then find [Open Website] and click to open
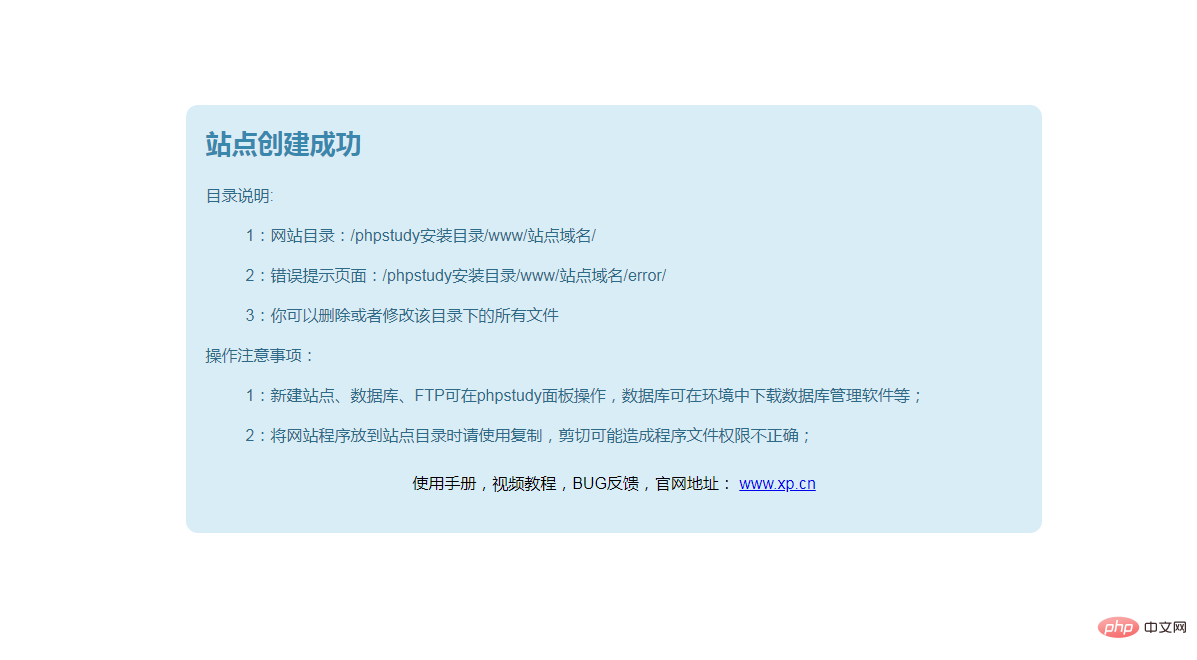
 If you see an interface like the one below, it means the website was added successfully!
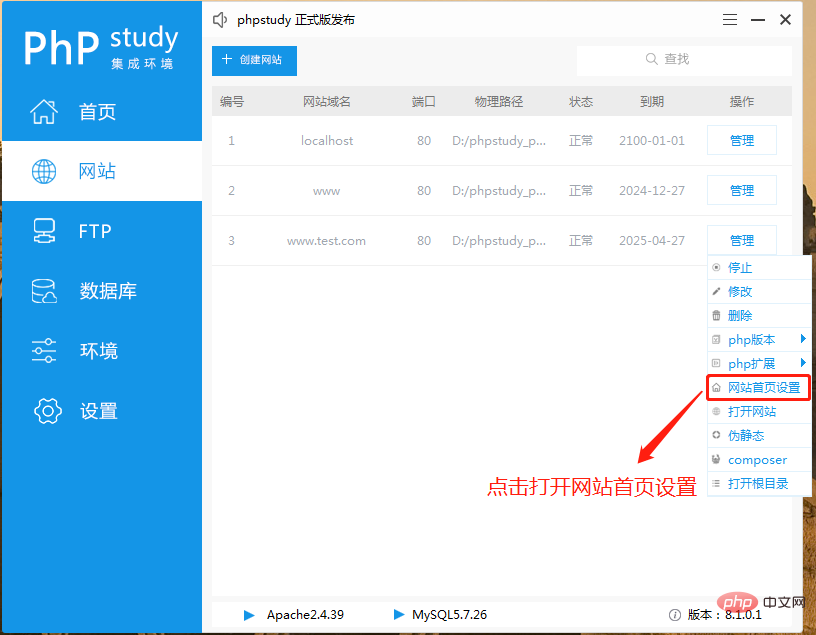
Step 5: Test the programFirst find [Website Home Page Settings] and click to open it.
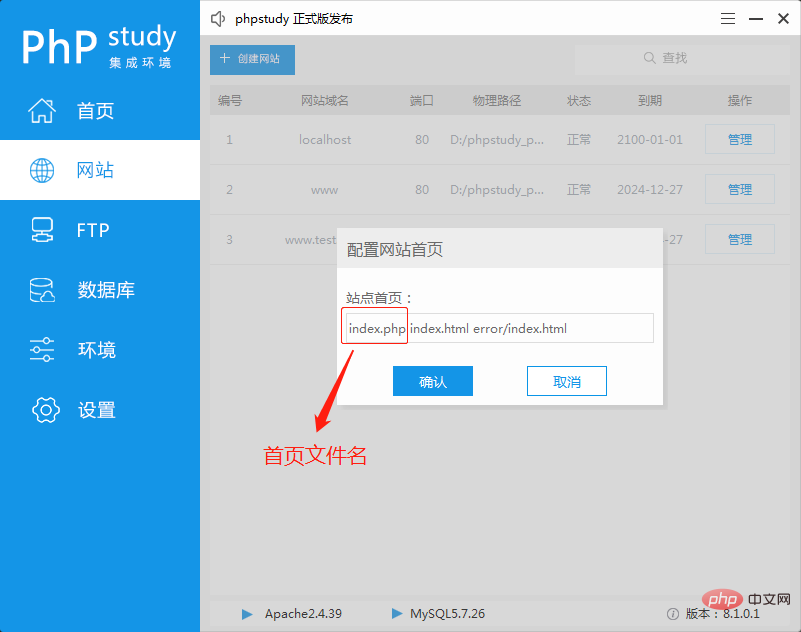
 Check whether there is index.php on the homepage of the site, if not, change it to index.php
 In the website management Find [Open Root Directory] on the page and click
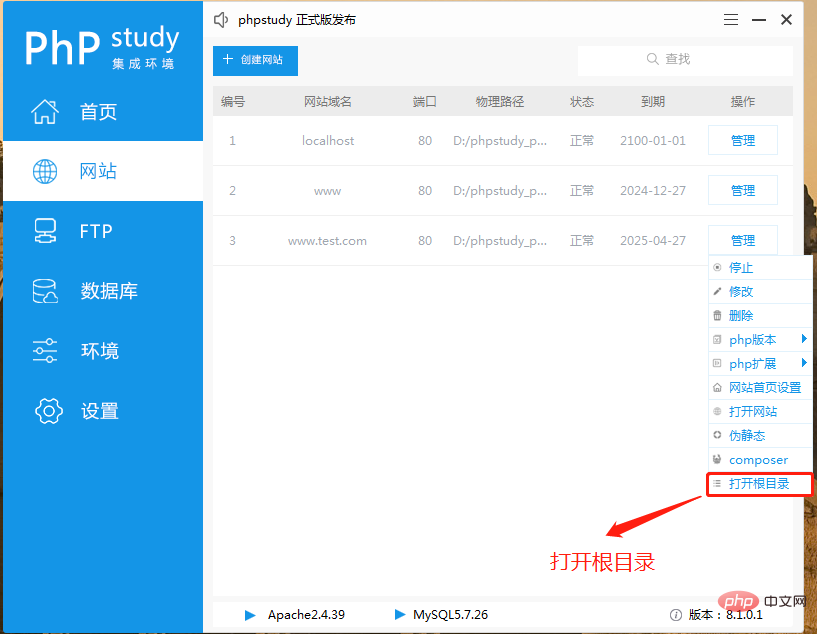 to enter the website directory, and then copy your website program into it
The following is the program I simply wrote
<?php
phpinfo();
Then write the above code into index.php in the root directory of the website
Then enter your website domain name in the browser. If you see the following page, the test is successful!
The above is the detailed content of phpstudy v8 quick start tutorial. For more information, please follow other related articles on the PHP Chinese website!
 phpstudy
 How to solve the problem that the phpstudy port is occupied
 How to configure phpstudy
 How to run phpstudy project
 Solution to phpstudy3306 port being occupied
 Reasons why phpstudy cannot be opened
 phpstudy database cannot start solution
 How to remove the first few elements of an array in php


