
How to make characters into meticulous paintings in PS
The first step: Open the picture that needs to be made into meticulous paintings in PS software.
Step 2: Press Ctrl J key to copy the background layer.
(Free learning video tutorial recommendation:ps video tutorial)
Step 3: Select "Image-" in the menu bar -Adjustments--Decolorize" option.
Step 4: Copy the decolorized layer and select "Image--Adjustment--Invert" in the menu bar.
Step 5: Double-click the invert layer thumbnail to bring up the "Blending Options" dialog box, and set the blending mode to "Color Dodge".
Step 6: Select the "Filter--Others--Minimum" option in the menu bar and set the radius to 1 pixel.
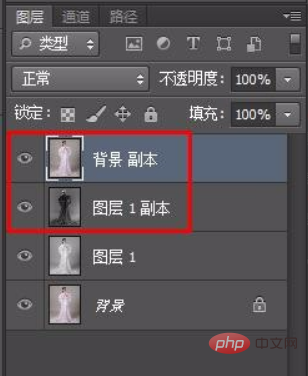
Step 7: Duplicate the initial background layer and place it on top of all layers.

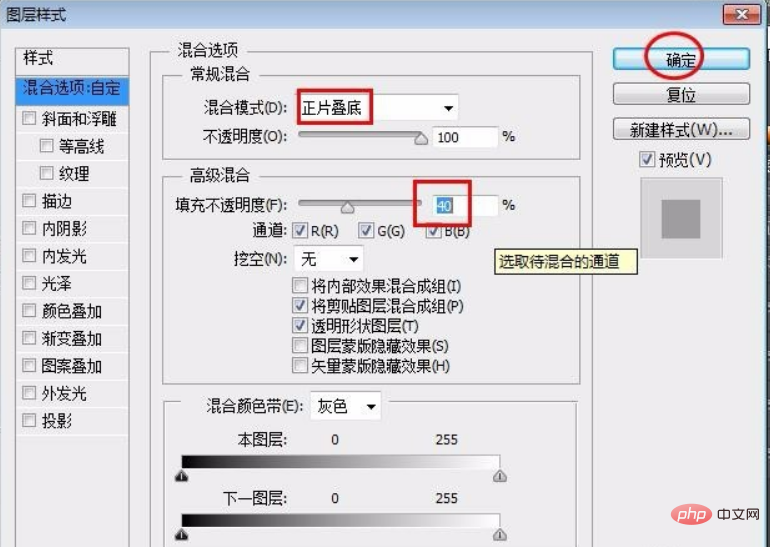
Step 8: Double-click a copy of the background layer, in the blending option settings, select "Multiply" for the blending mode, and set the fill opacity to 40%.

Step 9: Select "Image--Adjustment--Curve" in the menu bar and adjust the curve to the appropriate position according to the changes in the image.
Step 10: Select the "Move Tool" in the toolbar and move the antique background to the operation area.
Step 11: Press Ctrl T key to change the position and size of the layer, and click the "Apply" button.
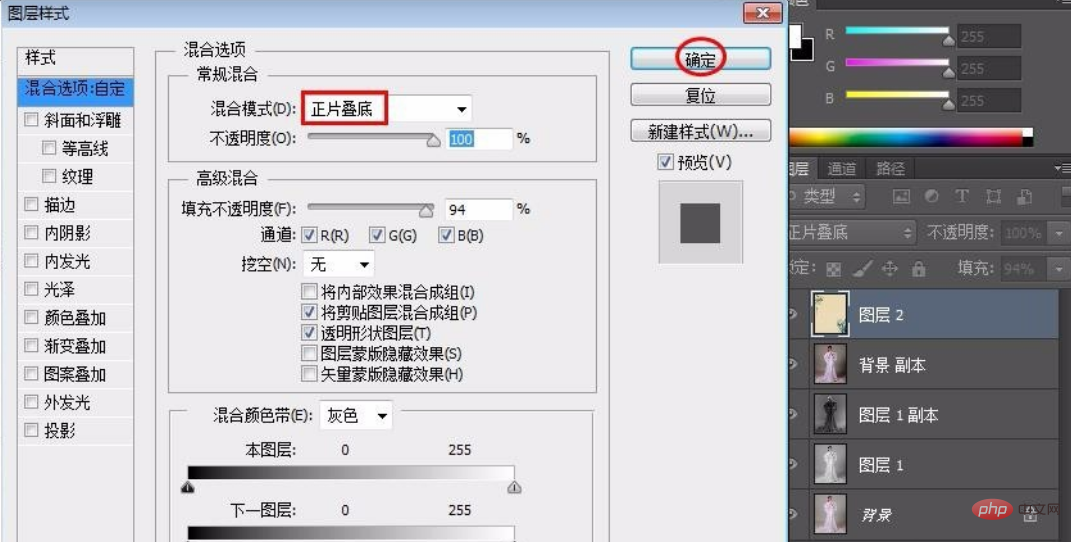
Step 12: Double-click the antique background layer and set the blending mode to "Multiply".

Complete the operation, the final effect is as shown in the picture below.
For more ps related tutorials, please pay attention toPHP Chinese website!
The above is the detailed content of How to make characters into meticulous paintings in PS. For more information, please follow other related articles on the PHP Chinese website!