
phpMyAdminAllows you to manage your MySQL or MariaDB database through a simple web browser. In most environments the phpMyAdmin package is installed on the same server as the database server...so there won't be much configuration required there...it should work fine.
However, if you want to manage a MySQL or MariaDB database on a remote server through the phpMyAdmin web interface, you will need to make some changes to its configuration files.
In order to access and manage a remote MySQL or MariaDB server, the server must be configured to allow remote access over the network. The following steps will show you how.
This short tutorial will install and configure phpMyAdmin on Ubuntu 17.04. 17.10 Access and manage remote MySQL or MariaDB database servers. When you are ready, proceed with the following steps:
Step 1: phpMyAdmin and Database on the Same Host
Traditionally, phpMyAdmin and MySQL/MariaDB servers are installed on the same host. This is the standard installation and the most popular.
To install phpMyAdmin on the same host as the database server, run the following command
sudo apt update
sudo apt install php libapache2-mod-phpmyadmin
During the installation process, you should be prompted to select a web server to configure for phpMyAdmin. For this article, we will use Apache2 as the web server.
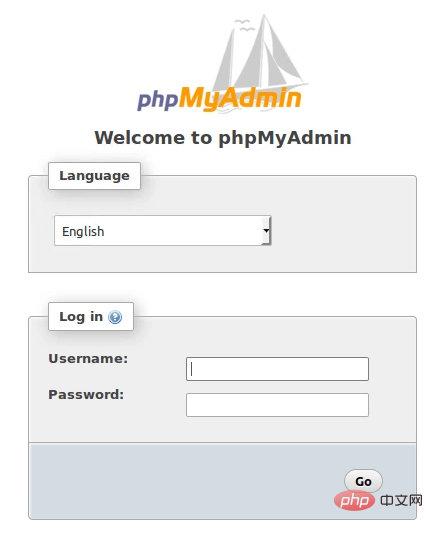
Once the installation is complete, open a browser and go to http://servername/phpmyadmin
Replace the server name with the actual host name of the server. When logging in, enter root as the username and log in with the password.
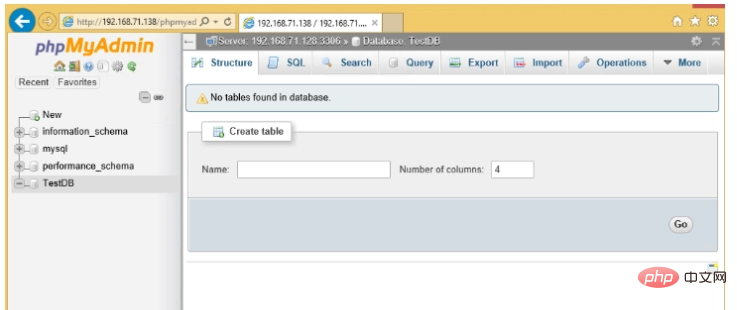
This will log you in and allow you to manage the database on the server.
Step 2: phpMyAdmin and Database on Different Hosts
Step 1 shows a standard phpMyAdmin installation... However, if the database server you want to manage is remote, it must be configured differently phpMyAdmin.
The configuration file for phpMyAdmin is located in /etc/phpmyadmin. The main configuration file is /etc/phpmyadmin/config.inc.php. This file contains configuration options that apply globally to phpMyAdmin.
To use phpMyAdmin to manage a MySQL database hosted on another server, make the following adjustments in /etc/phpmyadmin/config.inc.php:
sudo nano /etc/phpmyadmin/config.inc.php
Then the changes will look like the following On the line
i]['host'] = '
to
cfg['Servers'][
replace
dbserver with the actual remote database server name or IP address. Also, make sure the phpMyAdmin host has access to the remote database.
Another important configuration file is /etc/phpmyadmin/apache.conf, which is symlinked to /etc/apache2/conf-available/phpmyadmin.conf and, once enabled, will be used to configure Apache2 to Serving the phpMyAdmin site. This file contains instructions for loading PHP, directory permissions, etc. From the terminal type:
sudo ln -s /etc/phpmyadmin/apache.conf /etc/apache2/conf-available/phpmyadmin.conf sudo a2enconf phpmyadmin.conf sudo systemctl reload apache2.service
Step 3: Configure MySQL Server to Allow Remote Access
Now that phpMyAdmin is installed on the client machine, connect to the remote server where the MySQL/MariaDB database is installed...then run the following command to open its default configuration document.
sudo nano /etc/mysql/mysql.conf.d/mysqld.cnf
Then change the following line to:
bind-address=0.0.0.0
Next step run the following command to allow the root user to access the server from the client computer.
sudo mysql -u root -p will
Open all privileges to 'root'@'192.168.71.20' identified as 'root_password_here'WITHGRANT OPTION;
Use what you want The connected address replaces the IP address. Exit and you're done.
After editing the file above, save the changes and log in to http://clientPC/phpmyadmin
Replace http://clientPC/phpmyadmin with your client computer IP or hostname.
This should allow you to remotely log into the server from the client phpMyAdmin web portal.
This is how to manage a remote MySQL/MariaDB server.

congratulations! You have successfully configured phpMyAdmin

The above is the detailed content of Managing remote MySQL database 17.10 via PhpMyAdmin on Ubuntu 17.04. For more information, please follow other related articles on the PHP Chinese website!
 Commonly used mysql management tools
 What to do if phpmyadmin fails to import sql file
 How to change phpmyadmin to Chinese
 What's going on when phpmyadmin can't access it?
 What are the life cycles of vue3
 How to open the download permission of Douyin
 How much does it cost to replace an Apple mobile phone battery?
 Interview assessment tools


