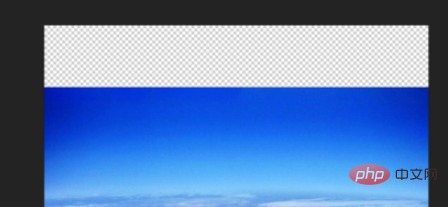

First open a picture, and then you can see that our picture is a little smaller than the canvas. We can leave the sky to fill it, as shown below:

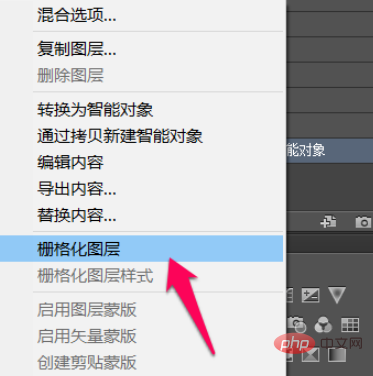
First rasterize the picture. The so-called rasterization is to convert the picture into a bitmap form, so that we can proceed to the next step. If the picture is already in bitmap form, you can jump Go through this step, as shown below: (Free learning video tutorial recommendation: ps video tutorial)

Then use the rectangular selection tool to select the blank area above the picture Select and select all the boxes, as shown below:

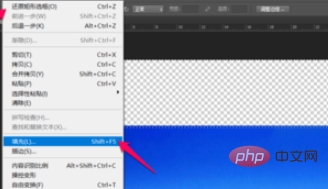
#Then click Edit -> Fill according to the position indicated by the red arrow in the picture below. Of course, you can also use the shortcut key shift F5 , as shown below:

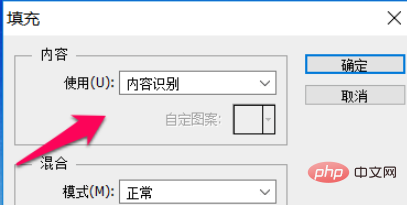
In the pop-up pop-up dialog box, we select content recognition under the use of content, and then other default selections are sufficient, and then click OK, as follows Picture:

After confirmation, go back to the previous picture and you will see that the blank part in the upper part of the picture has been automatically filled with the color of the sky, and the filling is seamless, as shown below:

Recommended related articles and tutorials: ps tutorial
The above is the detailed content of How to automatically fill in the surrounding background in ps. For more information, please follow other related articles on the PHP Chinese website!