

Click "Permissions" on the right side of the main interface to create a database user

In the permissions page, we click "Add New" User”
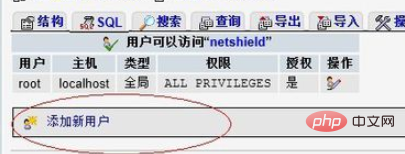
In this page, we fill in the user name of the database to be created **.cn, the user’s access scope, and password
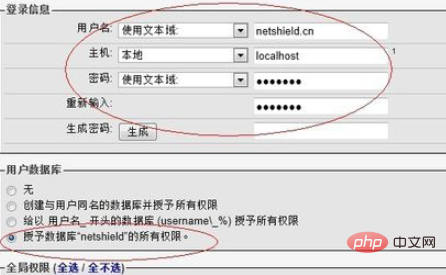
As shown in the picture above, we filled in the user name: **.cn. This database user only allows local access. For the host, select local; we can use the automatically generated password. Click below "Generate" will generate a random password, and then click "Copy" to automatically fill in the password box. You can also define a password yourself.
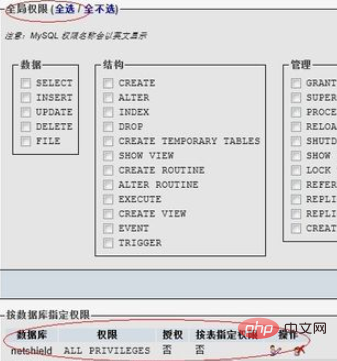
The system is more user-friendly. It will check the box by default to grant all permissions to the database "netshield", which is exactly what we want. If you don't select the global permissions box below, just scroll to the bottom of the page and click Execute to create a new user. If the database user is successfully created, the following page will be returned:
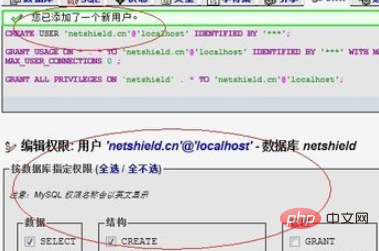
Here, after creating the user, you can then set the specific access rights of the user's database. If specific settings are required, continue setting them. If not, you can leave them alone. If you need to set the permissions of the user **.cn separately in the future, you can continue to do this:
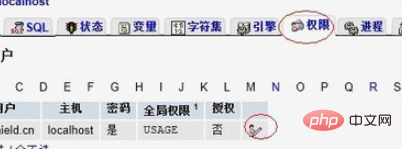
As shown below, select the netshield we just created in the database list, and it will Automatically enter the permission setting page of the database. If you want to give this user permissions on other libraries, you can continue to set up like this, but remember, you must not give any global permissions, which are only what root should have.
In the permission settings in the picture below, we select all the permissions in the "Data" and "Structure" columns, and do not select the management permissions. Just click Execute.
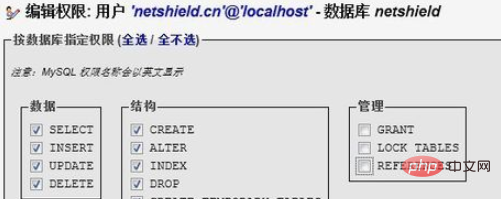
At this point, we have completed all the settings, created a database: netshield, and created the database user **.cn, specifically specifying that this user is only for netshield access rights. In this way, the purpose of specifying independent user access rights for each database is achieved.
Recommended related articles and tutorials: phpmyadmin tutorial
The above is the detailed content of How to add users on phpmyadmin. For more information, please follow other related articles on the PHP Chinese website!
 What is user stickiness
 Commonly used mysql management tools
 What to do if phpmyadmin fails to import sql file
 How to change phpmyadmin to Chinese
 What's going on when phpmyadmin can't access it?
 How to enter recovery mode on win10 system computer
 How to export word from powerdesigner
 What are the differences between weblogic and tomcat


