Applicable to Centos6.x and Centos7.x systems. PHP uses version 7.1. The wlnmp one-click package already supports this extension.
imagick expansion package address:
https:/ /pecl.php.net/package/imagick
1. Install the required dependencies. If you are prompted that other dependencies are missing during compilation, please install them yourself
yum install autoconf gcc gcc-c++ ImageMagick-devel
2. Download imagick The latest stable version
wget https://pecl.php.net/get/imagick-3.4.4.tgz
tar xf imagick-3.4.4.tgz
cd imagick-3.4.4
/usr/local/php/bin/phpize
can be run according to the location of your own phpize (if you don’t know where phpize is, just find / -name phpize to find it). After running, the following information will be displayed, and then compile
Configuring for:
PHP Api Version: 20160303
Zend Module Api No: 20160303
Zend Extension Api No: 320160303
3. Compile the extension module
./configure --with-php-config=/usr/local/php/bin/php-config
make
make install
After the execution is completed, the directory where the extension module was compiled will be displayed /usr/local/php/lib/php/extensions/no-debug-non-zts-20160303/
4. Modify php.ini to add extensions
extension_dir = "/usr/local/php/lib/php/extensions/no-debug-non-zts-20160303/"
extension=imagick.so
Note: If the extension_dir path has been configured before, you only need to configure extension=imagick.so
Save and exit, restart php
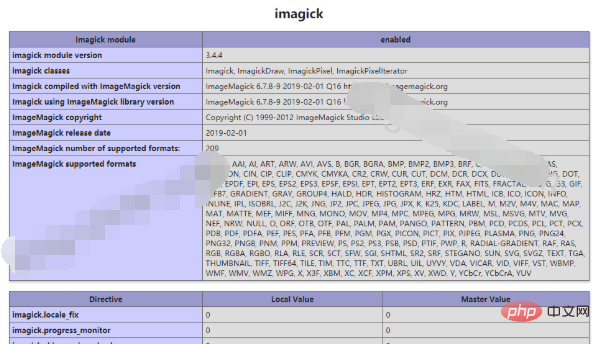
You can see through phpinfo that the extension has taken effect

For more related content, please refer to: "PHP7" Tutorial
The above is the detailed content of How to install imagick extension in php7. For more information, please follow other related articles on the PHP Chinese website!
 What is the difference between php5 and php7
 What is the difference between php7 and php8
 How to set up a domain name that automatically jumps
 Bitcoin buying and selling process on Huobi.com
 Introduction to reasons why remote desktop cannot connect
 what is c#
 windows lock screen shortcut keys
 What are the microcontroller programming software?