

How to install the template of Empire CMS
1. Install the Empire CMS operating environment. First, configure the PHP operating environment. Please prepare this by yourself. The general method is as follows: 1. The official website of Imperial CMS provides a one-click installation package for Imperial CMS. You can use the one-click installation package to install the operating environment of Imperial CMS. 2 This machine can also be configured with phpstudy. Please refer to the phpstudy usage guide. 3 If it is a server, the PHP operating environment is generally provided for you to choose.
2. Start installing Imperial CMS. For example, if your domain name is www.baidu.com, then the steps for regular installation are:
1 Enter the URL www.baidu.com/ in the browser e/install for installation prompt: If it prompts that the "Empire Website Management System" installation program is locked. If you want to reinstall, please delete the /e/install/install.off file! Please go to the e/install directory under the program directory, delete the install.off file
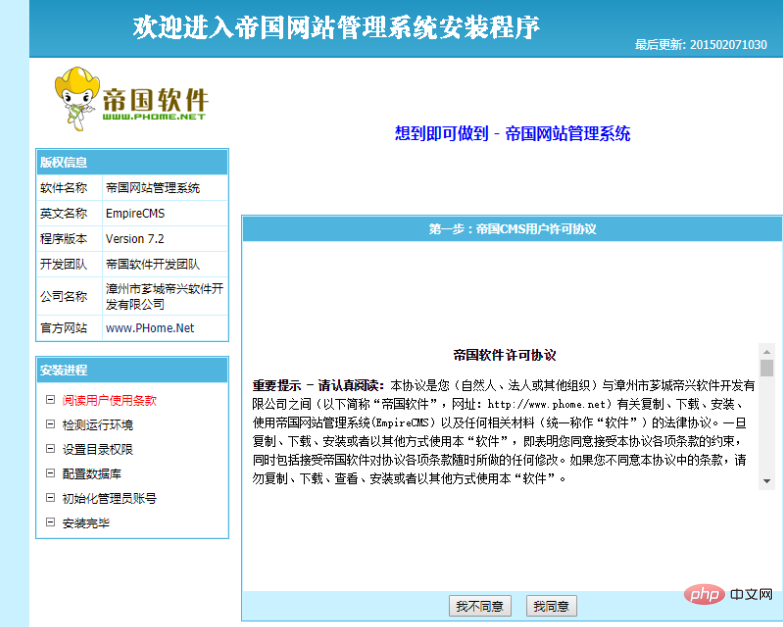
2 License Agreement, click [I agree]:
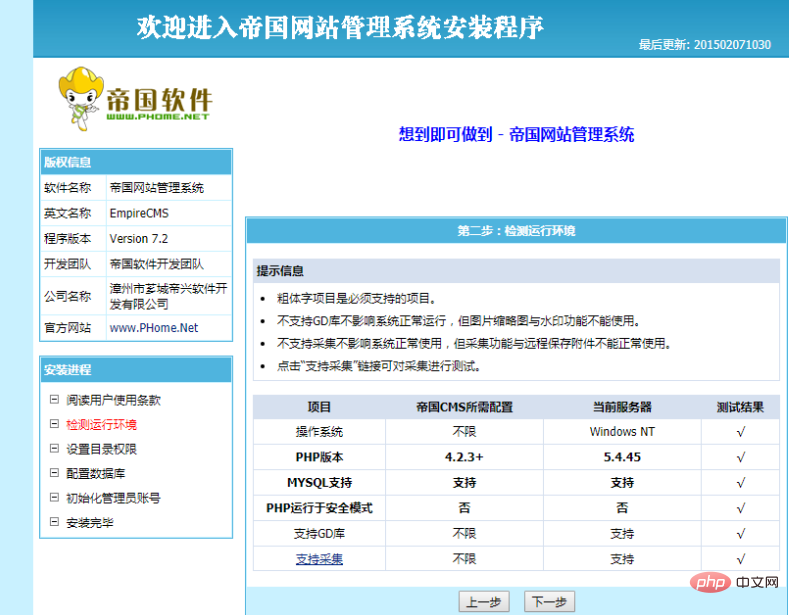
3 Operating environment Detection, click [Next]
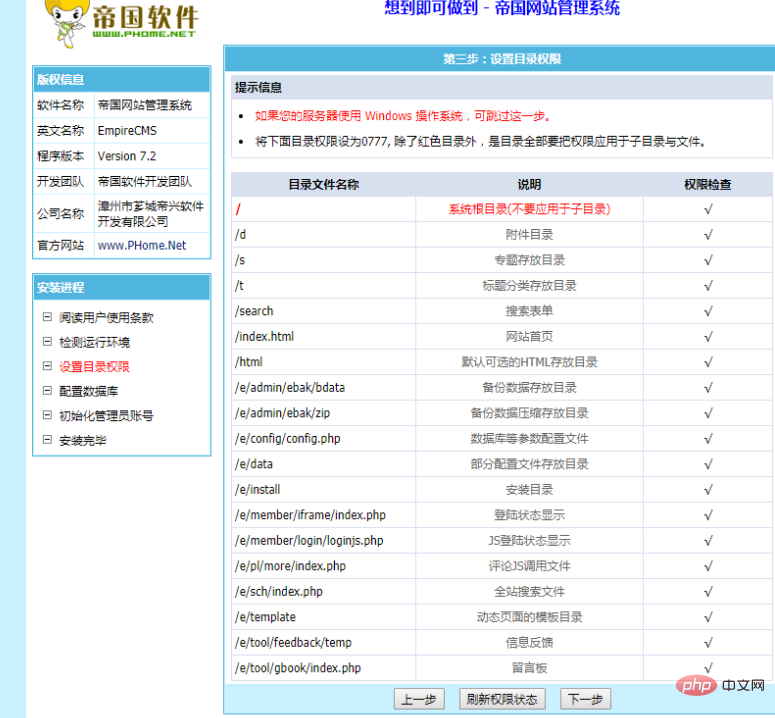
4 Directory permission detection, click [Next]
5 Fill in the database Related information:
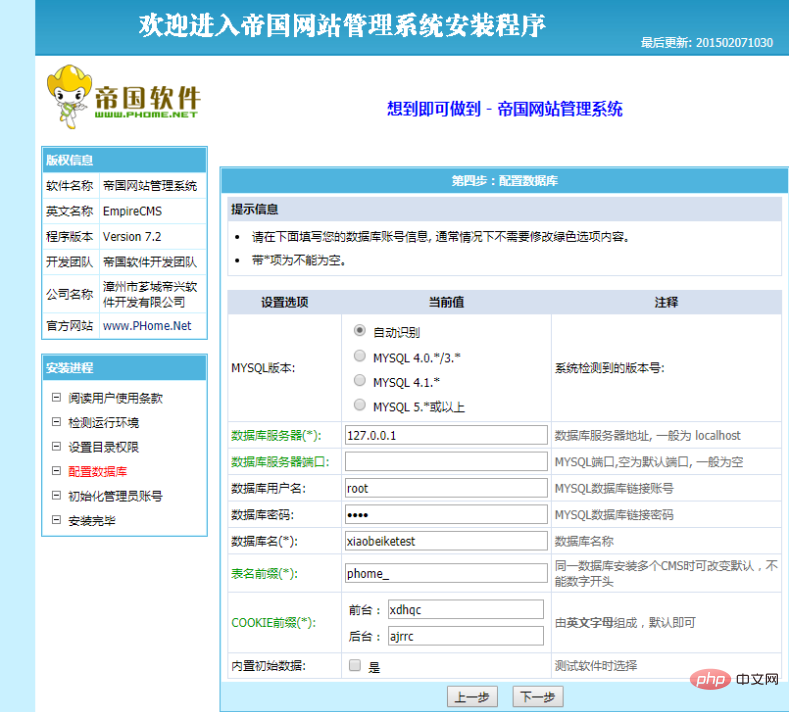
#1) [Database server], unless there are special circumstances, it is usually localhost; if it is filled in locally: 127.0.0.1, the operating efficiency will be improved many times. Because of the Windows system.
2) [Database user name] Just write the user name of your database
3) [Database password] Just write the password of your database
4) [Database Name] Give your database a unique name. Whatever happened.
5) [Table name prefix] The default empire program is phome_ If you are installing the empire source code of 92Game, it is usually www_92game_net_ This is very important and cannot be written incorrectly. If you installed the Imperial CMS program with its own data, you can check the file prefix in the data package in the e/admin/ebak/bdata directory. Just write whatever you want here. Generally speaking, the program provider will write the correct [table name prefix], and you don't need to change it.
6) Click [Next]
6 Under normal installation, you will see the following window:
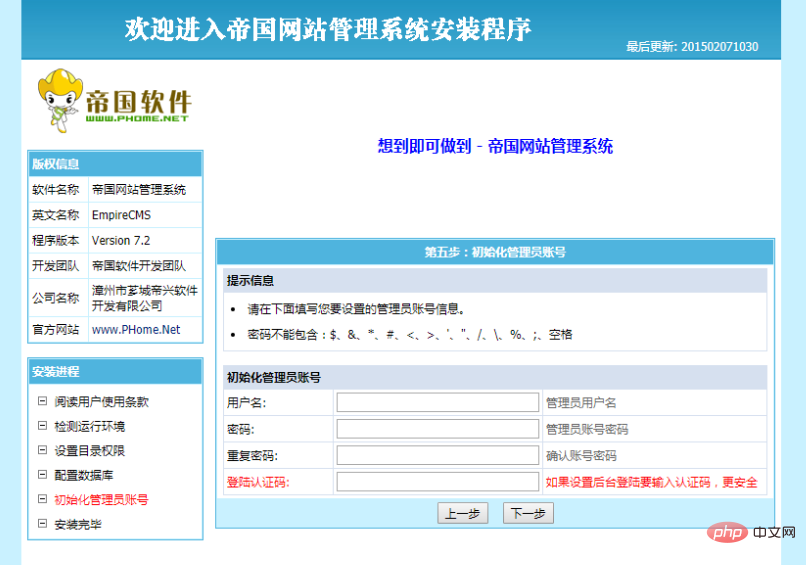
Fill in [User Name] [ Password] [Repeat Password] [Verification Code], remember the information filled in here.
7. Click [Next], then click [Enter the background]
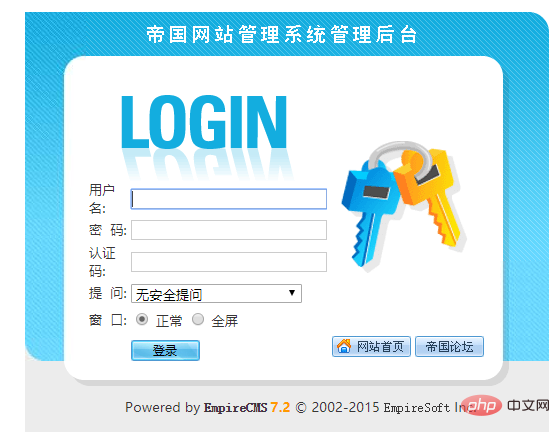
Enter the [Username] [Password] you set in the previous step and [Authentication code], you can log in to the Empire CMS backend. The Imperial CMS installation is over.
[If you are installing the Imperial CMS program with data, continue]
3. After the regular installation of Imperial CMS is completed, data recovery is required.
1 In the Imperial CMS background, find [System] ~ [Restore Data]
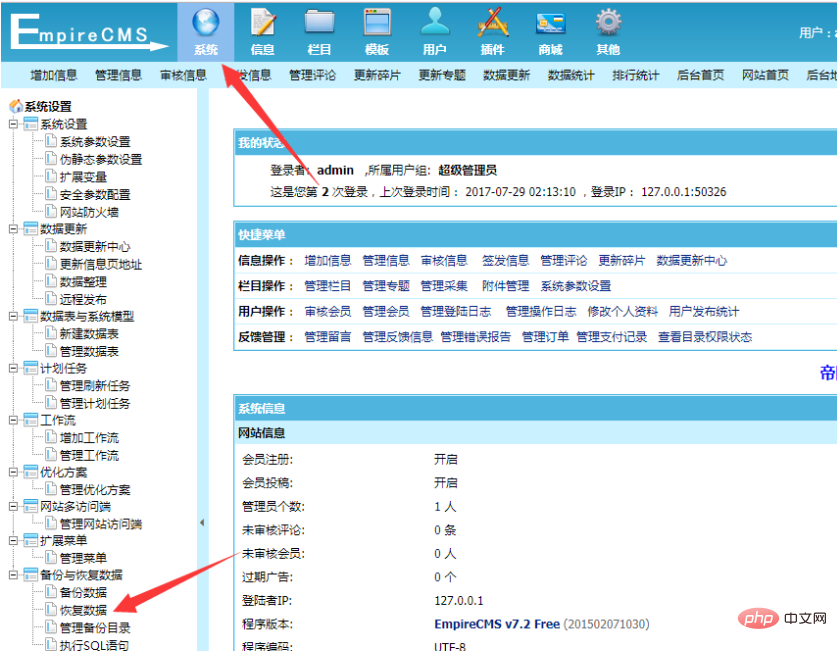
2 Click [Select Directory], find the data backup file, and select [This file]
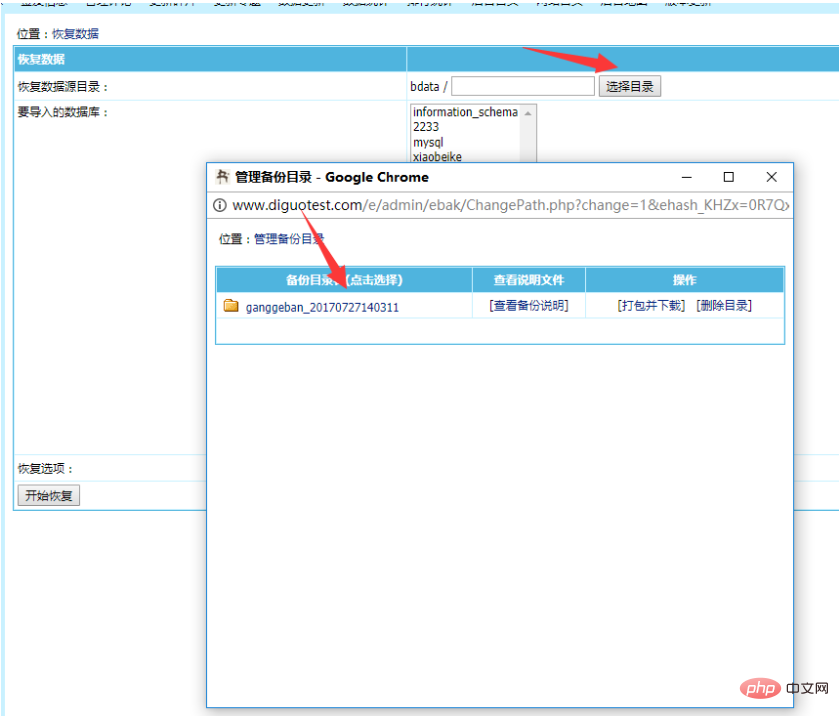
#3. Click to start recovery.
4. After the Empire CMS database is restored, you need to adjust some basic settings of the template and then [Data Update].
1. Before updating the data, you must first modify some basic settings to your own information. Several important positions that may need to be modified are: 1) [System] ~ [System Settings] ~ [System Parameter Settings] In this position, you can modify some basic information of the website.
2) [System] ~ [System Settings] ~ [Extended Variables] Generally, more complex settings can be modified here. For ordinary websites, there is usually nothing in this location.
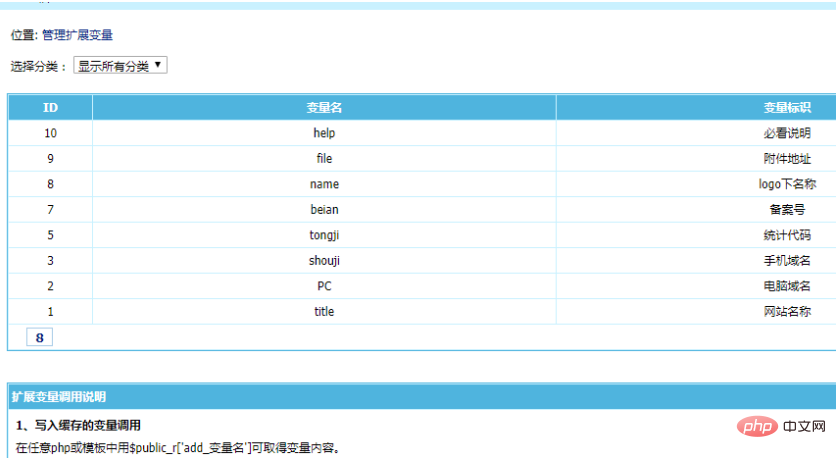
#2 After completing some of the above inspections and modifications, you can update the data (for more complex ones, please study by yourself). The order of data update is as shown in the figure below, from right to left and from top to bottom.
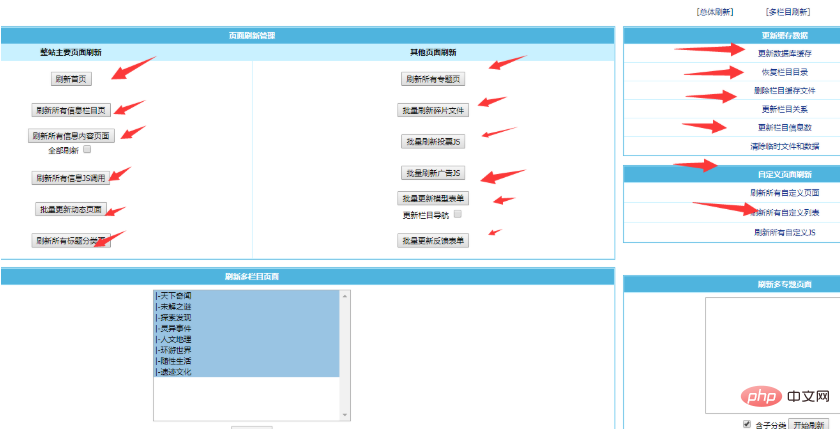
3 At this point, the installation of Empire CMS is completed.
For more technical articles related to Empire cms, please visit the Empire cms tutorial column to learn!
The above is the detailed content of How to install templates in Empire CMS. For more information, please follow other related articles on the PHP Chinese website!