

Open [Database Management] in the control panel
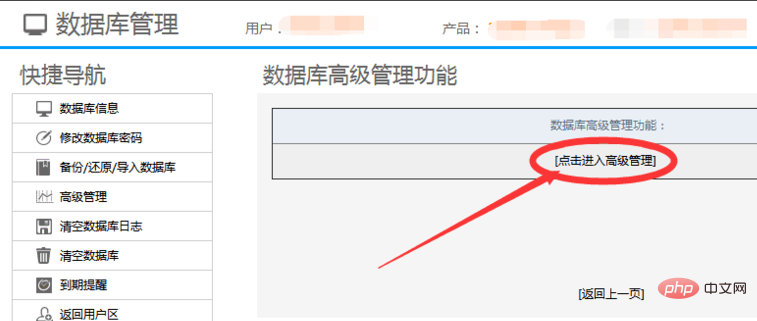
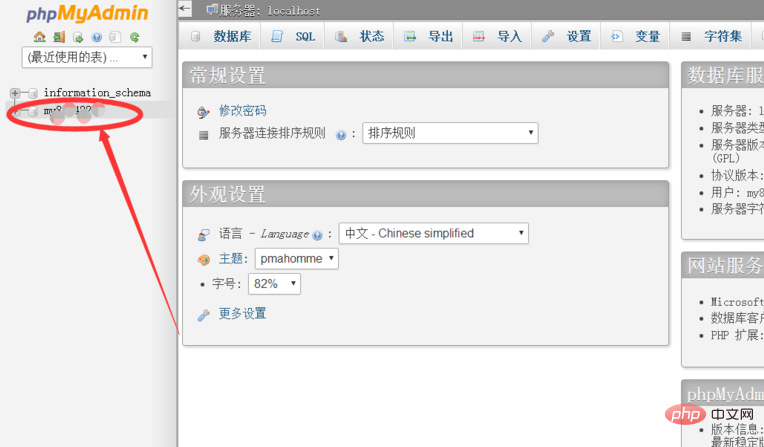
Then select [your own database name]
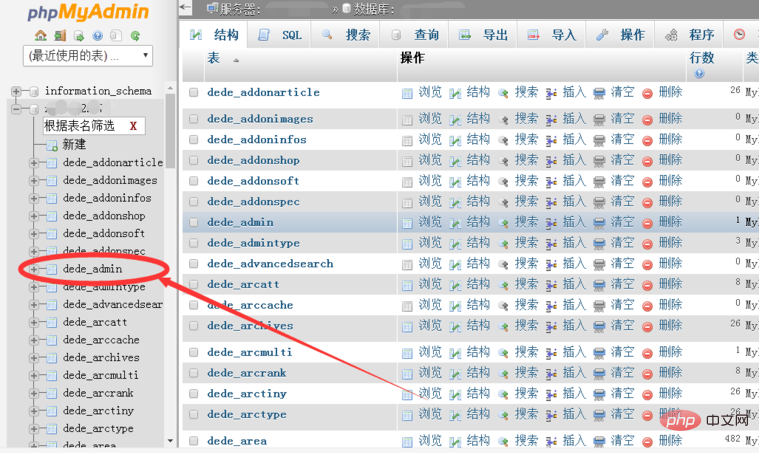
Click to open and find [dede-admin]
Related recommendations: "dedecms usage tutorial"
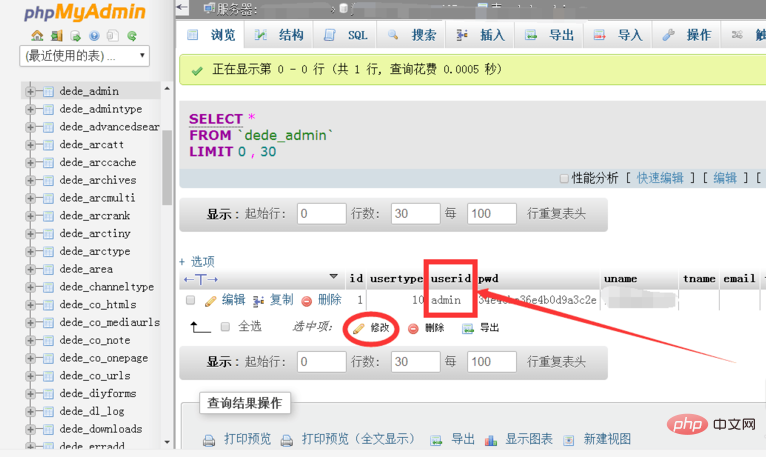
Click on [dede-admin], you will find that under the userid is admin, click [Edit] in front
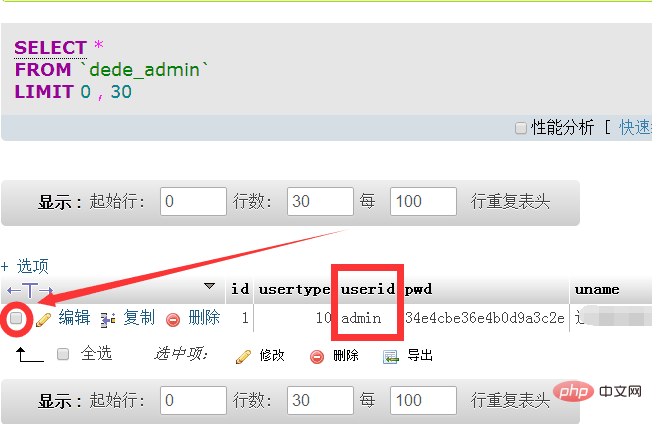
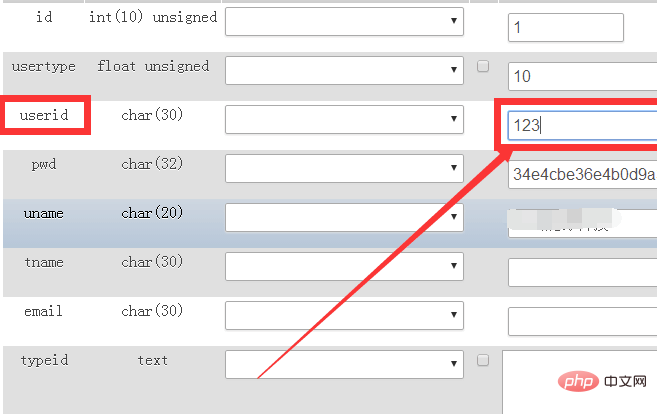
The following interface will appear, replace [admin] with The ID name you want.
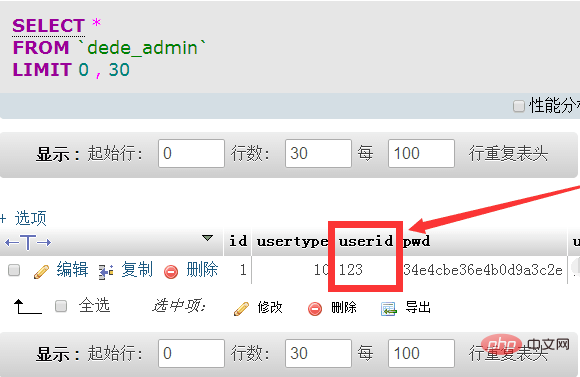
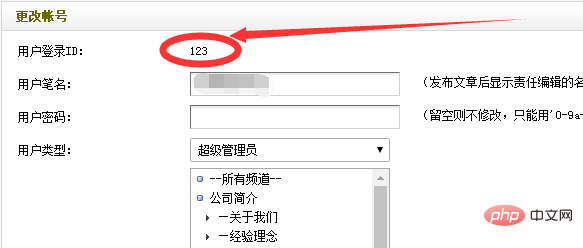
For example, let me change here to [123]
The above is the detailed content of How to modify the id in dedecms. For more information, please follow other related articles on the PHP Chinese website!


