

First of all, let’s open the CAD software we are using. The version I use is version 07, as shown in the picture:

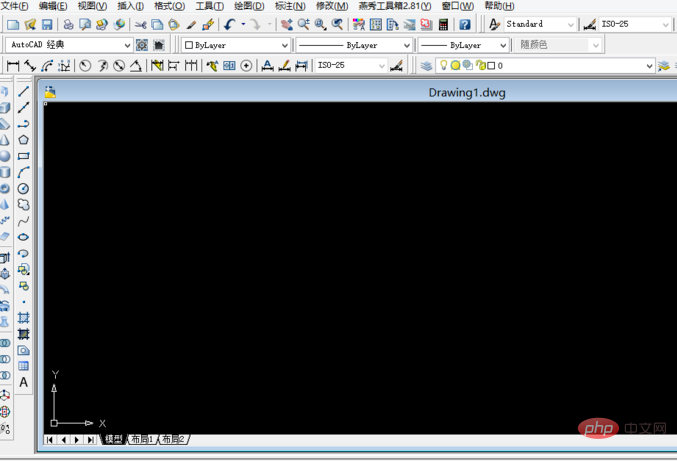
The operation interface after opening CAD will often be different, but it will not affect our operation. My CAD operation interface is as shown below:
We can use the menu above Bar to find the tool palette window, open the tool palette and then the operation interface, as shown in the figure:

Related recommendations:《FAQ》
There is a vertical row of options for us to choose from on the left side of the tool palette operation interface. We can find the building options from these options. Open the building options and you will see the tree. .


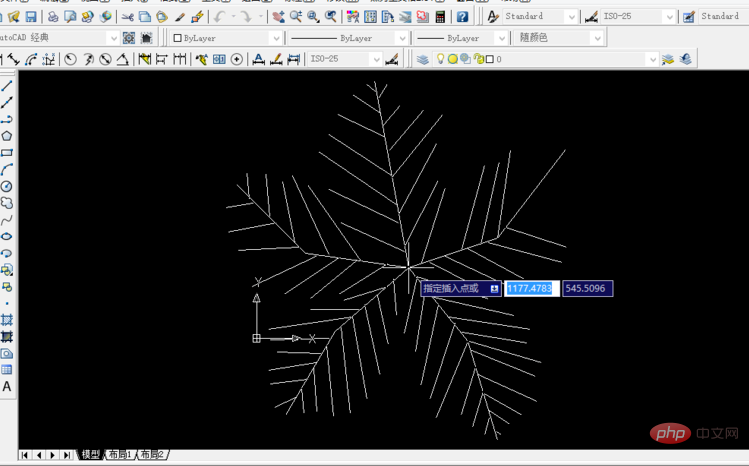
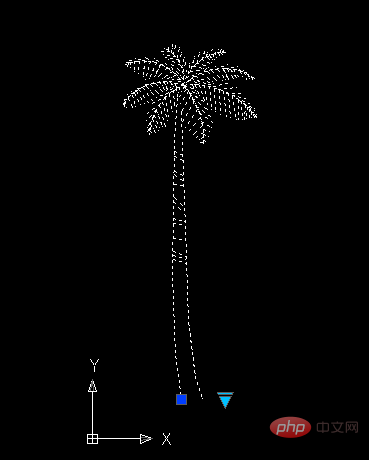
Click to select the tree, then select the insertion point in the blank space and click the left mouse button to display the tree graphic, as shown in the figure :
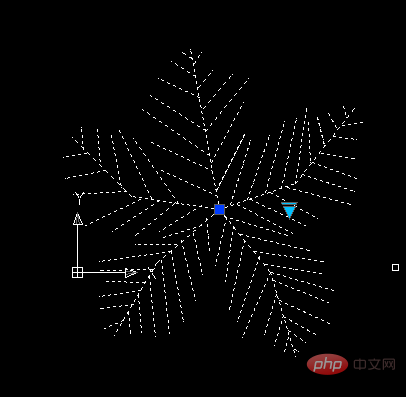
If we want to modify the tree type and view direction, we can click on the graphic. After the small triangle appears, click on the small triangle to make modifications.
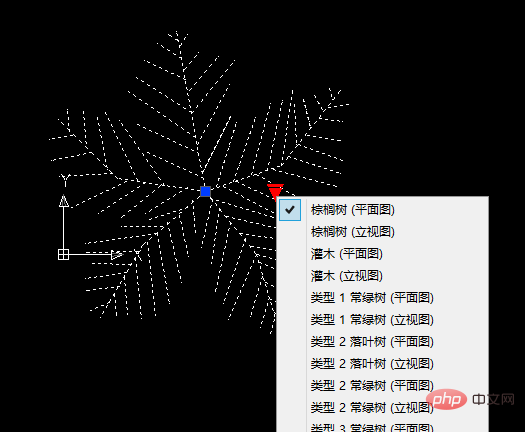
#If you want the trees to look more realistic, it would be better to switch the graphics to the vertical view for observation, as shown in the figure:
The above is the detailed content of How to add flowers, plants and trees in CAD. For more information, please follow other related articles on the PHP Chinese website!