OpenCV is a cross-platform computer vision library released under the BSD license (open source) and can run on Linux, Windows, Android and Mac OS operating systems. It is lightweight and efficient - it consists of a series of C functions and a small number of C classes. It also provides interfaces in Python, Ruby, MATLAB and other languages, and implements many common algorithms in image processing and computer vision.
OpenCV is written in C language, and its main interface is also C language, but it still retains a large number of C language interfaces. The library also has extensive interfaces to Python, Java and MATLAB/OCTAVE (version 2.5). API interface functions for these languages can be obtained through online documentation. Now it also provides support for C#, Ch, Ruby, and GO.
All new developments and algorithms use C interface. A GPU interface using CUDA was also implemented in September 2010.
This article teaches you how to install the OpenCV library in Python under Windows system.
Related recommendations: "Python Video Tutorial"

Because of the powerful pip, you only need two steps to install OpenCV Library
The steps are as follows:
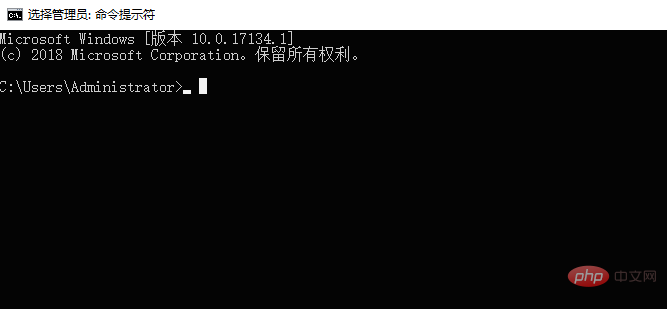
Step one: Win R to open the run, enter cmd to enter the command line window, and see the following interface:

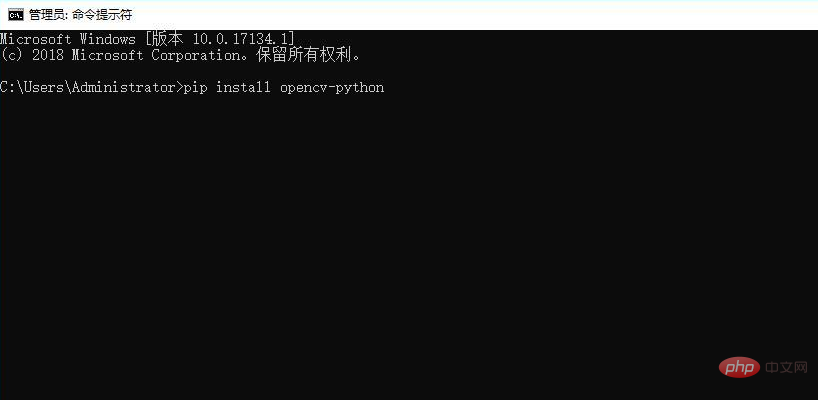
Step 2: Directly enter pip install opencv-python, as shown below:

Waiting for installation ……

#*Emphasis: On the surface of the red line in the picture, pip downloads the OpenCV library from this address.
Download completed.

As you can see from the red line in the picture, the Opencv library has been successfully installed, and the size of this library is 23.1MB.
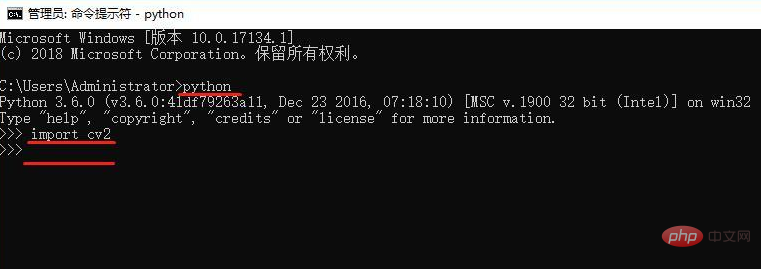
At this point, you can import cv2 at will.

#The above is a test, that is, when you enter the Python IDE and type import cv2, no error is reported, indicating that the OpenCV library is successfully installed.
The above is the detailed content of How to install opencv library in Python. For more information, please follow other related articles on the PHP Chinese website!