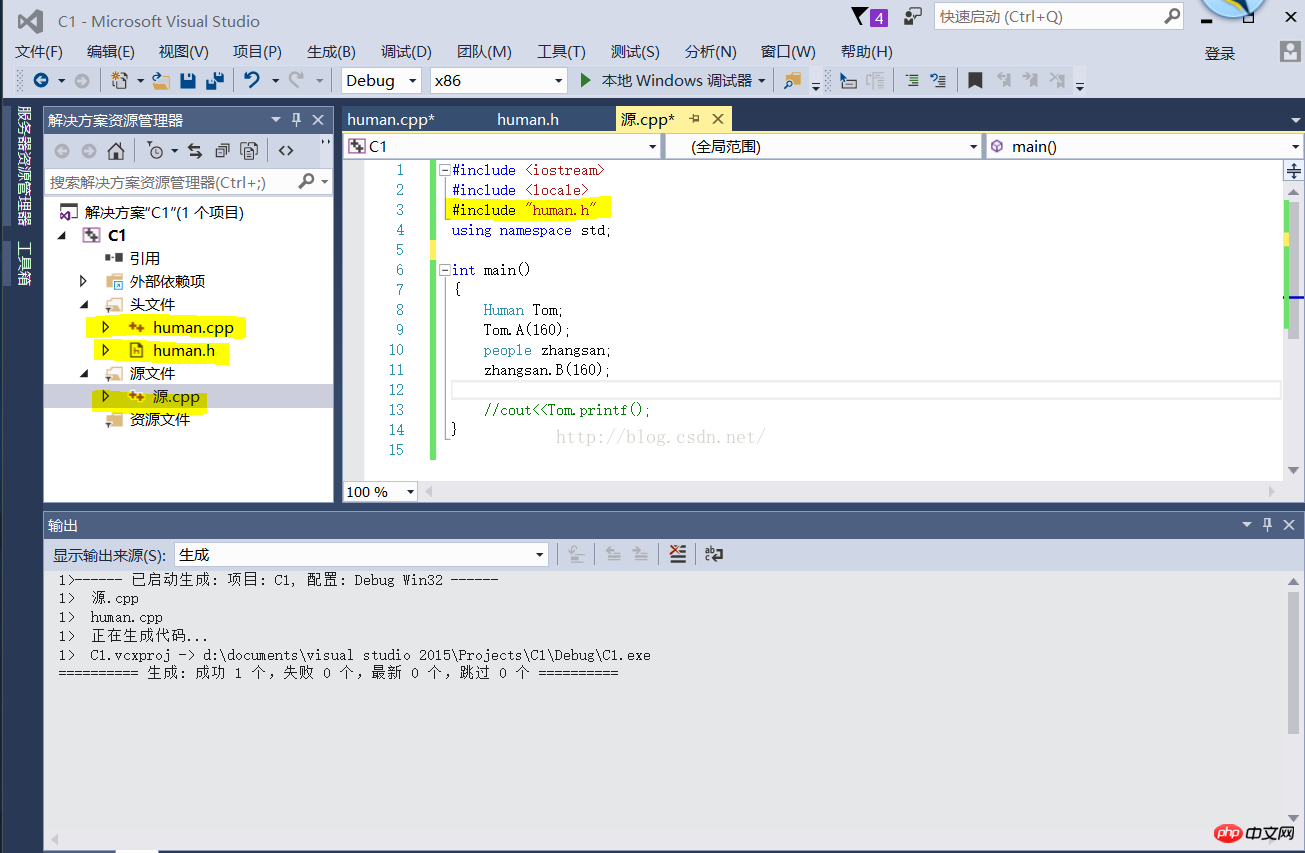
Open VS2015 and create a new VS win32 project. The previous steps are very simple and will not be explained again.
Let’s start directly:
Create a new VC For win32 programs,
add the .cpp file under the source file, usually the main function
#include <iostream>
#include <locale>
#include "human.h"
using namespace std;


int main()
{
Human Tom;
Tom.A(160);
people zhangsan;
zhangsan.B(160);


//cout<<Tom.printf();
}Add the .h file (human.h) to the header file, usually the defined class
class Human
{
public:
void A(int w);
private:
int *i;
};


class people
{
public:
void B(int j);
int num;
private:
int numa;
};The .cpp file in the header file contains the constructor of the class
#include "human.cpp"

#include <iostream>
#include "human.h"
using namespace std;
void Human::A(int w)
{
cout << w << endl;
}
void people::B(int w)
{
w -= 100;
cout << w << endl;
}Then the main function under the source file must add the declaration header file of the class, and the header file .cpp must also Add the header file of the class declaration
 i Note: The class defined in the header file must be declared in the c file with the same name. The constructor and destructor of the class are either explicitly defined or The declaration to be displayed, even if there is no execution content in these functions, must be written out empty, otherwise the compilation will fail, or the constructor and destructor of the class will not be written, and the class will generate a constructor that does not execute any program by default. And the destructor
Anyway, one thing: as long as the destructor and constructor in the class are defined, they must be declared, and the function can be empty
The following will add multiple files in VS System (that is, there are multiple header files and cpp files), use VS to automatically generate classes,
1. Right-click the project->Add->Class
After entering the class name, h The file and cpp file are automatically filled in, and the constructor, destructor, and header file of the generated class all have
Generated code:
h file
#pragma once


class Clock

{

public:

Clock();

~Clock();

};cpp file
#include "Clock.h"


Clock::Clock()

{

}


Clock::~Clock()

{

}The above is empty, let’s fill in our function in it
2. Put our function in the class
h file to add the function After
#pragma once

#include <iostream>

using namespace std;


class Clock

{

public:

Clock();

void SetTime(int NewH, int NewM, int NewS); //三个形参均具有函数原型作用域

void ShowTime();

~Clock();

private:

int Hour, Minute, Second;

};After adding the function to the cpp file:
#include "Clock.h"

Clock::Clock()

{

Hour = 0;

Minute = 0;

Second = 0;


}

void Clock::SetTime(int NewH, int NewM, int NewS)

{

Hour = NewH;

Minute = NewM;

Second = NewS;

}

void Clock::ShowTime()

{

cout << Hour << ":" << Minute << ":" << Second << endl;

}


Clock::~Clock()

{

}3. Add our class containing header file in main
#include "Clock.h" //头文件
Clock g_Clock;

int main() //主函数

{

cout << "文件作用域的时钟类对象:" << endl;

//引用具有文件作用域的对象:

g_Clock.ShowTime();

g_Clock.SetTime(10, 20, 30);


Clock myClock(g_Clock); //声明具有块作用域的对象myClock,并通过默认拷贝构造函数用g_Clock初始化myClock

cout << "块作用域的时钟类对象:" << endl;

myClock.ShowTime(); //引用具有块作用域的对象

return 0;

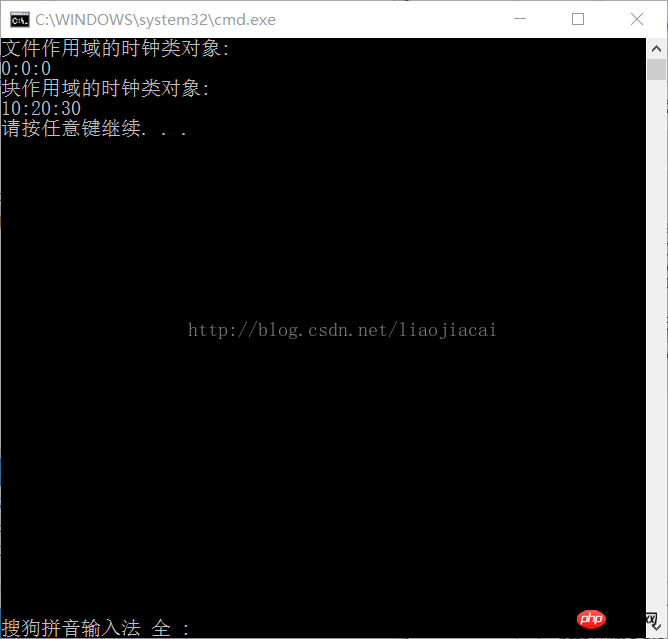
} Running result:

over! ! !
Related articles:
Complete establishment process of www environment for new server
zend studio New project related issues
The above is the detailed content of Detailed steps to create a new complete c++ project in VS2015. For more information, please follow other related articles on the PHP Chinese website!


