
This article mainly introduces the homestead installation and configuration process for Laravel development environment deployment (windows system). It has certain reference value. Now I share it with you. Friends in need can refer to it
Laravel development environment deployment homestead installation and configuration process (windows system)
First win7 and above system requirements;
Skip the installation of virtual-box; Skip the installation of vagrnt.exe, Skip the installation of git;
Test after the installation is completed, open gitbash
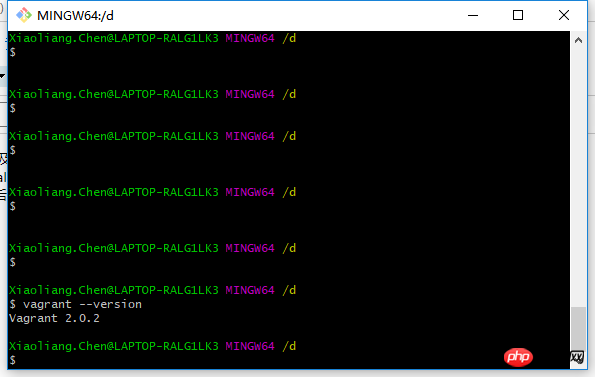
ok Next, let’s learn a little bit about what Homestead is, and give a brief introduction to it. After learning about Homestead, we directly download the Homestead box;
Next let us start the installation of Homestead. First we need to download the Homestead virtual machine box. It is recommended that you use Thunder offline download or other offline download methods to download this box. .
The downloaded file is lt-homestead-3-0-0-2017082400.zip. Please unzip it. After successful decompression, you can see the directory lt-homestead-3-0-0- 2017082400, this directory contains two files:
· homestead-virtualbox-3.0.0.box (Homestead box customized by tutorial)
· metadata.json (import configuration of the box File)

Then proceed with the installation
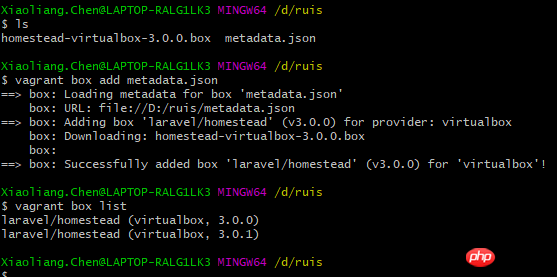
Of course, that virtualbox, 3.0.0 was just installed Don't worry about the other one;
Then download the Homestead management script,
cd ~
git clone https://git.coding.net/summerblue/homestead.git Homestead;
When you download it, you will find a Homestead directory, and there is also a Homestead directory inside. Go in and you can see the details
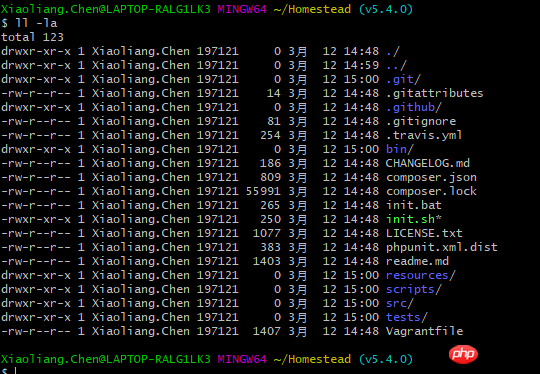
Then run
bash init.sh

ll -la
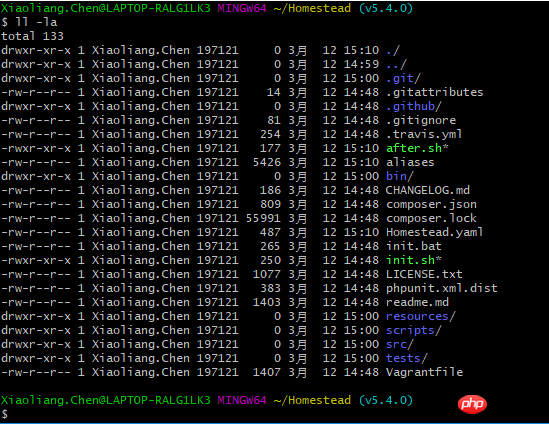
Don’t care about this nonsense, because you won’t remember it after reading it, you will use it when the time comes Still have to come back and look up the information; 
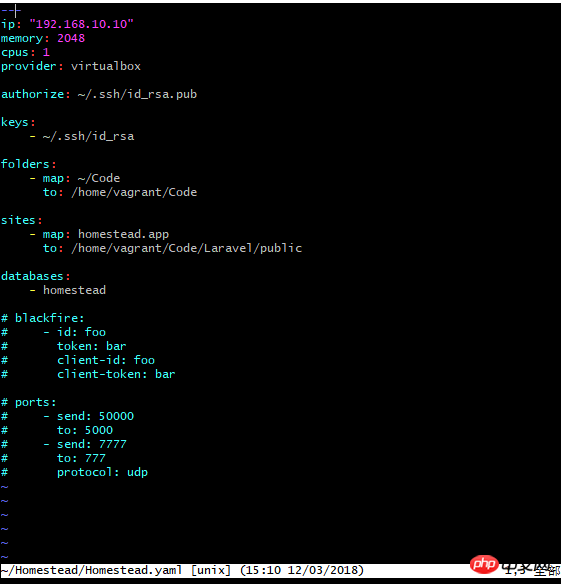


keys array option, fill in the local machine SSH private key file address. When the virtual machine is initialized, all SSH private key files filled in will be copied to the /home/vagrant/.ssh/ folder of the virtual machine, so that the virtual machine can share the SSH password on the host. key file, so that the virtual machine has the same identity authentication as the host. 
 ##Original text:
 Check whether the SSH key has been generated first
 Have a look, oh, there is id_rsa and id_rsa.pub, perfect
The step of generating id_rsa and id_rsa.pub is omitted; (The original text is long, please enter the link to read it yourself);
Shared folder configuration: Know this through folders The secret is mapped to the folder on the Homestead virtual machine.
map corresponds to the folder on the local machine, and the format E:/Homestead/Code
to corresponds to the folder on Homestead ;
统一配置为 map:~/Code

to:/home/vagrant/Code
为了配合这个~/Code, 我们就mkdir ~/Code; 这个Code就将会是我们放置所有laravel项目的文件目录;
站点配置:
允许你在主机里,通过域名来访问虚拟机里的laravel应用.
原文:


修改windows的host文件
vi c:windows/system32/drivers/etc/hosts
最后面加一行 192.168.10.10 homestead.test
至此, 站点就配置好了, 后面创建了laravel项目后, 就可以通过浏览器访问homestead.test站点;
数据库配置:
用默认的就可以

自定义变量:
如果需要自定义一些在虚拟机上用的自定义变量, 可以在variables定义
在配置中未见, 也没啥用, 所以用原文档截图

完事儿了以后, 配置大概就这么搞定了, 后面就可以vagrant up了
原文:

启动成功, 这边gitbash会显示
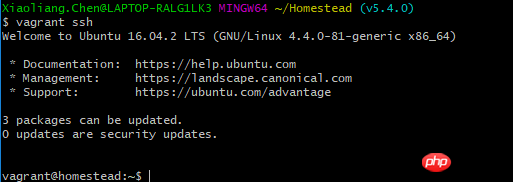
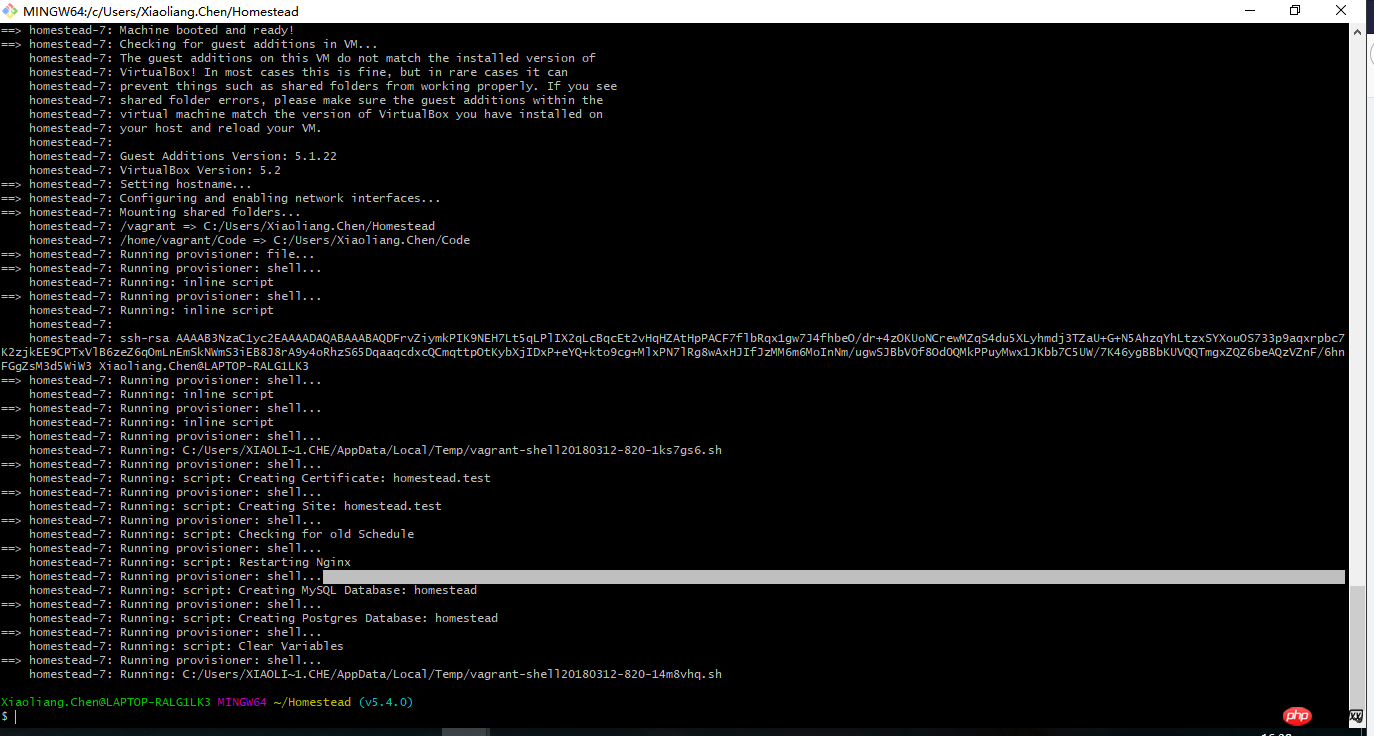 然后vagrant ssh
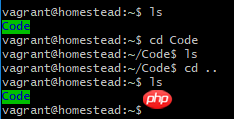
只有一个Code文件夹; 我们皮一下, 在本机的C:~/Code里面 touch index.php;
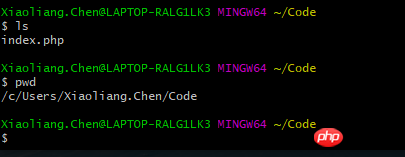
可以看到在虚拟机里面有这个index.php
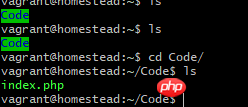
ok以后代码直接写在~/Code里面就好了; 不过记得时常 git push;
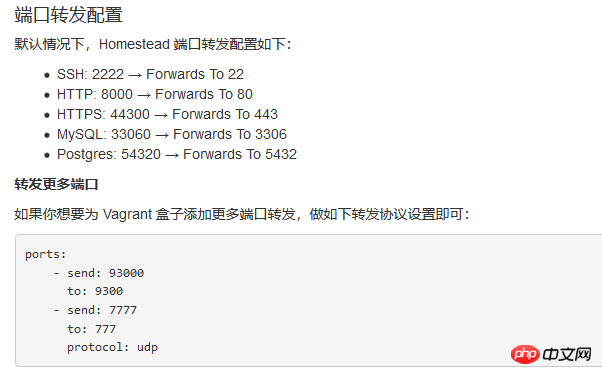
附录:
以上就是本文的全部内容,希望对大家的学习有所帮助,更多相关内容请关注PHP中文网!
相关课程推荐:
The above is the detailed content of Laravel development environment deployment homestead installation and configuration process (windows system). For more information, please follow other related articles on the PHP Chinese website!
 Mechanical energy conservation law formula
 How to solve the problem that the phpstudy port is occupied
 How to check port status with netstat
 Top 30 global digital currencies
 Compressed file encryption
 What software is ae
 kb4012212 What to do if the update fails
 How many types of usb interfaces are there?


