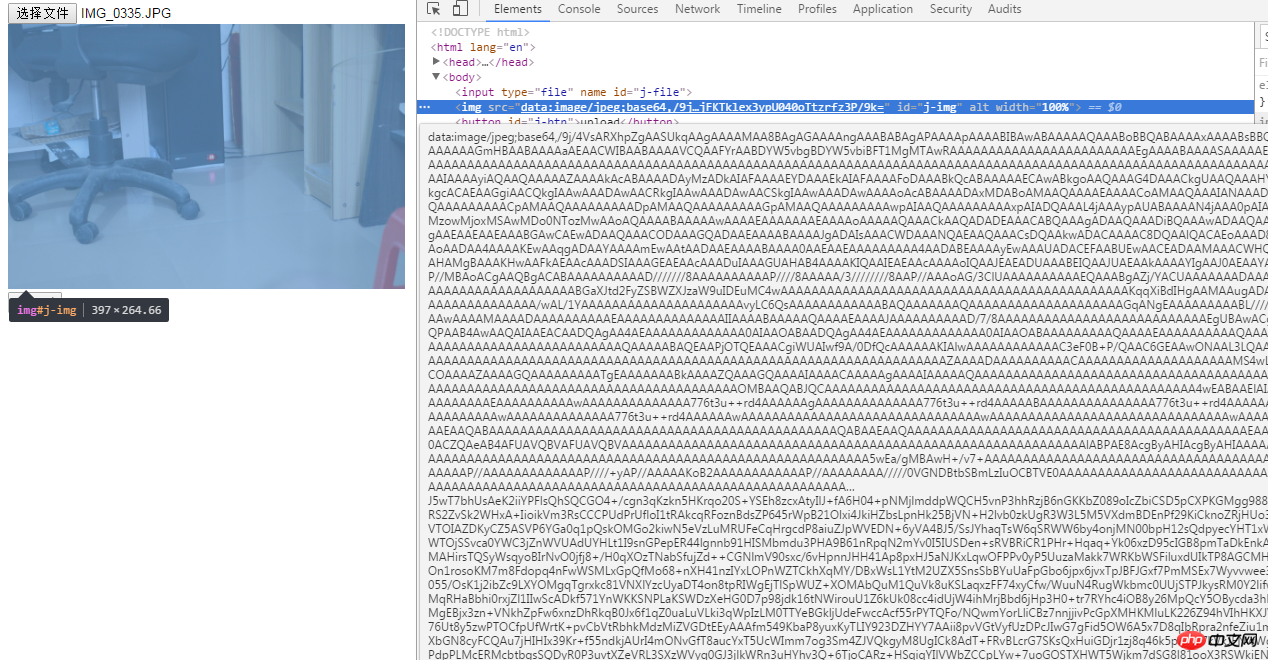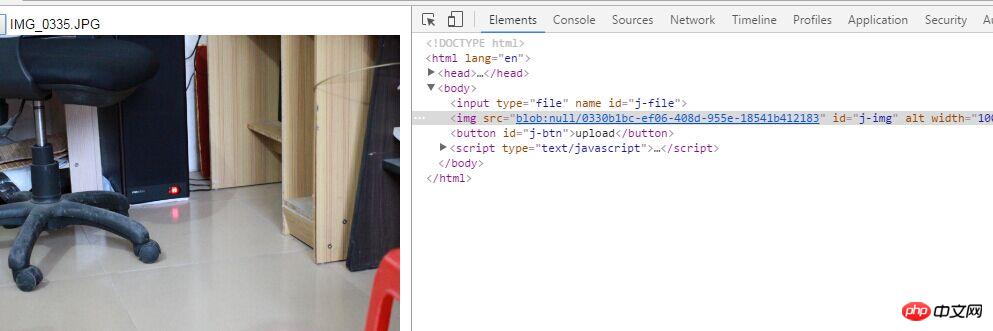
Application platform environment: Android webview;
Technical points involved:
(1) : During development, Android webview clicks by default File selection and camera photography cannot be called (other device ios and other browsers do not have this problem), and Android development students need to adjust the code;
(2) How to display the image on the page after clicking to select it? ? Many developers probably get this.value directly, which is wrong and not feasible. There are two APIs that can be implemented, new FileReader and window.URL.createObjectURL (optimal);
The implementation of new FileReader is as follows:
upload

In actual Android webview combat, the reading and writing speeds are quite slow and are not recommended;
//-------------- -------------------------------------------------- ------------------------
window.URL.createObjectURL is implemented as follows:
<input type="file" name="" id="j-file">
<img src="" id='j-img' alt="" width="100%">
<button id='j-btn'>upload</button>
<script type="text/javascript">
var o_file = document.getElementById('j-file'),
o_btn = document.getElementById('j-btn'),
o_img = document.getElementById('j-img');
o_file.addEventListener('change',function(event){ var file = event.target.files[0]; if(!file) return; var url = window.URL.createObjectURL(file); if(/image/.test(file.type)){
o_img.setAttribute('src',url);
}else{
console.log('请选择图片');
}
},false);
o_btn.onclick = function(){ var data = new FormData();
data.append('file_a',o_file.files[0]);
data.append('text','test');
console.log(data);
} </script>
#The advantage of this technology is that you don’t have to read the file content into javascript, but use the file content directly, which is very fast;
(3) How to pass image data to the server through the XHR object? new FormData() provides an implementation for serializing forms and creating data in the same format as the form (XHR transmission). FormData does not need to explicitly set the request header on the xhr object (if it is an image upload in the form, enctype needs to set multipart/form -data), XHR can automatically identify the instance method .append(key, value) to customize the data;
The complete code example is as follows:
<input type="file" name="" id="j-file">
<img src="" id='j-img' alt="" width="100%">
<button id='j-btn'>upload</button>
<script type="text/javascript">
var o_file = document.getElementById('j-file'),
o_btn = document.getElementById('j-btn'),
o_img = document.getElementById('j-img'),
target_file = null;
o_file.addEventListener('change',function(event){ var file = event.target.files[0]; if(!file) return;
target_file = file; var url = window.URL.createObjectURL(target_file); if(/image/.test(target_file.type)){
o_img.setAttribute('src',url);
}else{
console.log('请选择图片');
}
},false);
o_btn.onclick = function(){ if(!target_file) return; //数据处理 var data = new FormData();
data.append('key',target_file);
var xhr = new XMLHttpRequest(); if(xhr.upload){
xhr.upload.addEventListener("progress", function(e){ var loaded = e.loaded; //已经上传大小情况 var tot = e.total; //附件总大小 var per = Math.floor(100*loaded/tot); //已经上传的百分比 console.log(per+'%');//进度 }, false);
}
xhr.onreadystatechange = function(e) { if (xhr.readyState == 4) {if (xhr.status >=200&&xhr.status<300||xhr.status==304) {//上传成功 }
}
};
xhr.onloadend = function(){//无论失败或成功 }
xhr.onerror = function(){
//网络失败 } // 开始上传 xhr.open("POST",'上传地址', true);
xhr.send(data);
} </script>
The above is the detailed content of Detailed explanation of HTML5 image upload examples in Android. For more information, please follow other related articles on the PHP Chinese website!
 what is h5
 How to unlock android permission restrictions
 ie shortcut cannot be deleted
 How to implement h5 to slide up and load the next page on the web side
 How to solve the problem that IE shortcut cannot be deleted
 Is Huawei's Hongmeng OS Android?
 Does Hongmeng OS count as Android?
 A complete list of commonly used public dns


