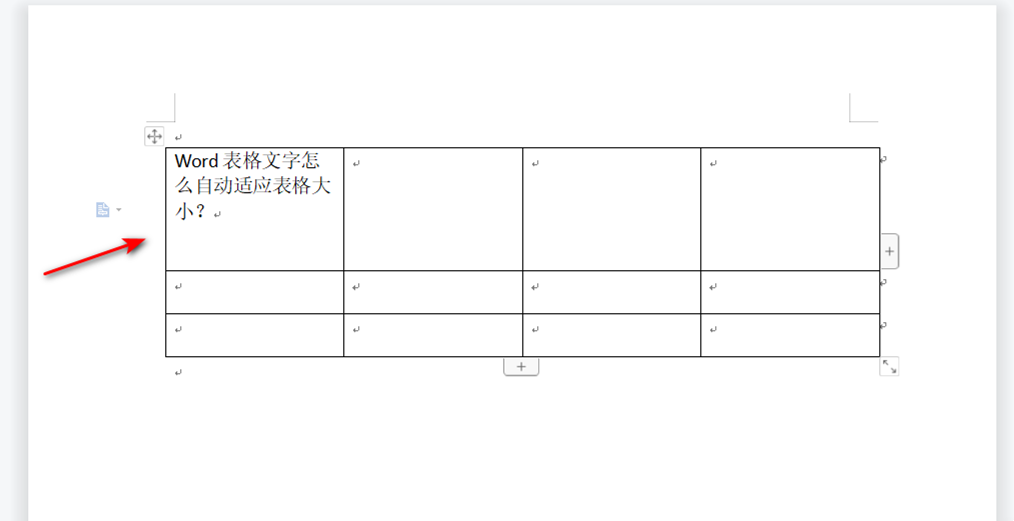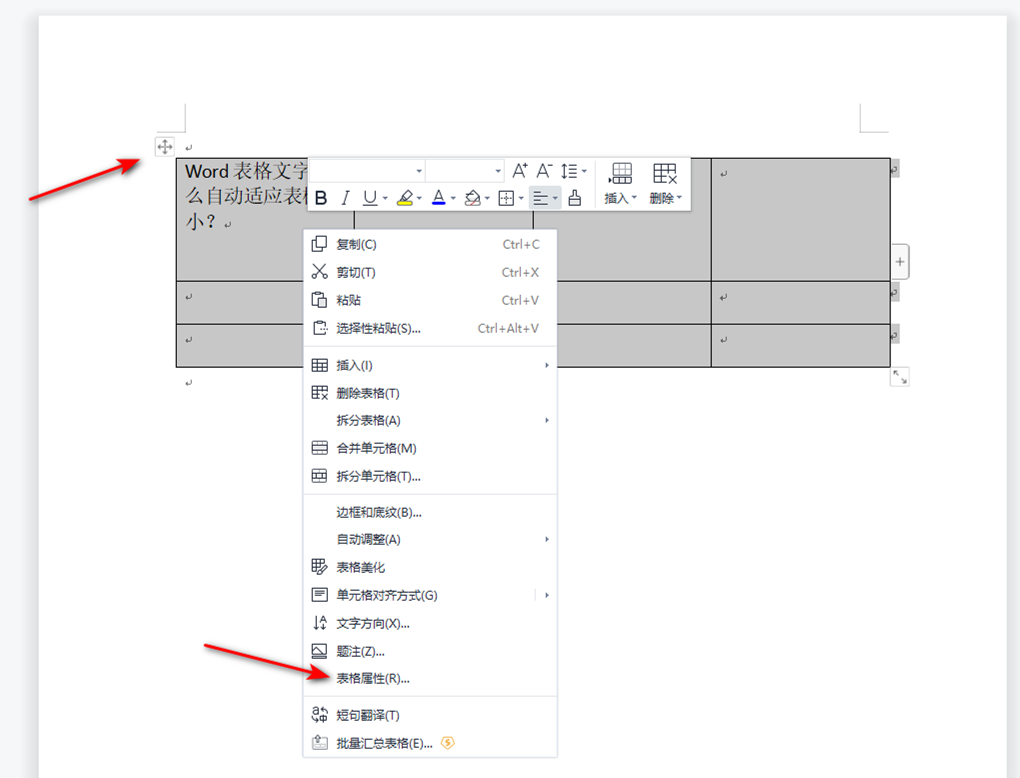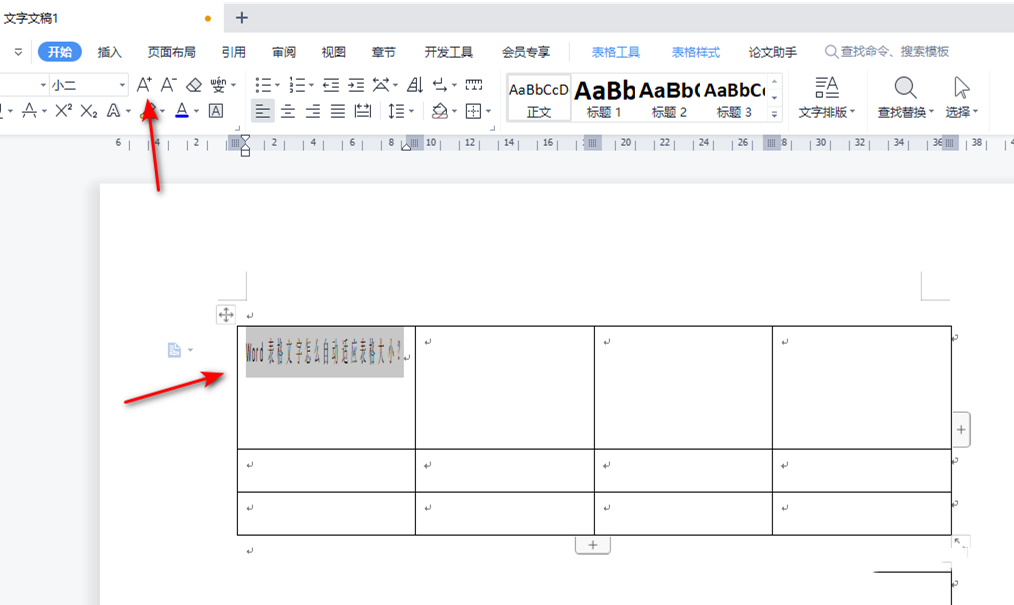
When we use a word document, we need to add a table to the document, but if we enter too much text, it will automatically wrap lines, and the whole thing is not very beautiful. Let this site carefully introduce to users how to set up a Word table to automatically adjust the table size according to the content. How to set up a Word table to automatically adjust the table size based on the content? 1. First, we need to click to open the WPS Word document and enter the page. We need to edit the text in the inserted table. You can see that the text we edit is relatively long, and it will automatically switch to the next line. edit.


The above is the detailed content of How to set up a Word table to automatically adjust the table size based on the content. For more information, please follow other related articles on the PHP Chinese website!
 What to do if the Chinese socket is garbled?
 How to use excel macros
 Problems with your wireless adapter or access point
 How to create a bitmap index in mysql
 What are the characteristics of LAN
 What is the difference between original screen and assembled screen?
 My computer can't open it by double-clicking it.
 java string to number


