
Below are the various HTML list styles explained.
Here the order of display of the content is not something that we need to care about; just we need to place the things well, such that the HTML page makes them placed up in front of the user in a well-formatted and clear way.
There are two tags in HTML language that handle these lists, and likely you can make a navigation bar and vertical sidebar using these tags only.
Now let us see a piece of code for
Example Snippet –
Code:
<html>
<head> HTML Lists </head>
<body>
<h2> list of pizzas <h2>
<ul>
<li style="color:red"> farmhouse </li>
<li style="color:green"> peppy paneer </li>
<li style="color:blue"> onion pizza </li>
</ul>
</body>
</html>
Output:
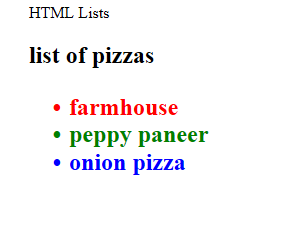
Now will see a case where we are looking to place the students in an ordered manner based on their ranks in class, and this will appear in a sorted manner by using the
For this case, let’s see an example, too, and you need to save this just like done above.
Code:
<html>
<head> HTML Lists </head>
<body>
<h2> list of students <h2>
<ol>
<li style="color:red"> John </li>
<li style="color:green"> Harris </li>
<li style="color:blue"> Plunket </li>
</ol>
</body>
</html>
Output/ HTML page
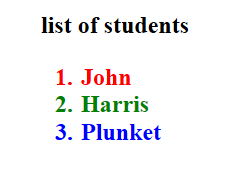
Now let’s see some variants of these where we can customize or well format these lists only by adding some CSS properties into the HTML page, which will make the appearance of the page look better.
Example –
Code:
<html>
<head> HTML Lists </head>
<body>
<h2> list of students <h2>
<ul style="list-style-type:none">
<li style="color:red"> John </li>
<li style="color:green"> Harris </li>
<li style="color:blue"> Plunket </li>
</ul>
</body>
</html>
Output/ HTML page –
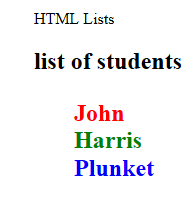
So, the circle bullets no longer exist; you can customize them with the above-provided options.
Similarly, there is a provision to choose whether the order list values will appear with numerals or Romans or alphabets in the order lists.
You can set the property type in
Type: “1”,” A”,” a”,” I”,” i.”
Let’s see Example Code for the same –
Code:
<html>
<head> HTML Lists </head>
<body>
<h2> list of students <h2>
<ol type = "i">
<li style="color:red"> John </li>
<li style="color:green"> Harris </li>
<li style="color:blue"> Plunket </li>
</ol>
</body>
</html>
Output/ HTML page –
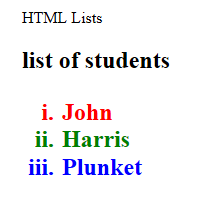
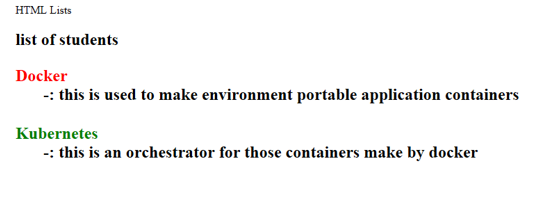
Similarly, we also have description lists where we can define the item against which we need to place a description; let’s say you are making a page where you need to place some definitions against some keywords, then you can choose the description lists.
We have the following tags to handle the same.
– this tag defines the description list
– this tag will give the description term
– this tag carries the description of each term
Example –
Code:
<html>
<head> HTML Lists </head>
<body>
<h2> list of students <h2>
<dl>
<dt style="color:red"> Docker </dt>
<dd> -: this is used to make environment portable application containers </dd>
<br>
<dt style="color:green"> Kubernetes </dt>
<dd> -: this is an orchestrator for those containers make by docker </dd>
</dl>
</body>
</html>
Output/HTML page –
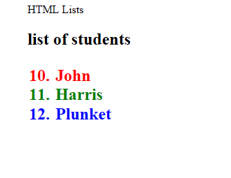
You can also define the start property in the ordered lists in
Code:
<html>
<head> HTML Lists </head>
<body>
<h2> list of students <h2>
<ol type = "1" start="10">
<li style="color:red"> John </li>
<li style="color:green"> Harris </li>
<li style="color:blue"> Plunket </li>
</>
</body>
</html>
Output:
So we saw various lists in which we can place data; this data can be rendered from the model to view using javascript frameworks; what we have shown is a static page, and it can be made dynamic with JS. These lists can be formatted with bootstrap to make them look like navbars or sidebars too.
The above is the detailed content of HTML List Styles. For more information, please follow other related articles on the PHP Chinese website!


