


Passkeys offer a modern, secure way to authenticate users without relying on traditional passwords. In this guide, we’ll walk you throughintegrating passkeys into a Java Spring Boot applicationusing Thymeleaf as the template engine.
We’ll utilize Corbado’s passkey-first UI component to connect to a backend, simplifying the implementation process. This tutorial assumes you have a basic understanding of HTML and Java Spring Boot, and that you have installed the Corbado Java SDK.
See the full original tutorial
Before we begin, ensure your project setup includes the Corbado Java SDK. For this tutorial, we’ll use version 0.0.1 as an example. Add the following dependency to your pom.xml file:
com.corbado corbado-java 0.0.1
Alternatively, if you’re using Gradle, add:
implementation "com.corbado:corbado-java:0.0.1"
To begin, sign up for a Corbado account through the developer panel. During the setup, you’ll configure your project by selecting “Corbado Complete” and choosing “Web app” for your environment. Be sure to provide the Application URL and Relying Party ID, typically set to http://localhost:8080 and localhost, respectively. These settings are crucial for binding passkeys to the correct domain.
Next, generate an API secret from the Corbado developer panel. This will be necessary for backend communications, including user data retrieval.
Clone the Spring Boot starter repository:
git clone https://github.com/spring-guides/gs-spring-boot.git
Within this project, rename HelloController.java to FrontendController.java. This controller will serve HTML files based on user requests. In your application.properties file, store the projectID and apiSecret as environment variables (both can be obtained from the Corbado developer panel).
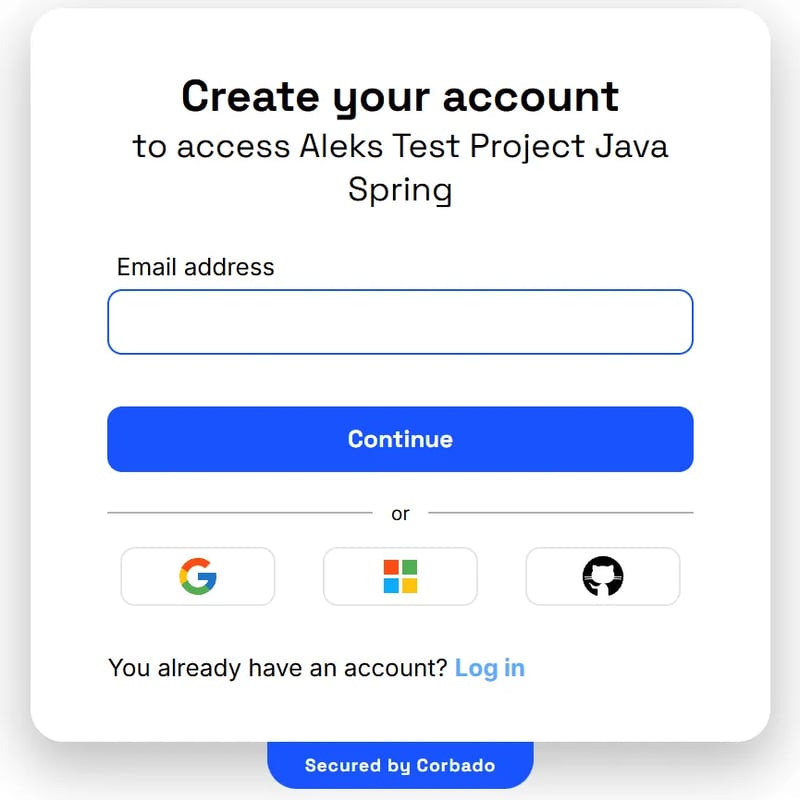
Create an index.html file in the /complete/src/main/resources/templates directory. This file will serve as the login page, embedding the Corbado passkey-first UI component. Here's the basic structure:
In FrontendController.java, define endpoints to handle requests to the login and profile pages. The index() method should render the login page, while the profile() method will validate the user session and display the user profile.
@Controller public class FrontendController { @Value("${projectID}") private String projectID; @Value("${apiSecret}") private String apiSecret; private final CorbadoSdk sdk; @Autowired public FrontendController( @Value("${projectID}") final String projectID, @Value("${apiSecret}") final String apiSecret) throws StandardException { final Config config = new Config(projectID, apiSecret); this.sdk = new CorbadoSdk(config); } @RequestMapping("/") public String index(final Model model) { model.addAttribute("PROJECT_ID", projectID); return "index"; } ...
After successful authentication, the Corbado UI component redirects the user. This page displays information about the user and provides a button to log out. In the templates folder, add a file profile.html with the following content:
:/protected
User ID: [[${USER_ID}]]
Name: [[${USER_NAME}]]
Email: [[${USER_EMAIL}]]
Next, create a profile() method with annotation inside the FrontendController.java:
@RequestMapping("/profile") public String profile() { return "profile"; }
Before we can use information embedded in the session, we need to verify that the session is valid. We therefore take the cbo_short_session cookie (the session) and verify its signature using the session service from the Corbado Java SDK. This can be done with:
final SessionValidationResult validationResp = sdk.getSessions().getAndValidateCurrentUser(cboShortSession);
It takes the cbo_short_session cookie, validates it and returns the UserID and full name of the user.
The final code for the profile mapping looks as follows:
@RequestMapping("/profile") public String profile( final Model model, @CookieValue("cbo_short_session") final String cboShortSession) { try { // Validate user from token final SessionValidationResult validationResp = sdk.getSessions().getAndValidateCurrentUser(cboShortSession); // get list of emails from identifier service List emails; emails = sdk.getIdentifiers().listAllEmailsByUserId(validationResp.getUserID()); // model.addAttribute("PROJECT_ID", projectID); model.addAttribute("USER_ID", validationResp.getUserID()); model.addAttribute("USER_NAME", validationResp.getFullName()); // select email of your liking or list all emails model.addAttribute("USER_EMAIL", emails.get(0).getValue()); } catch (final Exception e) { System.out.println(e.getMessage()); model.addAttribute("ERROR", e.getMessage()); return "error"; } return "profile"; }
To start your Spring Boot application, navigate to the /complete directory and run:
./mvnw spring-boot:run
Visit http://localhost:8080 in your browser to see the login page in action.
This guide demonstrated how to integrate passkeys into a Java Spring Boot application using Corbado. By following these steps, you can implement passwordless authentication efficiently and securely. For more detailed documentation on session management and integrating Corbado into existing applications, refer to the official Corbado documentation.
The above is the detailed content of How to Integrate Passkeys into Java Spring Boot. For more information, please follow other related articles on the PHP Chinese website!


![[Web front-end] Node.js quick start](https://img.php.cn/upload/course/000/000/067/662b5d34ba7c0227.png)


