


You can install Windows 11 on your computer either using a DVD or from a USB drive. While both methods work well, the DVD method is somewhat lengthy and more prone to errors. On the other hand, you can easily create a bootable Windows 11 USB drive and use it to install the OS on your computer.
Its relatively common to face issues on your Windows 11 computer. You can get rid of most of those issues by implementing a few basic fixes, but what happens when you come across a problem that has made your computer totally unusable?
If you've tried all the normal fixes for that issue, the last option left for you is to reinstall Windows. In this situation, if you have a bootable USB drive ready, you can use it to install the operating system, eliminating the need to take your device to a technician to reinstall the operating system.
You can also give your bootable USB drive to your friend if they want to install Windows 11 on a new computer.
In any case, a bootable USB drive is one of the most important tools in your toolbox that you should have ready, because you never know when you'll come across a situation where you'll need it.
The easiest and Microsoft-recommended way to create a bootable USB drive is by using the Media Creation Tool. It's a program by Microsoft that allows you to create a bootable USB drive or DVD that contains the operating system files. To use the Media Creation Tool, first plug in a USB drive to your computer. The USB drive must have at least 8GB of space available.
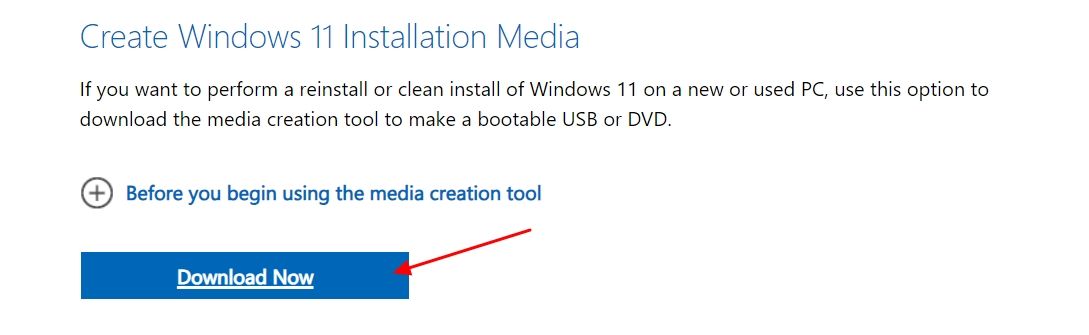
Then, visit the Windows 11 download page, and click the "Download Now" button under the Create Windows 11 Installation Media option. This will download the Media Creation Tool on your computer.
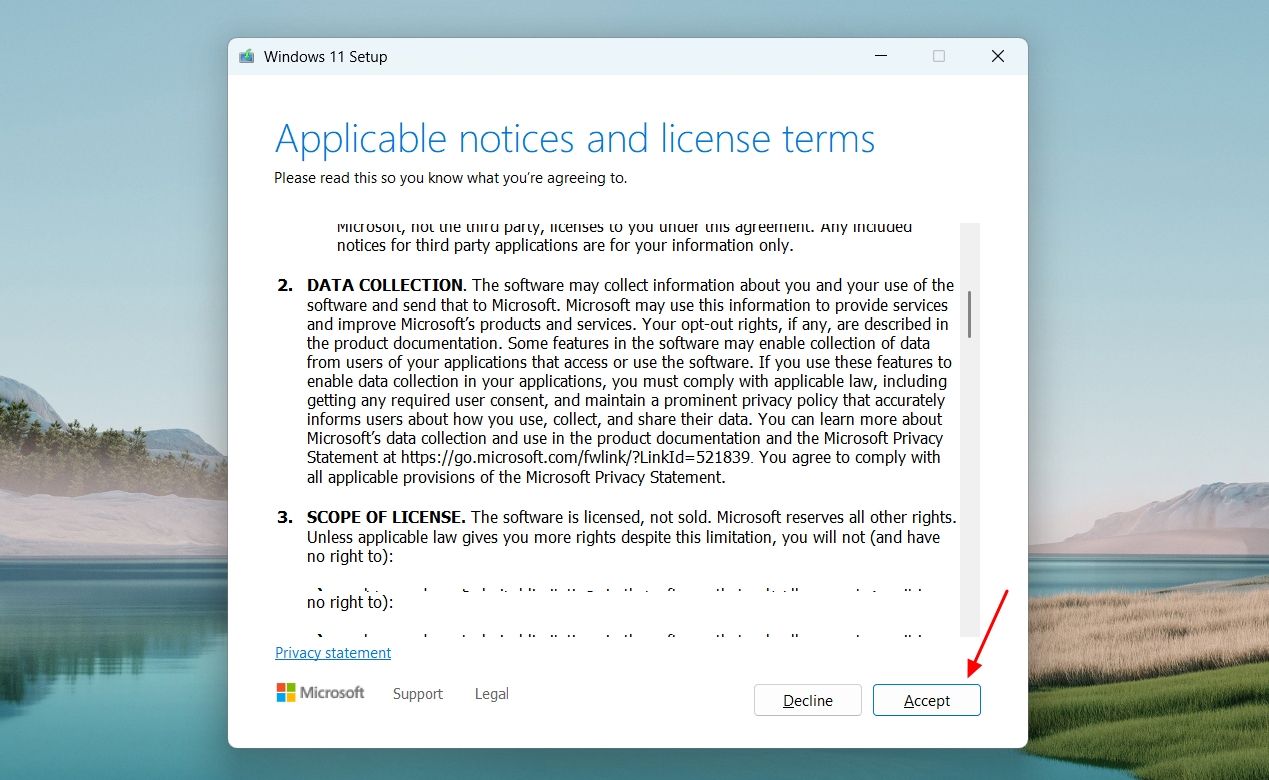
Open the downloaded Media Creation Tool, and click the "Accept" button to accept all the Microsoft terms and conditions.
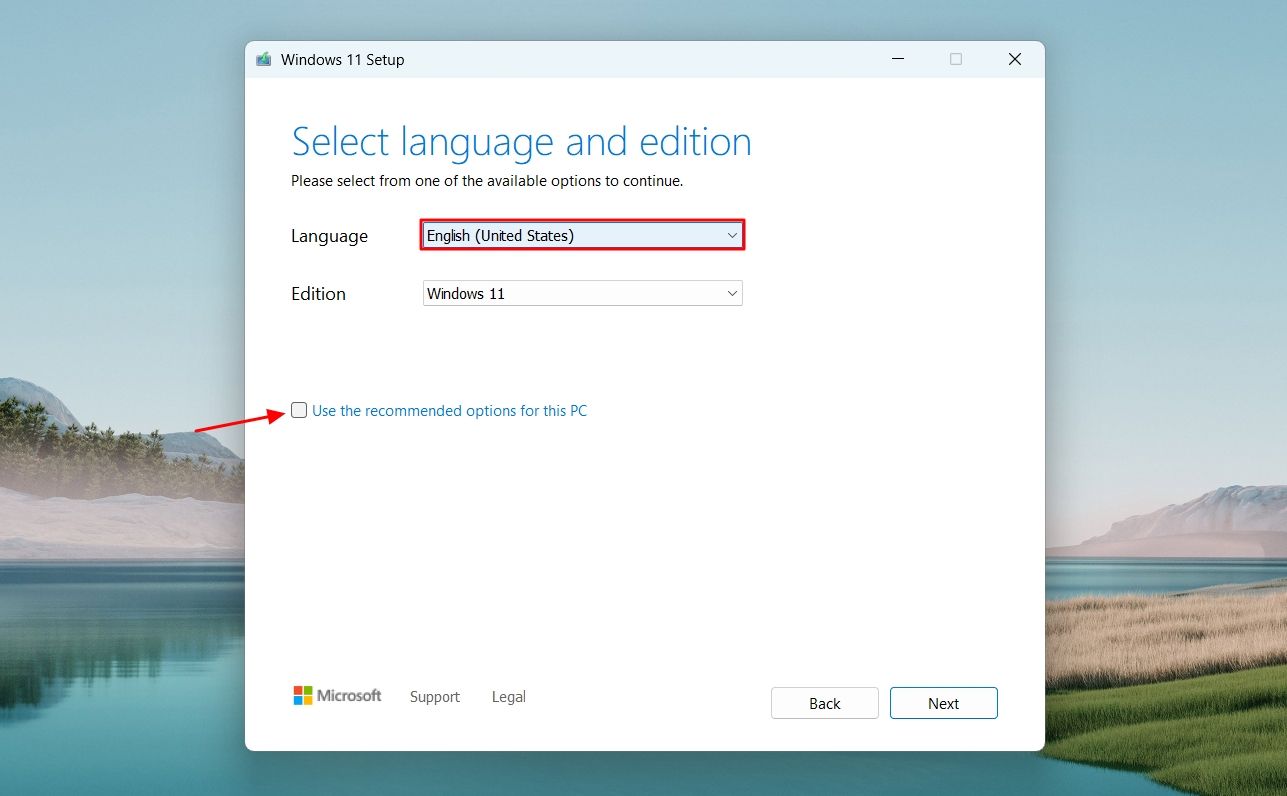
Uncheck the "Use the recommended options for this PC" box, click the "Language" dropdown menu, and choose your preferred language. Then, click "Next."
In the Choose which media to use window, select the “USB Flash Drive” option and click "Next."

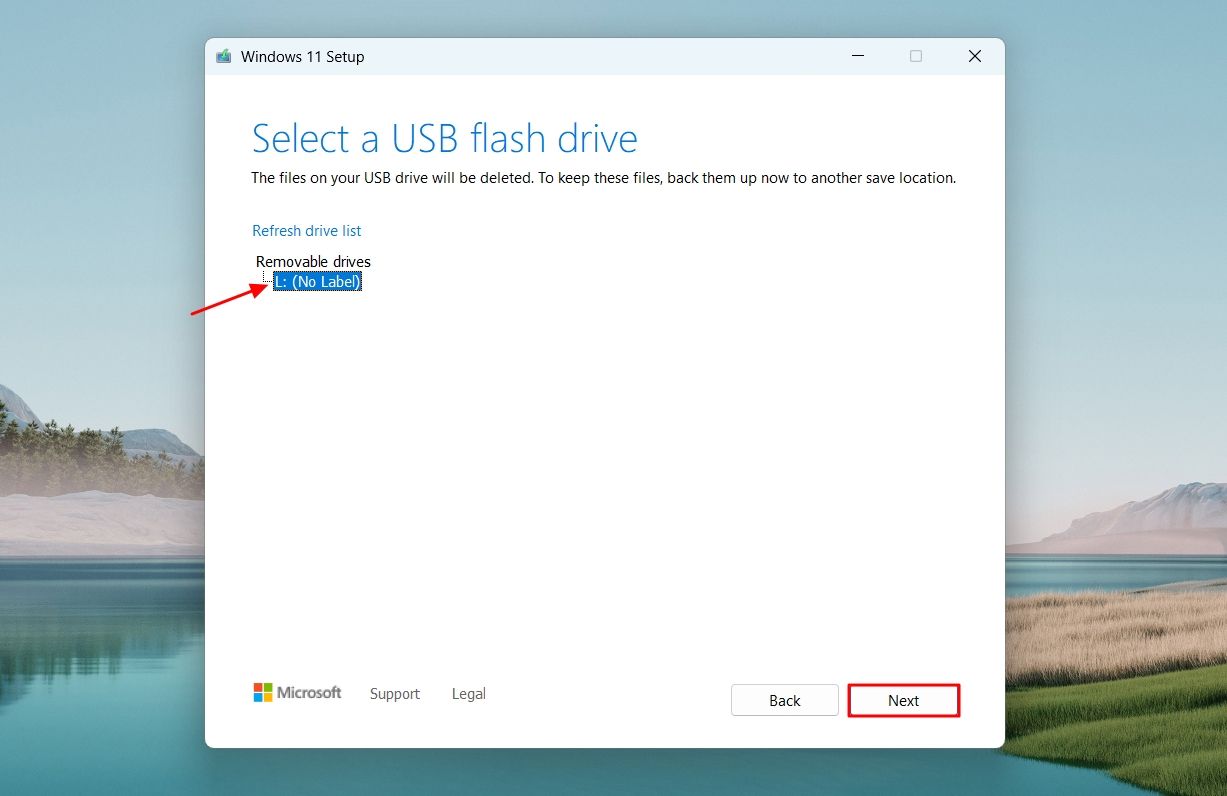
Select your USB drive. You can click the “Refresh Driver List” option if your USB drive is not listed. Then, click the “Next” option.
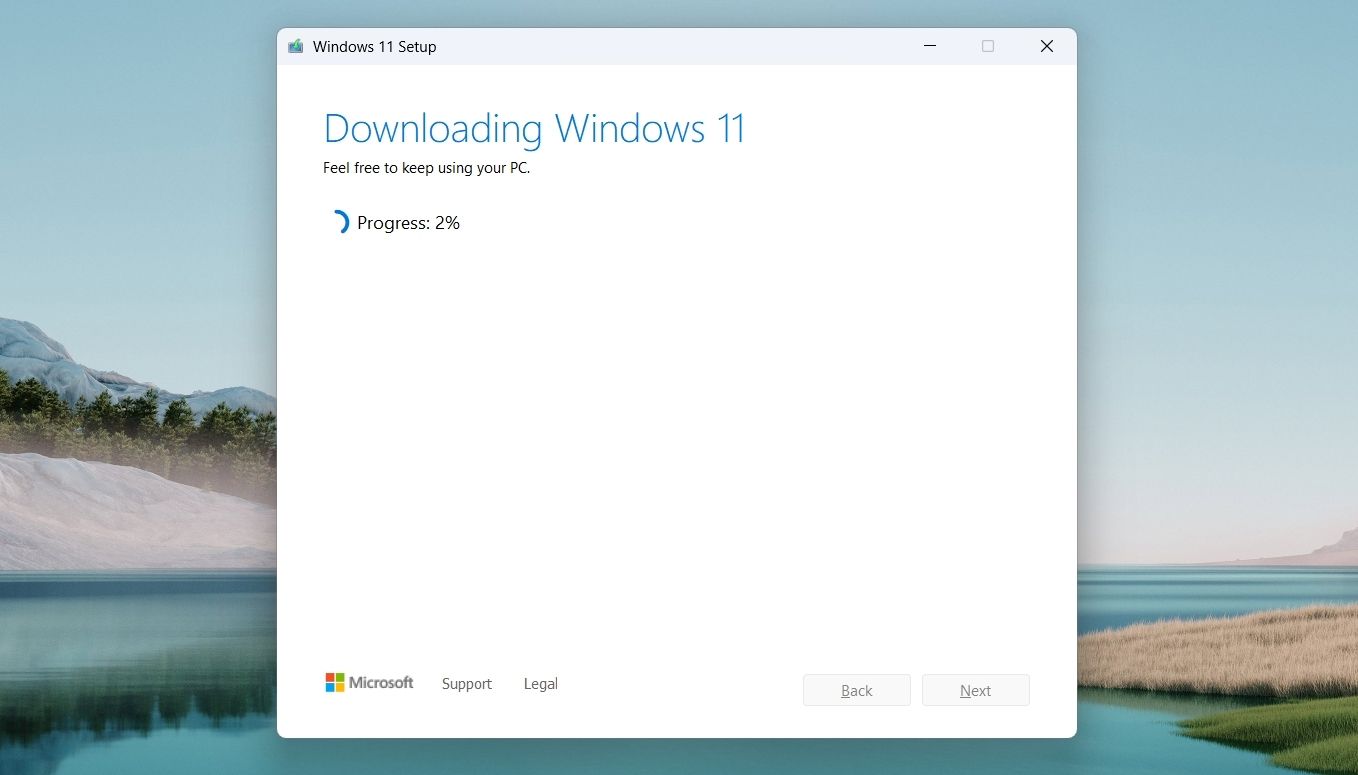
The Media Creation Tool will then download and set up a Windows 11 installer on your USB Drive. The process is going to take some time, depending on your internet speed.
Once your USB flash drive is ready, click the "Finish" option to close the window.
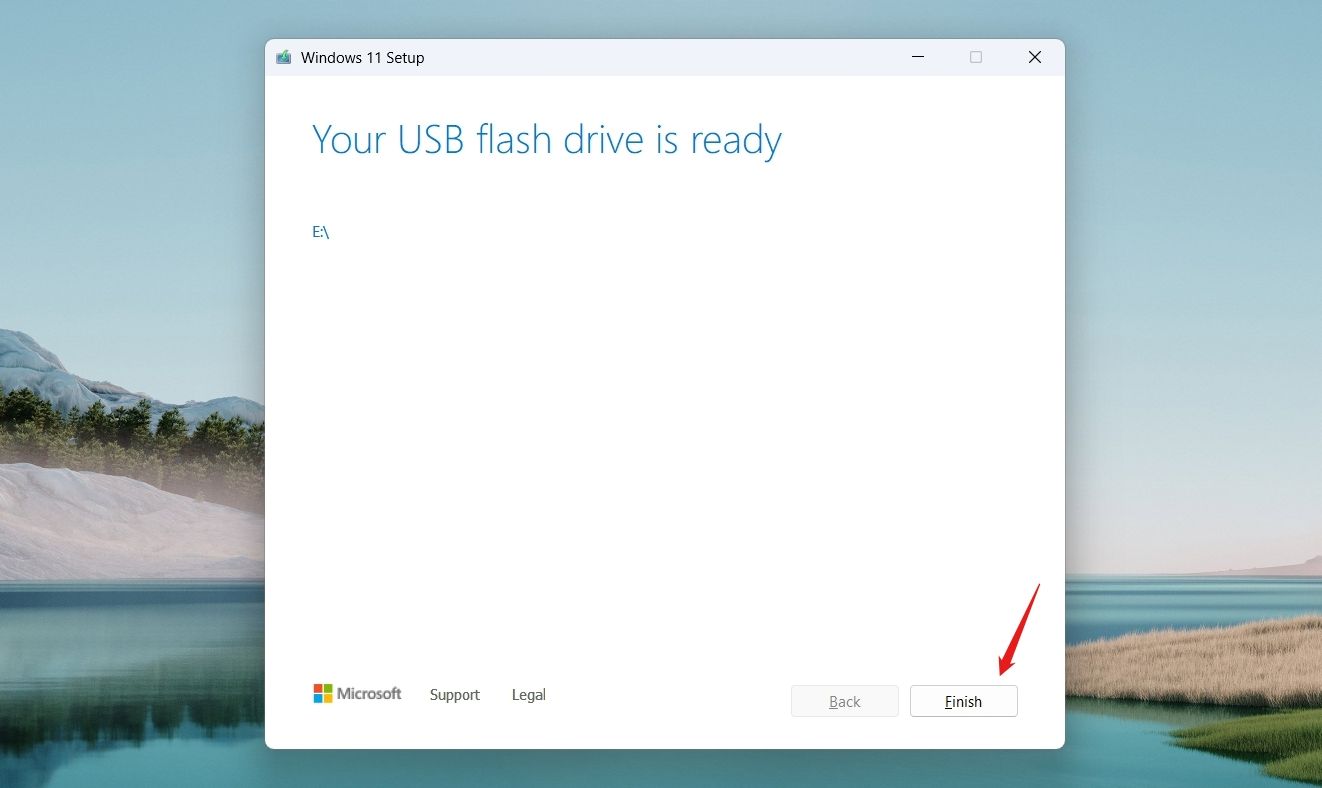
You can now use the USB drive to install Windows 11 on a computer.
Rufus is a free and open-source utility that allows you to create a bootable USB flash drive for any operating system, including Windows 11. However, to use this tool, you will need to have the Windows 11 ISO file downloaded to your computer. You can get the Windows 11 ISO file from the Microsoft website.
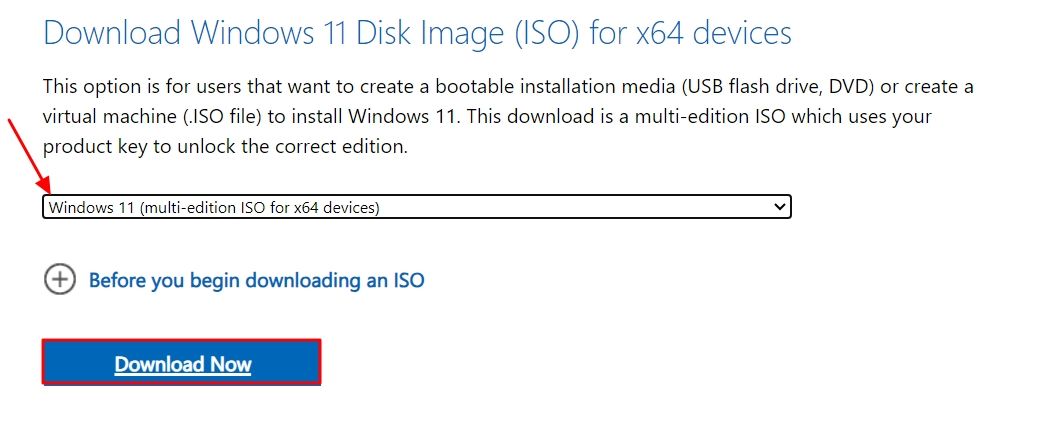
To do this, visit the Windows 11 download page, click the drop-down arrow under the Download Windows 11 Disk Image (ISO) section, and select the "Windows 11 (Multi-Edition ISO)" option. Then, click the "Download Now" button.
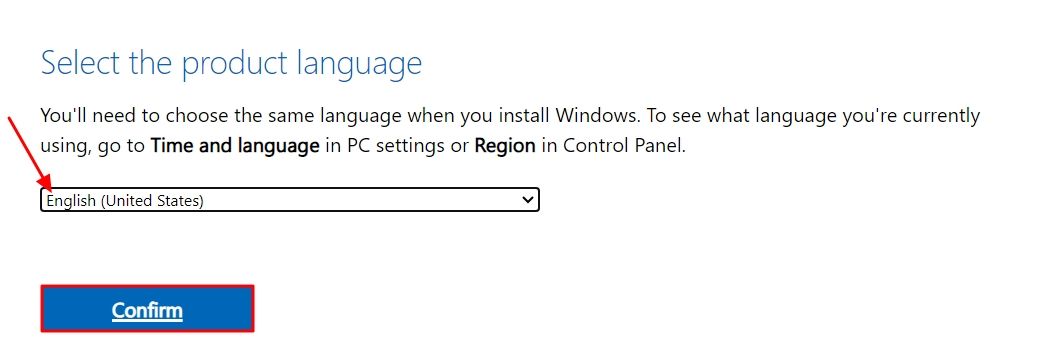
Choose your preferred language from the language drop-down menu, then click "Confirm."
Click the "Download" button to begin downloading the file. The ISO file is approximately 7GB in size, which may take some time to download, depending on your connection speed.

Once you have the Windows 11 ISO file, visit the Rufus official website and download its latest version. Make sure you select the link labeled "Standard" under the Type section.

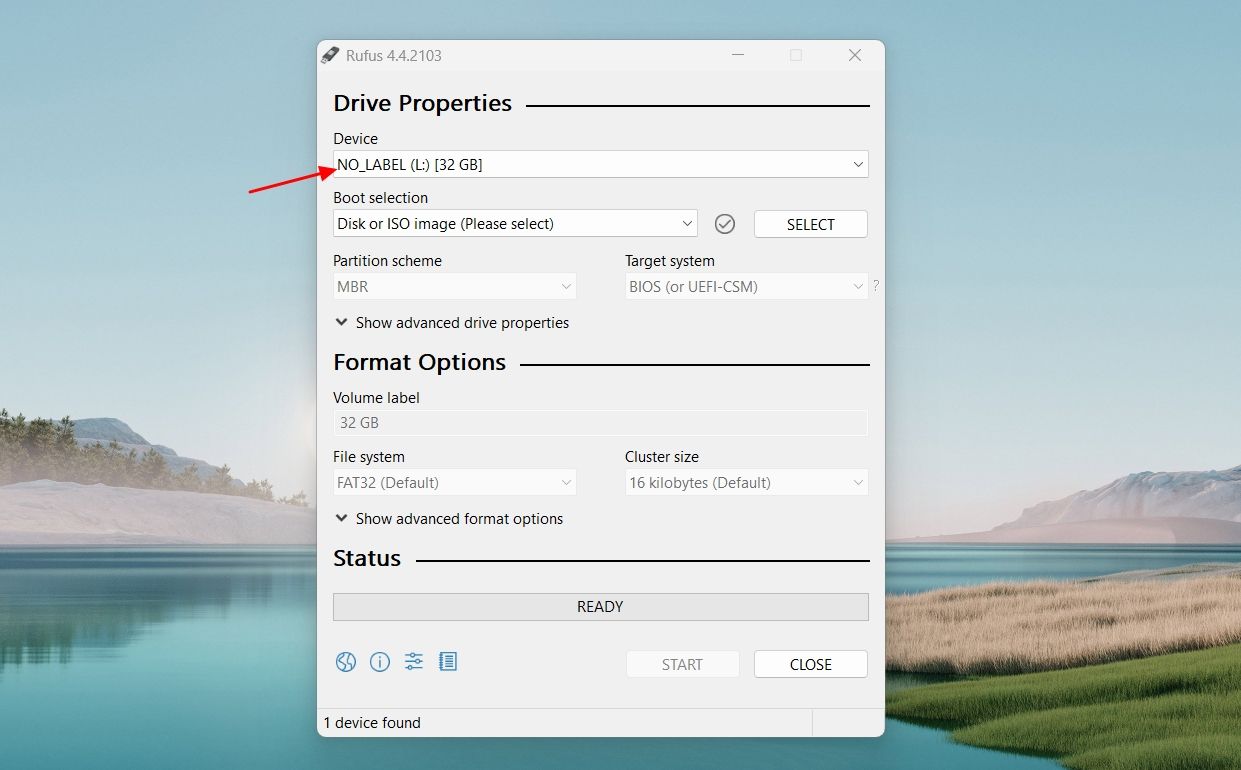
After downloading the Rufus app, open it, click the drop-down arrow for the "Device" option, and choose your USB device.
Select "Disk or ISO image" from the Boot selection drop-down menu, then click the "Select" button next to it.
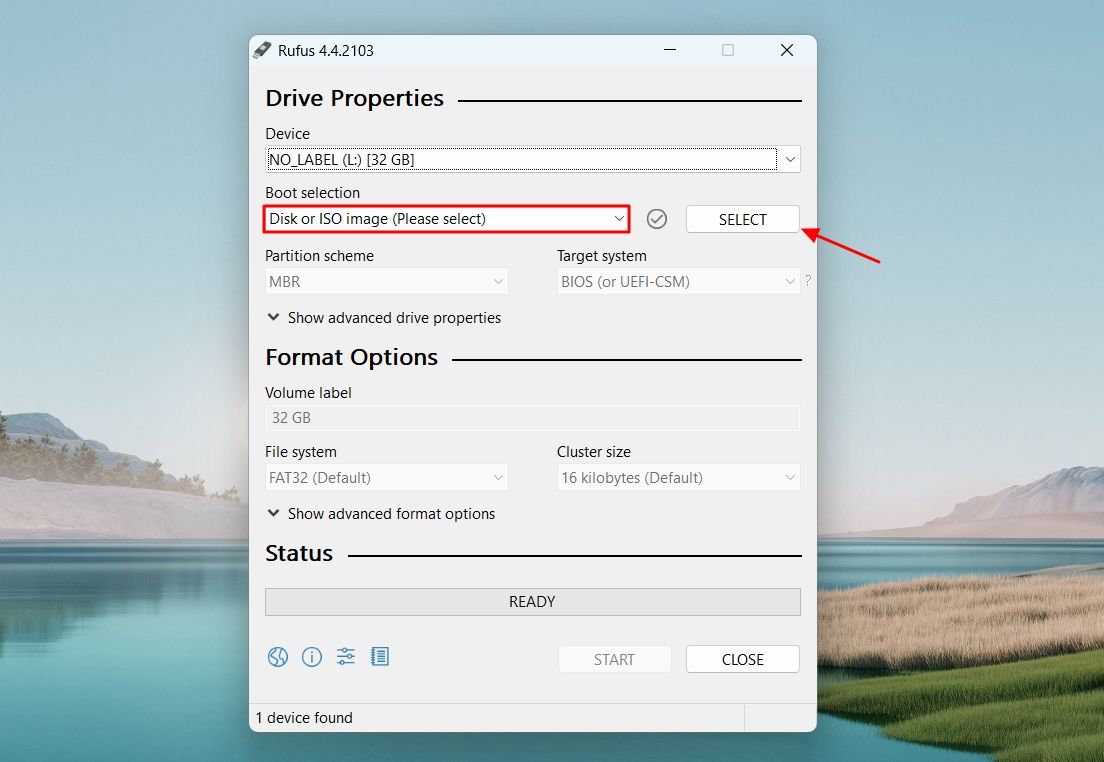
Choose the Windows 11 ISO file you just downloaded and click "Open."

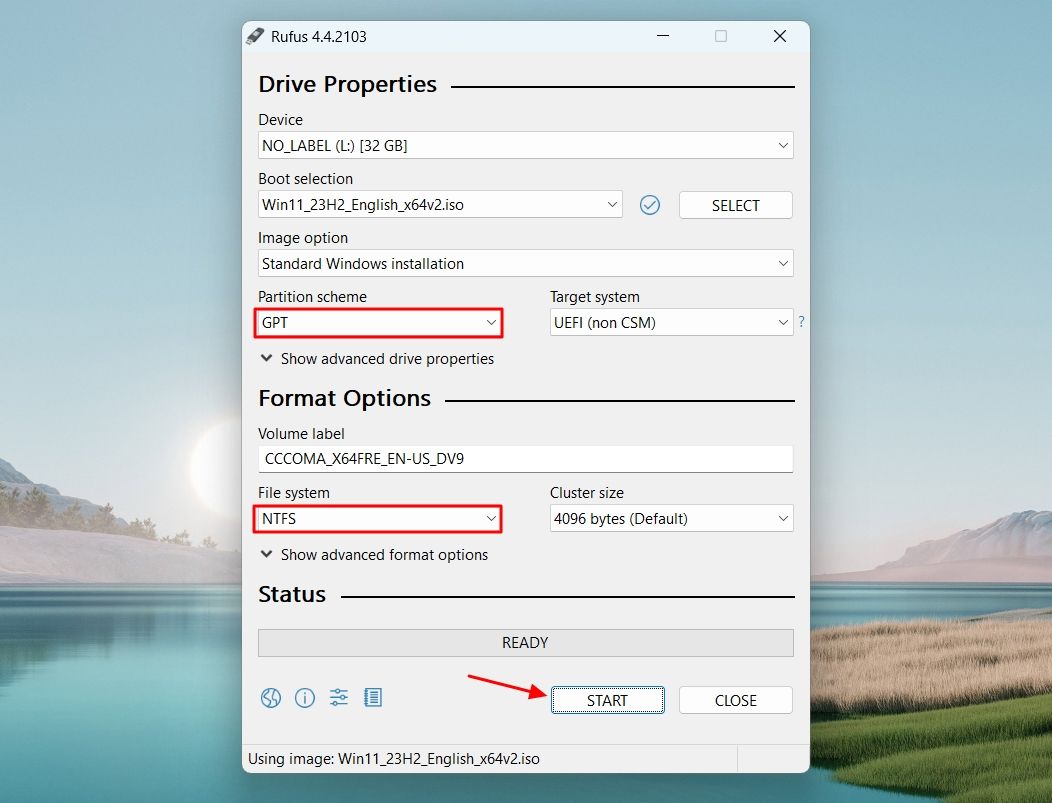
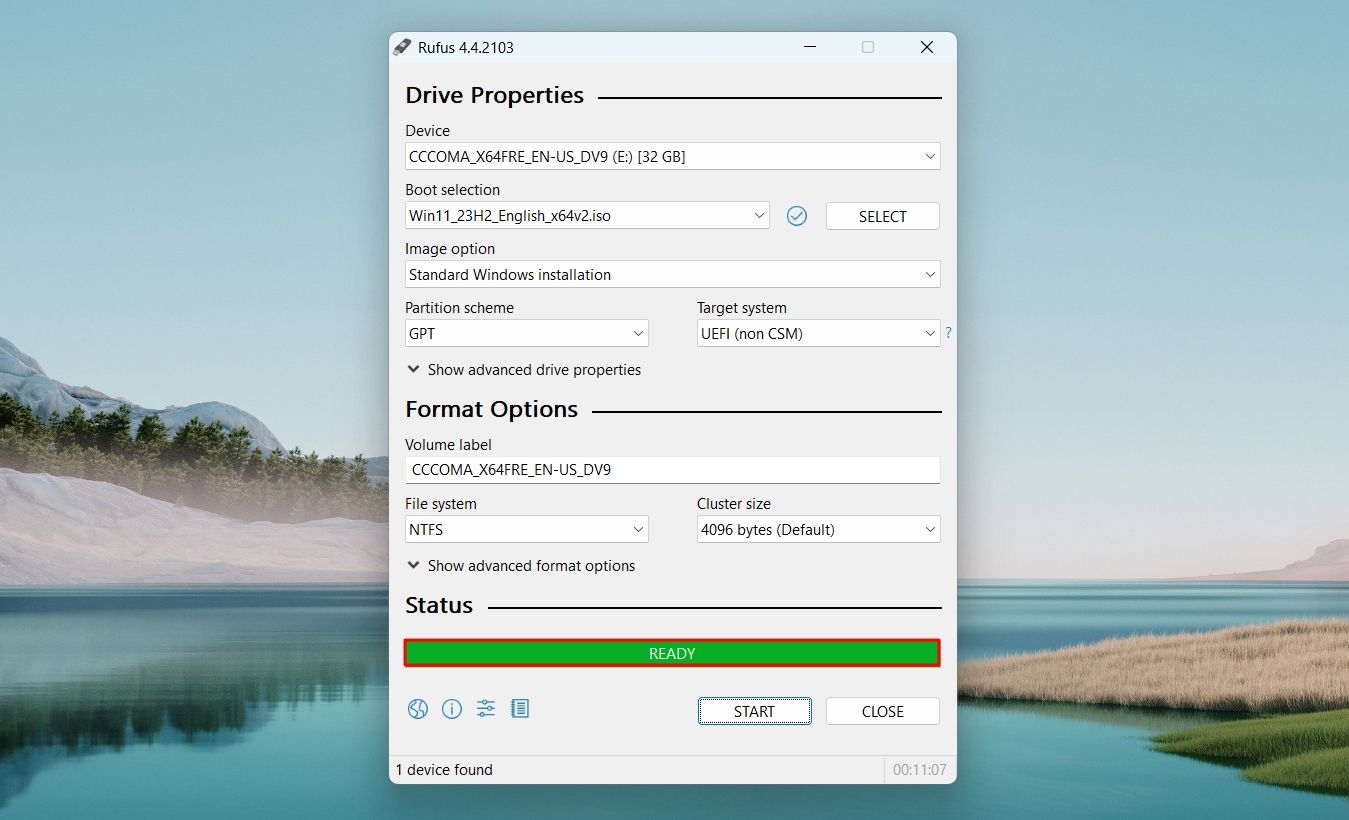
Make sure the Partition Scheme is set to "GPT" and File System is set to "NTFS." Then, click "Start."
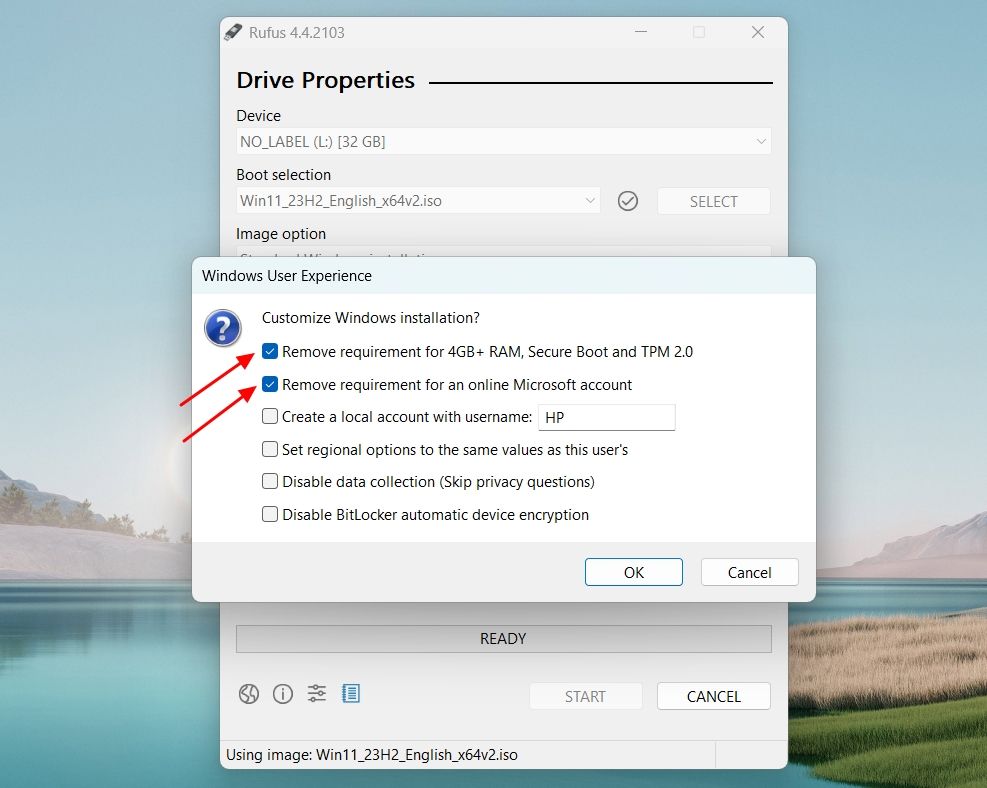
In the Windows User Experience window, check the boxes next to "Remove requirement for 4GB+ RAM, Secure Boot, and TPM 2.0" and "Remove Requirement for an Online Microsoft Account." Then, click "OK."
Click "Yes."
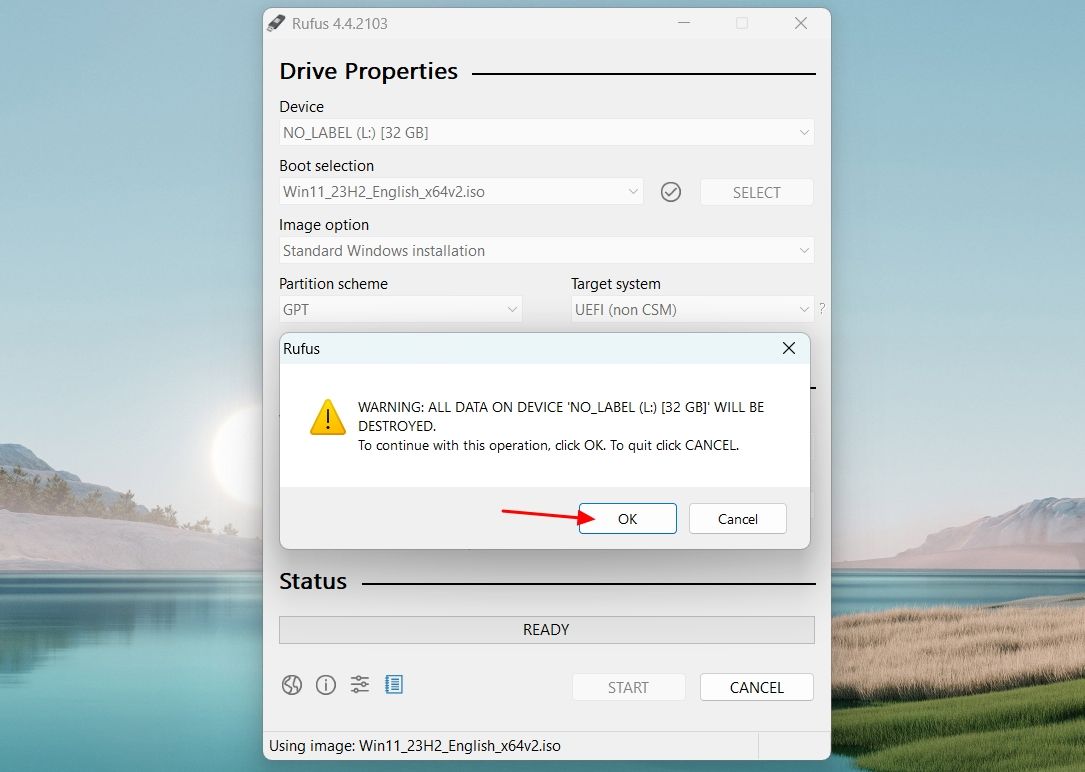
Click "OK" to grant Rufus permission to delete all data present on your USB drive and turn it into a bootable Windows 11 drive.
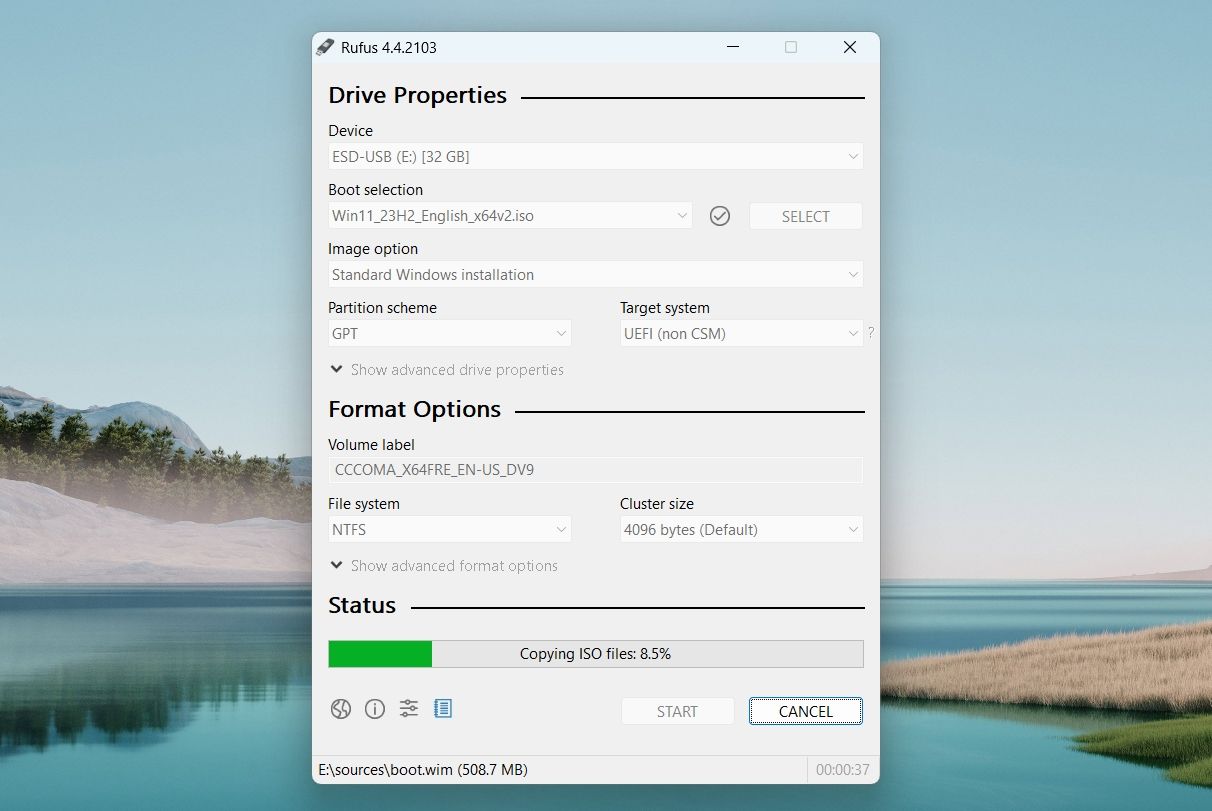
Rufus will initiate the process, and you can monitor the progress under the Status section.
Once the process is complete, you will see the Ready message with a green background under the Status section.
You should always prefer the Media Creation Tool or the Rufus method to create a bootable USB drive. However, if both of these methods fail to work, you can use Command Prompt to create a bootable USB drive. To do this, first, make sure you have the Windows 11 ISO file on your computer.
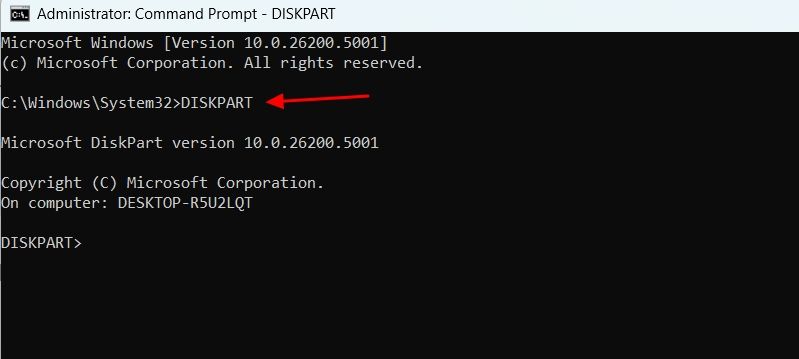
Next, open Command Prompt as an administrator, type DISKPART and hit Enter.
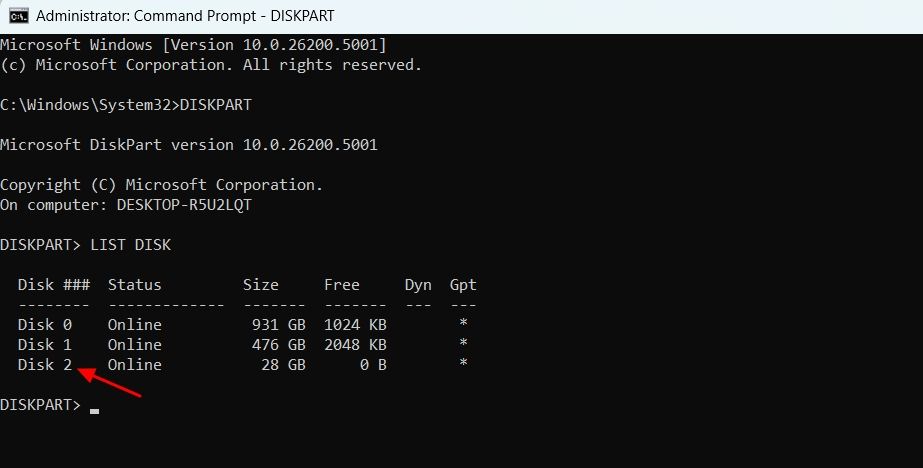
Then, type LISTDISK and hit Enter. This will list all the storage devices connected to your computer.
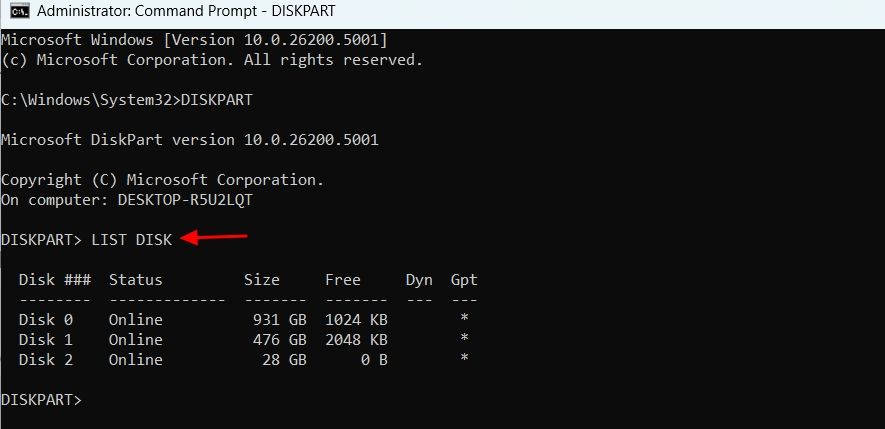
Note the disk number of your USB drive. In our case, it’s DISK 2.
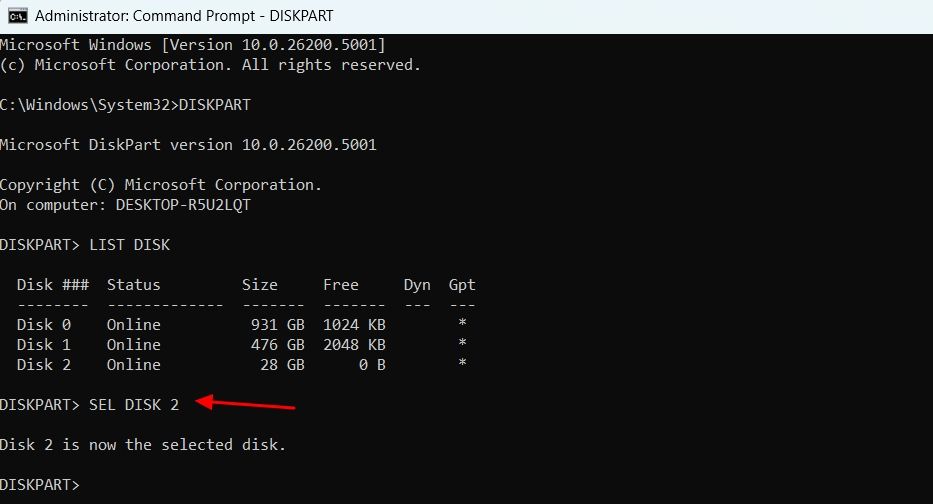
Type SEL (YourDisk) and hit Enter to select your USB drive.
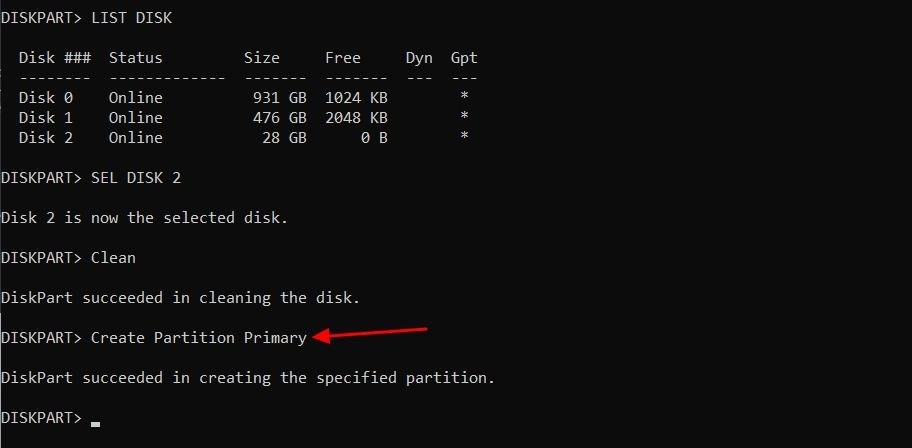
You will now have to clean the drive. For this, type Clean and hit Enter.

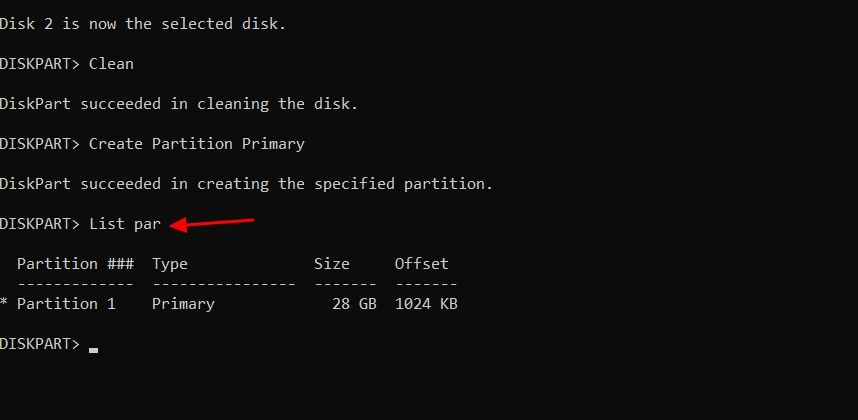
Next, type the following command and hit the Enter key to create a primary partition:
<code class="hljs sql">CreatePartition Primary</code>
Type List par and press Enter to choose the main partition.
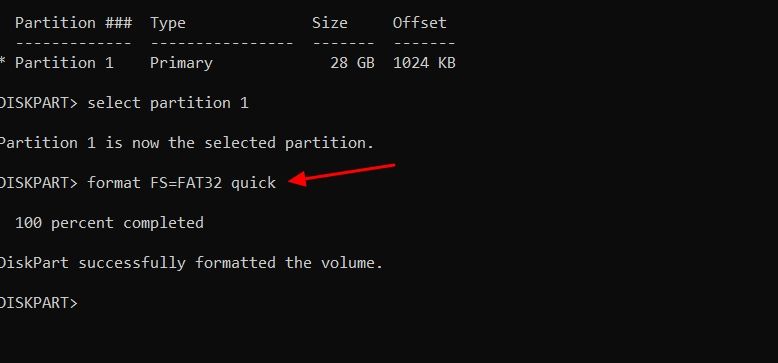
You’ll now have to format the USB drive. For this, type the following command and hit Enter:
<code class="hljs ">format FS=FAT32 quick</code>
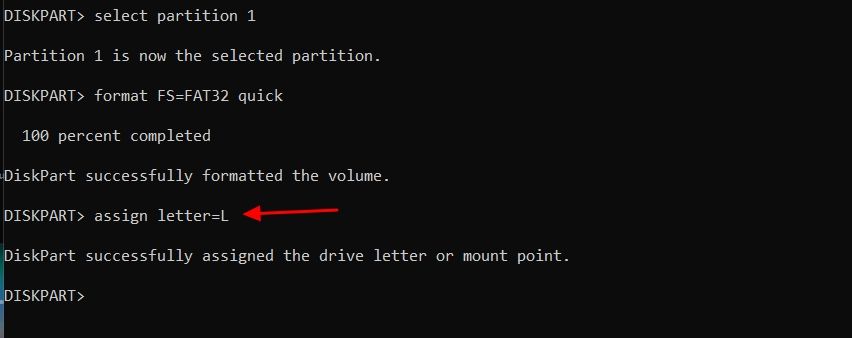
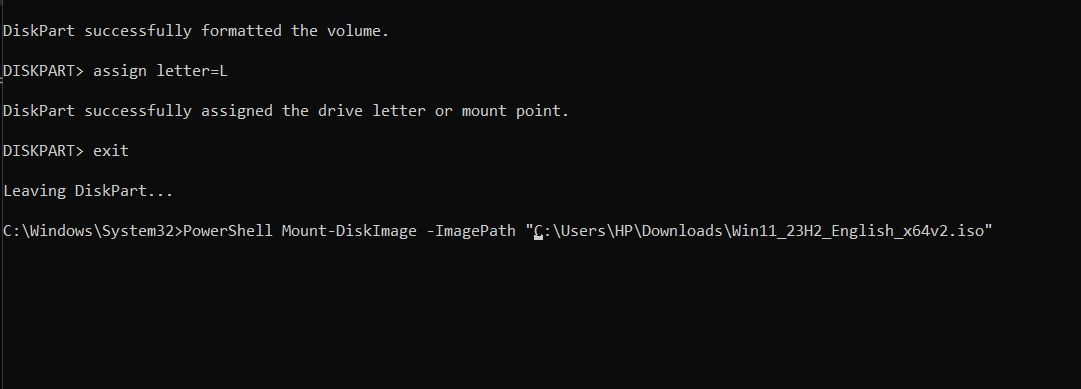
Now, you need to assign a volume letter to the USB drive. To do this, type the following command and press Enter.
<code class="hljs ">assign letter=(Letter)</code>
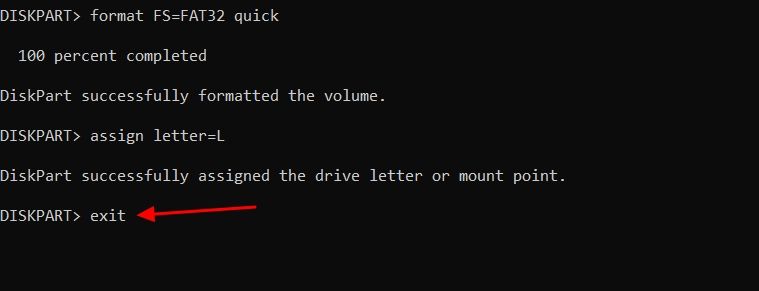
Type exit and hit Enter to exit the Diskpart utility.
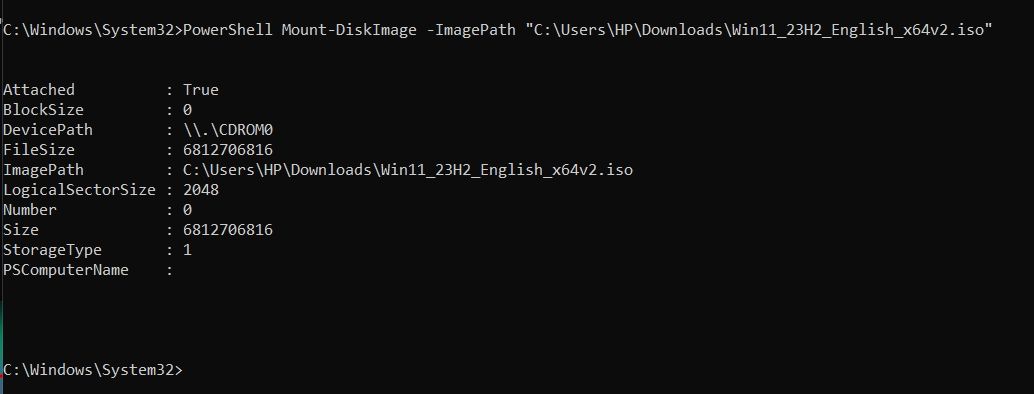
You’ll now have to mount the Windows 11 ISO file. For this, execute the following command:
<code class="hljs xml">PowerShell Mount-DiskImage -ImagePath "ISO_FIle_Location"</code>
After the mounting process is complete, restart the Command Prompt window with administrative rights.
Type DISKPART and hit Enter. After that, execute the List Volume command. This will show the mounted volume (DVD-ROM). Note down the "Ltr" of the mounted volume, as you’ll need it later. In our case, it’s “E.”

Type exit and hit Enter to get out of the Diskpart utility.
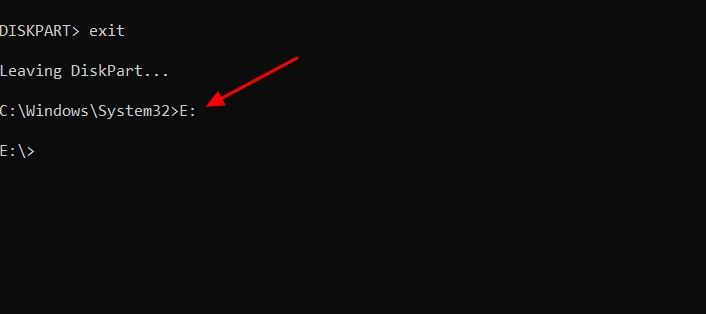
Then, type the mounted volume letter followed by the colon sign. For instance, if the volume letter is E, then the command will look like:
<code class="hljs ">E:</code>
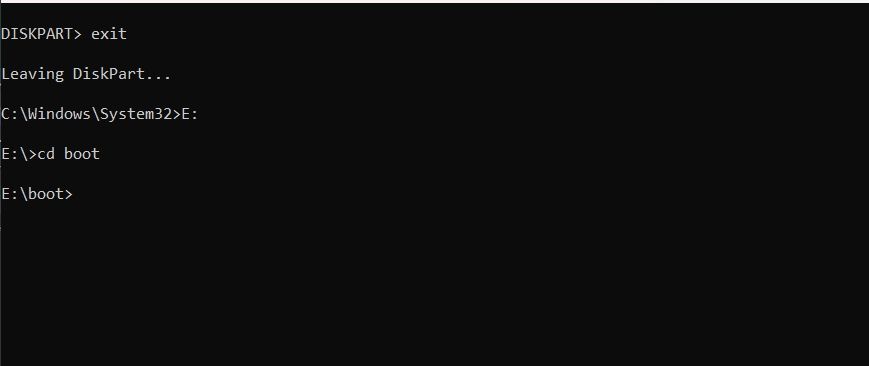
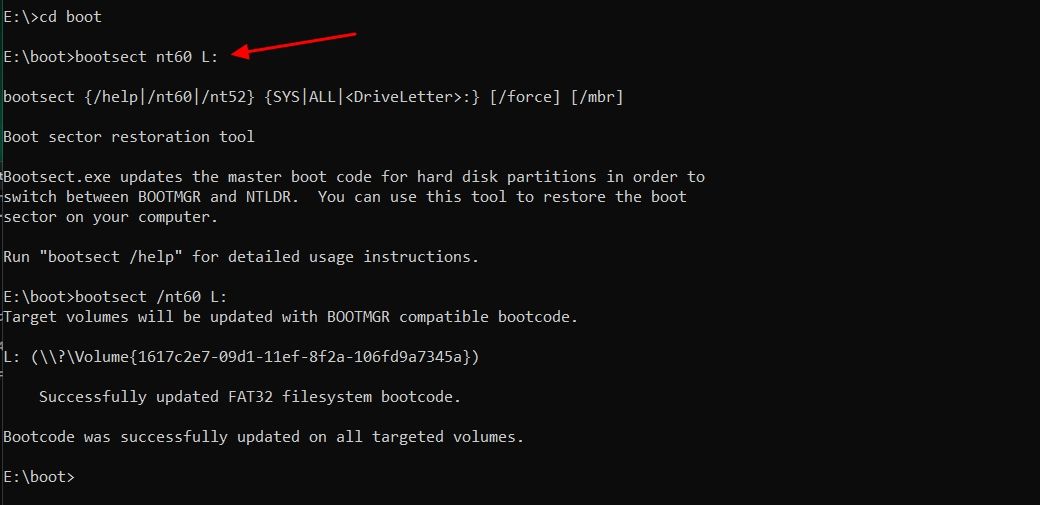
Type cdboot and hit Enter.
After that, type the following command and press Enter:
<code class="hljs ">bootsect /nt60 (USB_Letter)</code>
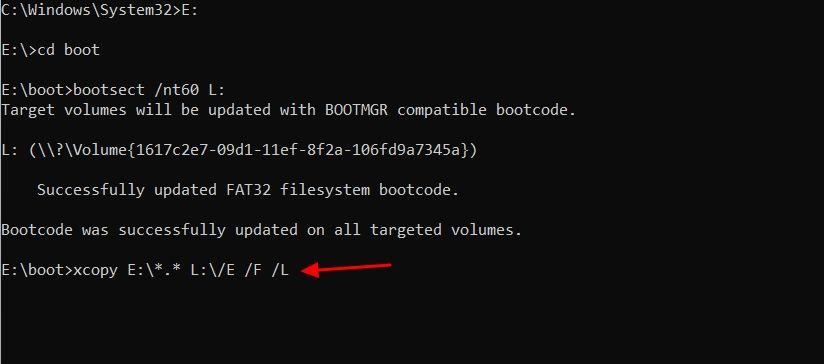
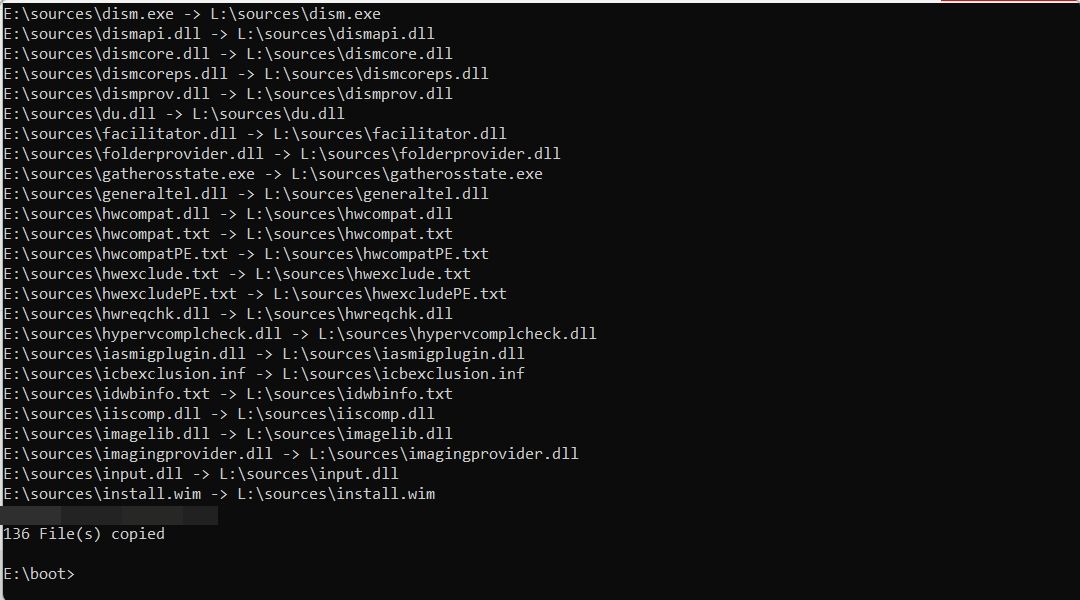
Next, you will have to copy the Windows 11 system files to your USB flash drive. For this, execute the following command. Make sure to replace “E:” and “L:” with your mounted ISO volume and USB Drive letter, respectively.
<code class="hljs ">xcopy E:*.* L:/E /F /H</code>
The process is going to take around 10 minutes to complete. Once it is done, you can use your USB bootable drive to install Windows 11.
These were all the methods to make a bootable Windows 11 USB. Just as a reminder, the Media Creation Tool should always be your preferred method for creating the bootable USB drive. In case it doesn't work, the Rufus method is a good alternative. And in the worst-case scenario, if neither of these methods were helpful or you prefer not to use a third-party application (Rufus), you can use the Command Prompt method.
The above is the detailed content of Don\'t Wait for an Emergency, Here\'s How to Create a Bootable Windows 11 USB Drive Now. For more information, please follow other related articles on the PHP Chinese website!


![[Web front-end] Node.js quick start](https://img.php.cn/upload/course/000/000/067/662b5d34ba7c0227.png)


