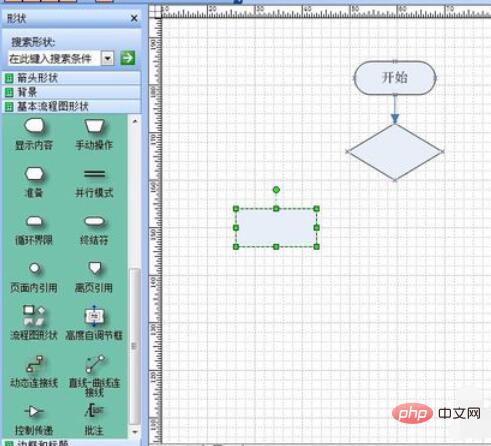
Confused about how to draw a beautiful flow chart? Microsoft Office Visio 2003 is a professional flow chart drawing tool. Mastering it will allow you to easily cope with various flow chart drawing needs. This article is carefully compiled by PHP editor Shinichi. Through detailed graphic tutorials, we will take you step by step to understand the powerful functions of Visio 2003, from creating the basics of flowcharts to drawing complex graphics, allowing you to easily draw professional-level processes. picture.
First open the software and find the logo of the flow chart.

Click on the flow chart, we may find that the drawing interface is relatively small. At this time, we can adjust the size of the interface at the location indicated in the picture.

Select our commonly used start, end and other icons on the left. Double-click the icon to add text, or right-click to add text.

The direct connection line between the two processes. If the top and bottom are almost aligned, we can directly choose a straight line. If the position is biased, we can choose a dynamic connection.

After drawing the diagram, we left-click to select the area of the drawn flow chart and press Ctrl+c to copy it.

After copying the flow chart, select the area you want to paste and just paste it. The drawn flow chart will not have additional frames, and if you need to modify it, you can make simple modifications by double-clicking it, which is very convenient.

The above is the detailed content of Detailed tutorial on microsoft office visio 2003 flowchart drawing. For more information, please follow other related articles on the PHP Chinese website!


