

这篇文章主要介绍了phpmailer绑定邮箱的实现方法,结合实例形式较为详细的分析了phpmailer绑定邮箱的配置、功能实现与相关操作技巧,需要的朋友可以参考下
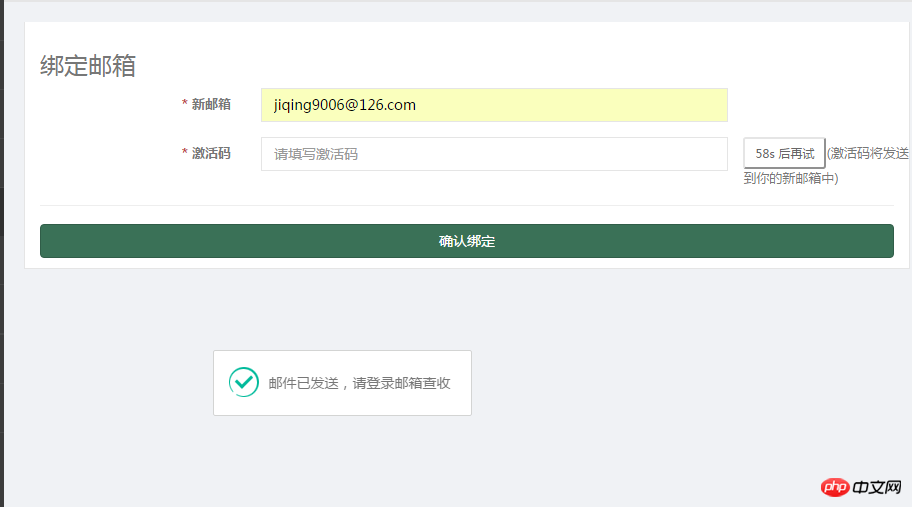
效果如下:

1.配置
<?php
return array (
'email_host' => 'smtp.aliyun.com',
'email_port' => '25',
'email_username' => 'diandodo@aliyun.com',
'email_password' => 'xxxxxx',
'email_from' => 'diandodo@aliyun.com',
'email_fromname' => '点多多',
'email_subject' => '助店宝商户激活邮箱',
'email_body' => "尊敬的用户{$username}您好:
您的激活码为<font color='red'>{$code}</font>,请将激活码输入进行验证! 激活码有效期为6分钟^_^",
);2.发送函数
// 发送邮件
private function _sendEmail($email,$code,$username = '') {
import('@.ORG.phpmailer');
$mail = new PHPMailer(); //建立邮件发送类,类名不一定与引入的文件名相同
$mail->CharSet = "UTF-8";
$mail->IsSMTP(); // 使用SMTP方式发送
$mail->Host = C('email_host'); // 您的企业邮局域名
$mail->SMTPAuth = true; // 启用SMTP验证功能
$mail->Username = C('email_username'); // 邮局用户名(请填写完整的email地址)
$mail->Password = C('email_password'); // 邮局密码
$mail->Port=C('email_port');
$mail->From = C('email_from'); //邮件发送者email地址
$mail->FromName = C('email_fromname');
$mail->AddAddress("$email", "$username");
$mail->IsHTML(true); // set email format to HTML //是否使用HTML格式
$mail->Subject = C('email_subject'); //邮件标题
$email_body = "尊敬的用户<strong>{$username}</strong>您好:
您的激活码为<font color='red'>{$code}</font>,请将激活码输入进行验证! 激活码有效期为6分钟^_^";
$mail->Body = $email_body; //邮件内容,上面设置HTML,则可以是HTML
if(!$mail->Send())
{
return array('status'=>2,'info'=>$mail->ErrorInfo);
} else {
return array('status'=>1,'info'=>'发送成功');;
}
}3.生成验证码保存到session中,并发送
// 发送邮箱激活码
public function sendActivationcode() {
    session($this->activationtime, null);
    $activationtime = session($this->activationtime);
    $email = $this->_post('email', 'trim');
    if (IS_AJAX && (!$activationtime || time() > $activationtime)) {
      $activationcode = rand(1000, 9999);
      $res = $this->_sendEmail($email,$activationcode,$this->user['username']);
      if($res['status'] == 1) {
        //设置发送限制时间
        session($this->activationtime, time() + 50);
        session($this->activationcode, array('code' => $activationcode, 'time' => time() + 600));
        $this->ajaxReturn(array('result' => true));
      } else {
        //发送失败写入日志文件
        $log = date('Y-m-d H:i:s') . " 发送失败:{$res['info']}" . PHP_EOL;
        file_put_contents(RUNTIME_PATH . 'Log/activationcode.log', $log, FILE_APPEND);
        $this->ajaxReturn(array('result' => false, 'error' => $res['info']));
      }
    } else {
      $this->ajaxReturn(array('result' => false, 'error' => '错误的请求'));
    }
}4.验证并绑定
// 绑定邮箱
public function bind_email() {
    if (IS_POST) {
      // 获取验证码
      $activationcode = $this->_post('activationcode','trim');
      $email = $this->_post('email','trim');
      $session_activationcode = session($this->activationcode);
      if (time() > $session_activationcode['time'] || $activationcode != $session_activationcode['code']) {
        $this->error('验证码有误');
      } else {
        M('User')->where(array('id'=>$this->user['id']))->save(array('email'=>$email));
        $this->success('绑定成功',U('Account/my'));
      }
    } else {
      $this->display();
    }
}以上就是本文的全部内容,希望对大家的学习有所帮助。
相关推荐:
Das obige ist der detaillierte Inhalt vonphpmailer实现绑定邮箱的方法. Für weitere Informationen folgen Sie bitte anderen verwandten Artikeln auf der PHP chinesischen Website!
 So öffnen Sie eine PHP-Datei
 So entfernen Sie die ersten paar Elemente eines Arrays in PHP
 Was tun, wenn die PHP-Deserialisierung fehlschlägt?
 So verbinden Sie PHP mit der MSSQL-Datenbank
 So verbinden Sie PHP mit der MSSQL-Datenbank
 So laden Sie HTML hoch
 So lösen Sie verstümmelte Zeichen in PHP
 So öffnen Sie PHP-Dateien auf einem Mobiltelefon


