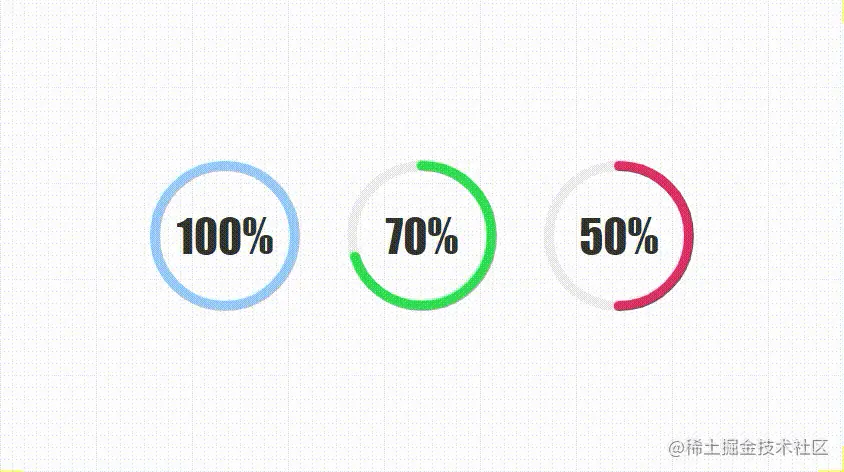
本篇文章给大家详细介绍一下如何用svg去开发一个环形进度条vue2组件,希望对大家有所帮助!

普通的矩形进度条我们通过div+css很容易就可以实现,而环形的就有点麻烦,当然他也可以用div+css通过背景属性或者clip属性配合css3变量做障眼法去实现,但是过于复杂而且兼容和控制起来都比较麻烦,所以,达到最佳效果我们还是去使用svg实现吧。【相关推荐:《vue.js教程》】
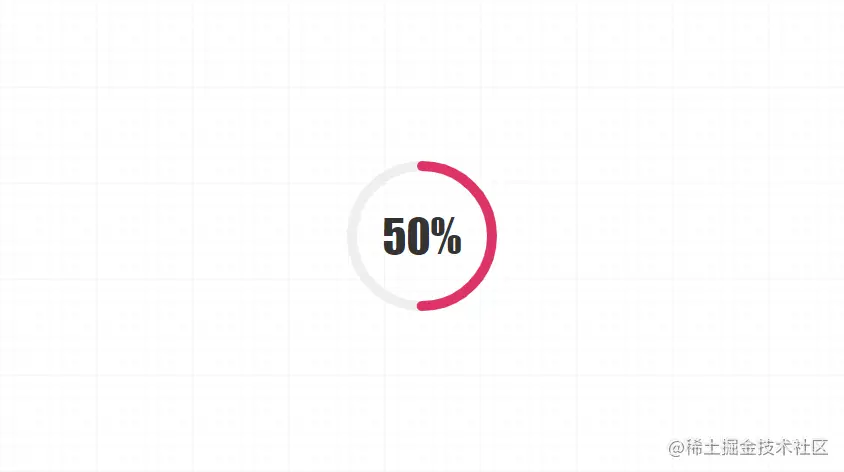
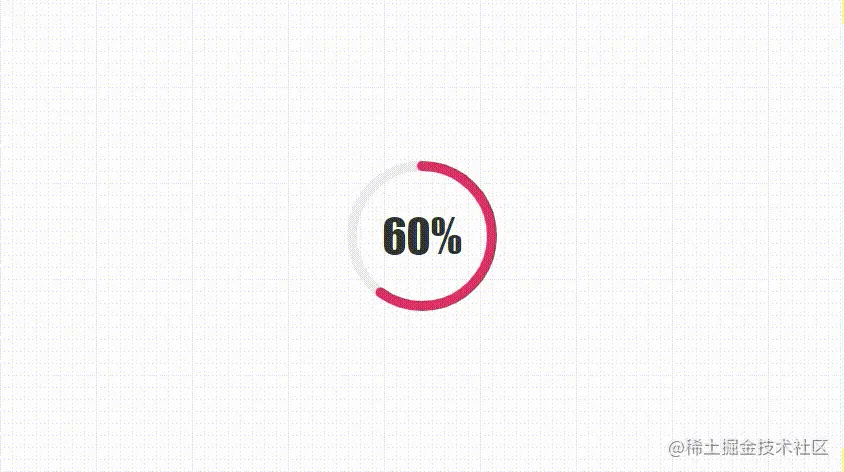
我们先康康最后完成的效果吧:

开发自己组件好处就是,里面的大小,颜色,粗细,动画等等都可以任意扩展,准备好了么,马上要开始啦~
<script>
export default {
  name: "CircleProgress",
  data() {
    return {
      now: 0
    };
  },
  props: {
    // 进度值
    value: {
      type: [String, Number],
      default: 0
    },
    // 尺寸
    size: {
      type: [String, Number],
      default: 120
    },
    // 边框粗细
    strokeWidth:{
      type: [String, Number],
      default: 10
    },
    // 进度条颜色
    color: {
      type: String,
      default: "rgba(153,202,251,1)"
    },
    // 动画执行时间
    duration:{
      type: [String, Number],
      default: 1000
    }
  },
  computed: {
    percentage() {
      return this.value;
    },
    countDown() {
      return this.now;
    },
    // 圆心x轴坐标
    cx() {
      return this.size / 2;
    },
    // 圆心y轴坐标
    cy() {
      return this.size / 2;
    },
    // 半径
    radius() {
      return (this.size - this.strokeWidth) / 2;
    },
    // 圆周长
    circumference() {
      return 2 * Math.PI * this.radius;
    },
    // 进度长度
    progress() {
      return (1 - this.now / 100) * this.circumference;
    }
  },
};
</script>相信大家通过上面的注释怎么开发就会猜的八九不十,我们的这个组件可以设置大小,边框粗细,进度条颜色,和后面要多久从0呈现出进度值的动画时长。至于计算属性,会在后面绘制svg的时候,根据注释一一对应不难看出来目的。
<template>
<div class="circle-main">
<div class="circle-main-box" :style="[{ 'width': size+'px','height': size+'px'}]">
<svg :width="size" :height="size" class="circle">
<circle
:r="radius"
:cx="cx"
:cy="cy"
fill="transparent"
stroke="#EEEEEE"
:stroke-width="strokeWidth"
/>
<circle
:r="radius"
:cx="cx"
:cy="cy"
fill="transparent"
:stroke="color"
:stroke-width="strokeWidth"
stroke-linecap="round"
:stroke-dasharray="circumference"
:stroke-dashoffset="progress"
/>
</svg>
<span class="count-num" :style="[{ 'font-size': size*.3+'px'}]">{{countDown}}%</span>
</div>
</div>
</template>其实这个很简单就是用svg写两个圆环,第一作为灰色底圆,第二个就是我们的进度条了,设置好大小圆心半径边框色,而且我们要把填充色变为同名,都写完了剩下两项stroke-dasharray和stroke-dashoffset,相信大家都会猜的到了,svg进度条变化核心就是这两个属性,刚刚计算属性也算出来了,分别就是圆环的周长和当前进度的长度。我们利用当前进度值来计算百分比占当前的长度,实现环形进度条的变化,就是这么简单。
然后我们还要写一丢丢css,而且是必须写,因为svg圆环不是从我们认为的0度开始,而是偏移了90度。

所以我们要用css再给他转过90度来!
.circle {
  transform: rotate(-90deg);
}然后我们顺便写好文字和主框的一些样式。
.circle-main-box {
  position: relative;
  display: block;
  margin: 0 auto;
}
.count-num {
  width: 100px;
  height: 100px;
  position: absolute;
  left: 50%;
  top: 50%;
  margin-left: -50px;
  margin-top: -50px;
  align-items: center;
  justify-content: center;
  display: flex;
  font-family: fantasy;
  font-size: 30px;
  color: #333;
  user-select: none;
}
这样我们就得到了一个静态的环形进度条了。
<script>
export default {
  name: "CircleProgress",
  // ...
  mounted() {
    this.run();
  },
  methods: {
    run() {
      if (this.value == 0) return;
      let t = this.duration / this.value
      this.timer = setInterval(() => {
        if (this.now >= this.value) {
          return clearInterval(this.timer);
        }
        this.now++;
      }, t);
    }
  }
};我们会通过当前动画执行时间与当前的值计算出每次数量+1执行的时间,然后通过 setInterval去执行,直至达到进度值。最后,我们就要开始使用这个组件啦~~
<div id="app">
<CircleProgress :value="60" :size="150" :color="'#d36'" :duration="3000" />
</div>
你学废了么,以后做类似的像完成度这样的加载器是不是又有新的想法了,有了圆形做基础,还怕其他图形么,看的再多,说的再多,都不如动手去试试,快行动起来吧,大家加油鸭~~
更多编程相关知识,请访问:编程视频!!
以上是手把手教你在vue2中利用svg开发一个环形进度条组件的详细内容。更多信息请关注PHP中文网其他相关文章!


