这次给大家带来angular打印页面指定功能,的注意事项有哪些,下面就是实战案例,一起来看一下。
前言
本文主要介绍了关于angular实现页面打印局部功能的相关内容,分享出来供大家参考,下面话不多说了,来一起看看详细的介绍吧。
场景
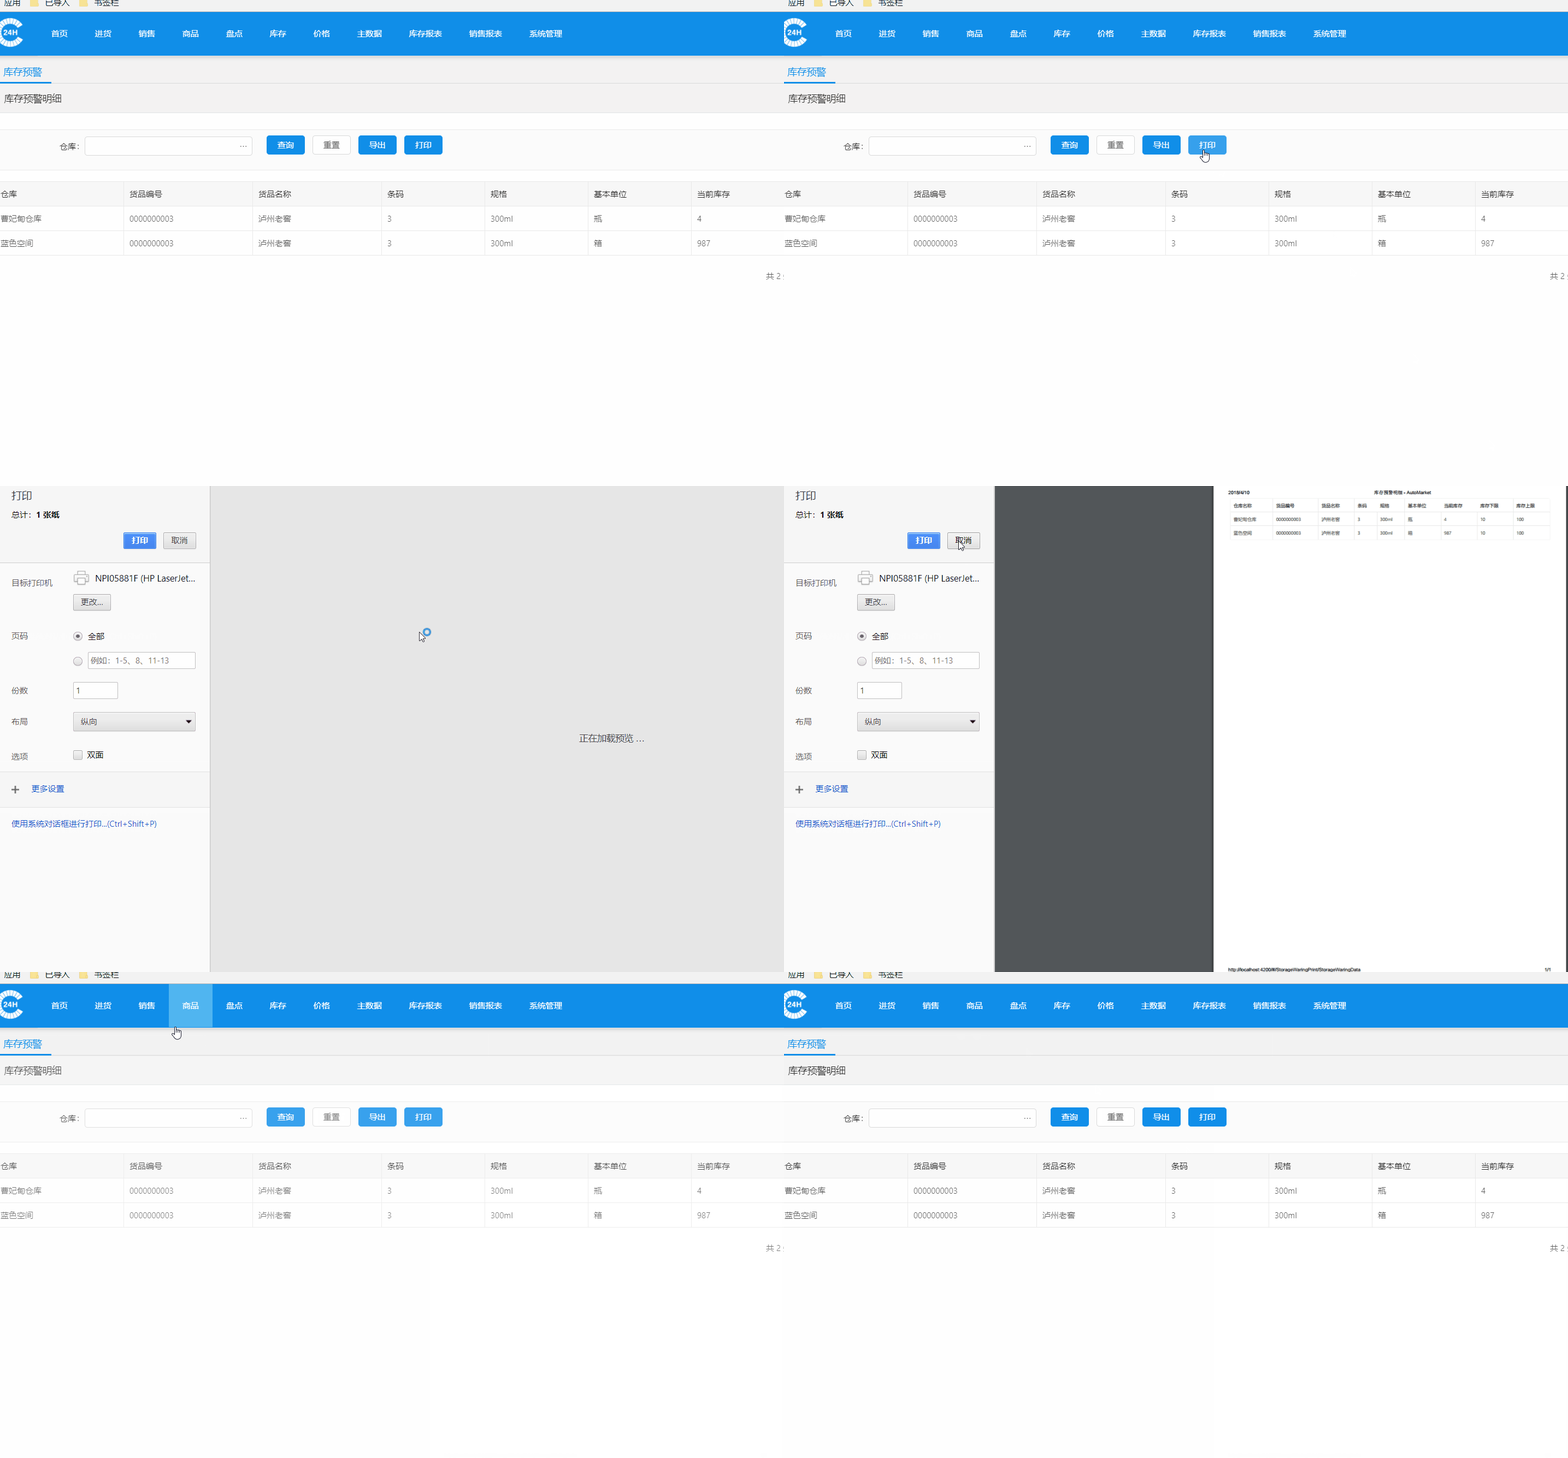
在页面显示的时候是分页现实的,当前页面只有10条数据,但是打印需要打印完整的100条数据。
并且在当前页面包含了表格之外的标题,菜单等其他元素。
后天api请求都需要带上token信息
前台页面跳转到打印页面后再跳回
1、通过缓存传递数据,
2、路由跳转到打印页面,
3、页面获取缓存数据,
4、调用浏览器打印方法,
5、操作完毕页面后退一步
调用打印页面
this.cach.setBylocal({key: key, value: data}); // 写入缓存 this.router.navigate([url, key]); // 路由跳转,缓存key值传递过去
打印页面
ngAfterViewInit() { const $qus = this.route.params.subscribe(q => { const key = q.key; if (key) { this._data = this.cach.getBylocal(key) ; this.cach.removeBylocal(key); setTimeout(() => { window.print(); history.go(-1); }, '20'); } }); }

在打印页面里自动处理了分页显示等问题。测试一页A4纸适合页面840px-1225px
打印文件里会自动添加页面标题和日期,下方会自动添加页面地址,不知道如何去掉
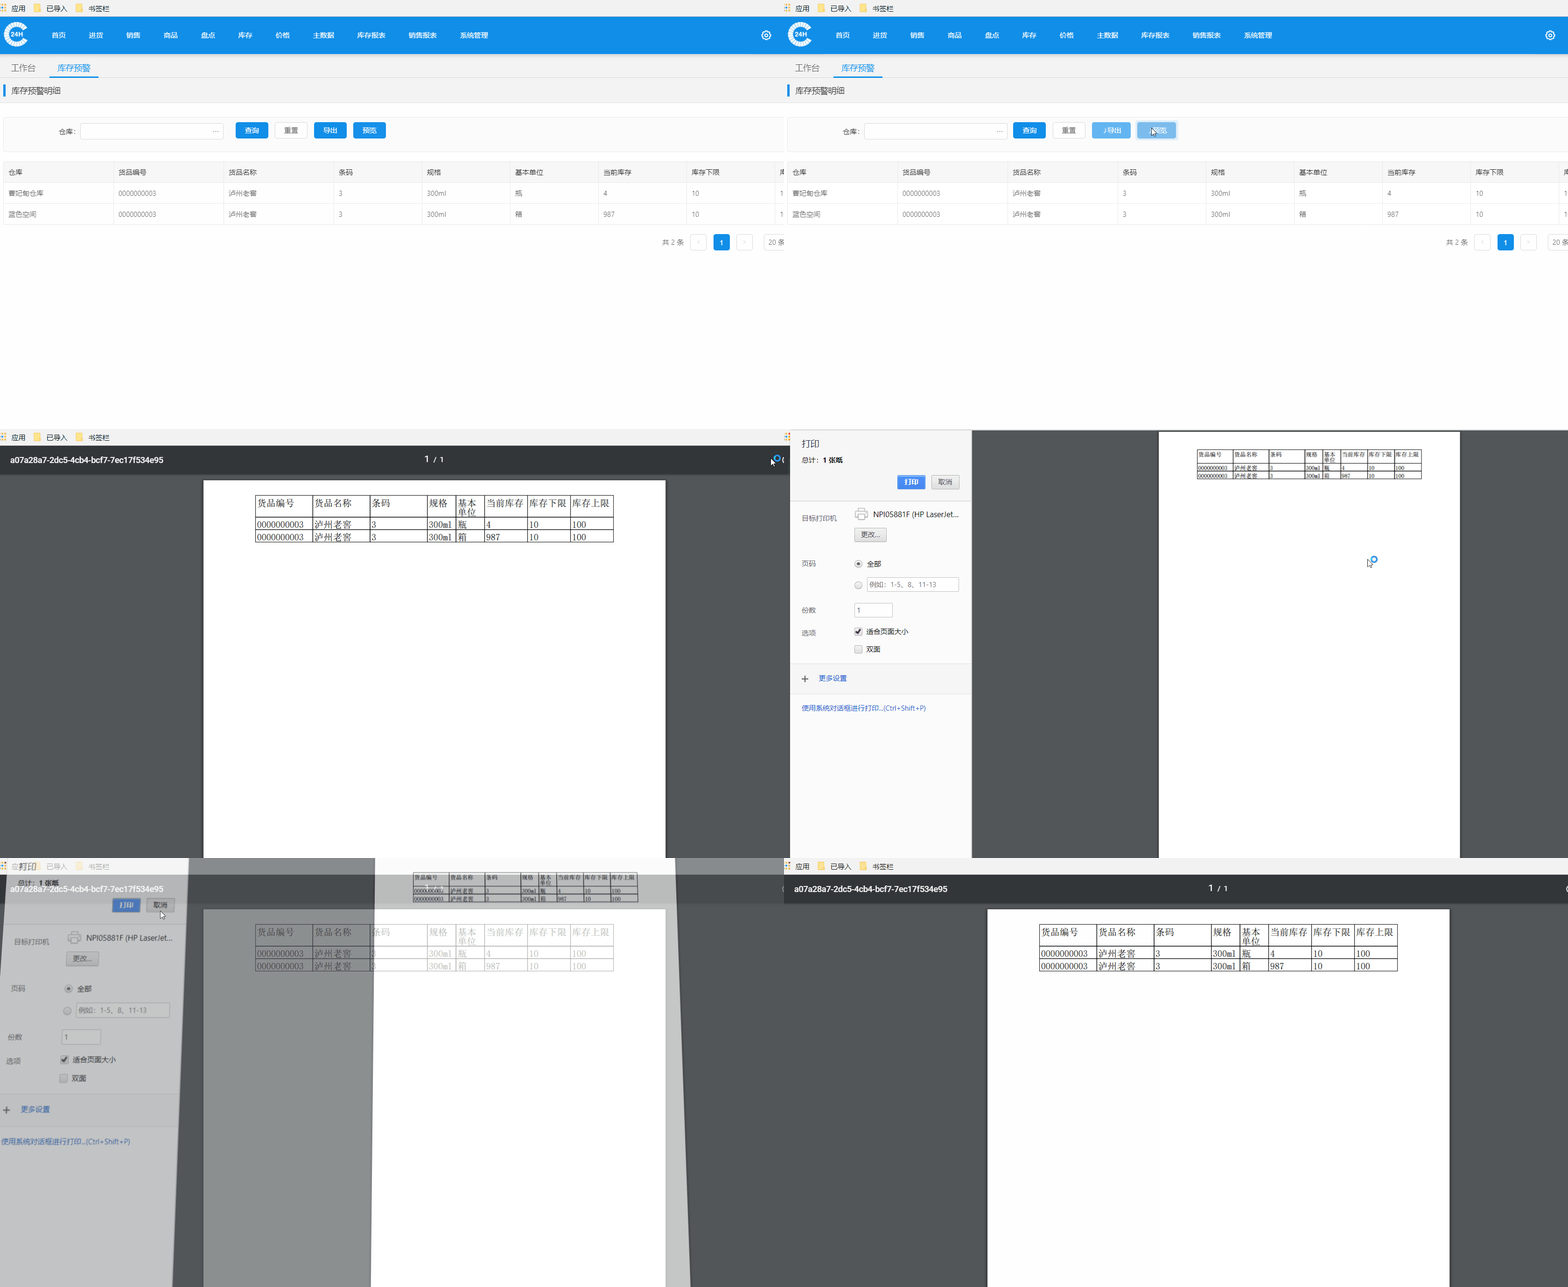
在后台生成pdf页面显示自带打印下载功能
1、后台生成PDF文件,返回二进制流。
2、在不需要token信息的情况下,并且支持get请求的,可以在浏览器中直接打开该地址。或者通过a标签来实现下载和页面显示。并实现打印功能。
3、需要token验证的情况下,使用blob类型来接收数据,并创建一个本地地址供浏览器访问,后面操作如第二步。
private down(url: string, body?: any) { return this.http.post(url, body || null, { responseType: 'blob' }) } private downLoad(url: string, type: string, body?: any, fileName?: string) { return this.down(url, body).map(r => { const blob = new Blob([r], {type: type}); const objectUrl = URL.createObjectURL(blob); const a = document.createElement('a'); document.body.appendChild(a); a.setAttribute('style', 'display:none'); a.setAttribute('href', objectUrl); if (fileName) { a.setAttribute('download', fileName); } else { a.setAttribute('target', '_blank'); } a.click(); URL.revokeObjectURL(objectUrl); return true; }); } /** * 下载pdf, 如果不传入文件名会再浏览器中打开 实现打印功能 * 传入文件名会直接下载 * @param {string} url * @param body * @param {string} fileName * @returns {Observable} */ downLoadPdf(url: string, body?: any, fileName?: string) { return this.downLoad(url, 'application/pdf', body, fileName); }

在iframe页面里调用打印
这个方法可以结合前两个方法使用,把前两个页面放在在iframe页面里。
相信看了本文案例你已经掌握了方法,更多精彩请关注php中文网其它相关文章!
推荐阅读:
以上是angular打印页面指定功能的详细内容。更多信息请关注PHP中文网其他相关文章!


