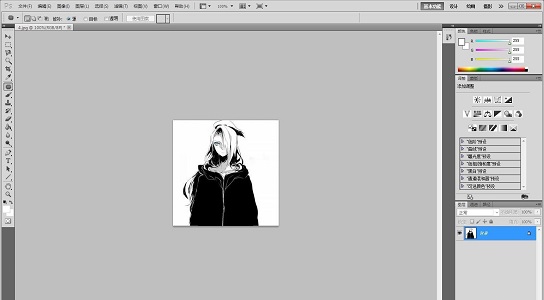
很多小伙伴不知道ps修补工具怎么用,所以下面小编就分享了ps修补工具的使用方法,一起去看看吧,相信对大家会有帮助。ps修补工具怎么用?ps修补工具的使用方法 1、首先把一张需要抹除的照片导入到ps中(如图所示)。

2、然后找到ps工具栏中的图标,按住鼠标左键不动,会弹出更多工具,选择“修复画笔工具”(如图所示)。

3、按住鼠标左键,把需要抹除的部分选取出来。像这样,被选取出来部分的周围会又一些虚线(如图所示)。

4、保持鼠标在虚线内,然后按住鼠标左键,向相似的地方移动,这时候你会发现鼠标移到的地方就是填充刚刚所选取的部分(如图所示)。

5、按快捷键“Ctrl+d”取消选取,就可以看到最终的效果啦(如图所示)。
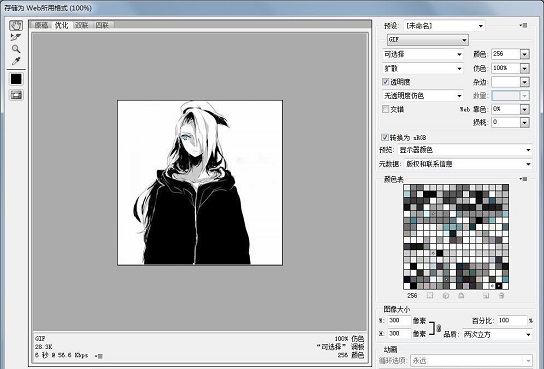
6、最后就可以点左上角的“文件》存储为”来保存到电脑中了(如图所示)。
以上是ps修补工具怎么用 ps修补工具的使用方法的详细内容。更多信息请关注PHP中文网其他相关文章!


