怎麼進行微博第三方登入?以下這篇文章跟大家介紹一下使用node實作微博第三方登入的方法,希望對大家有幫助!

接入微博第三方登入可以免註冊,對用戶的體驗更好,今天我們就用nodejs實現微博第三方登入(用其它語言也可以)。 【相關教學推薦:nodejs影片教學】
線上實例: http://www. lolmbbs.com/login
1、點選微博登入按鈕登入
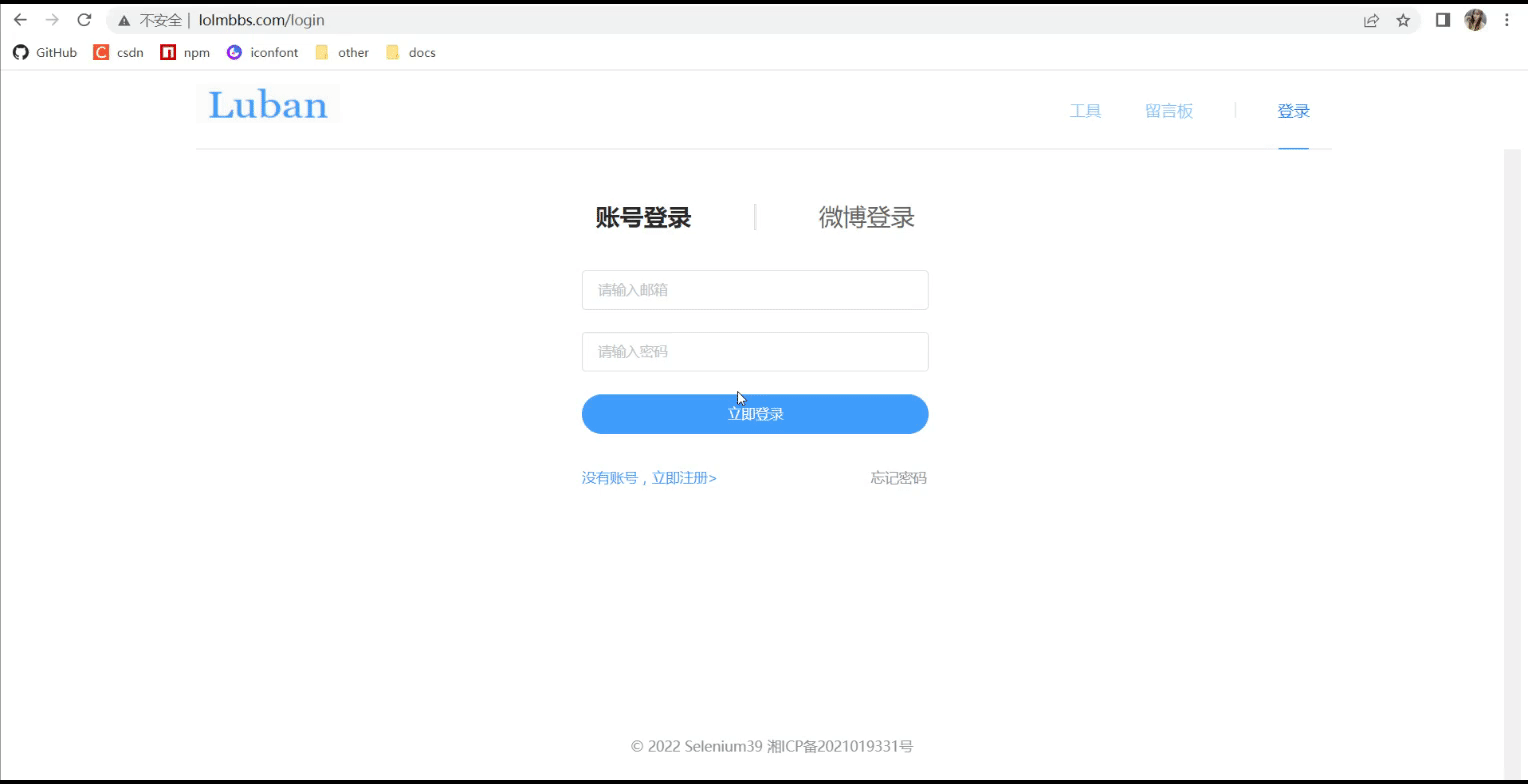
#2、直接掃碼登入
具體實現
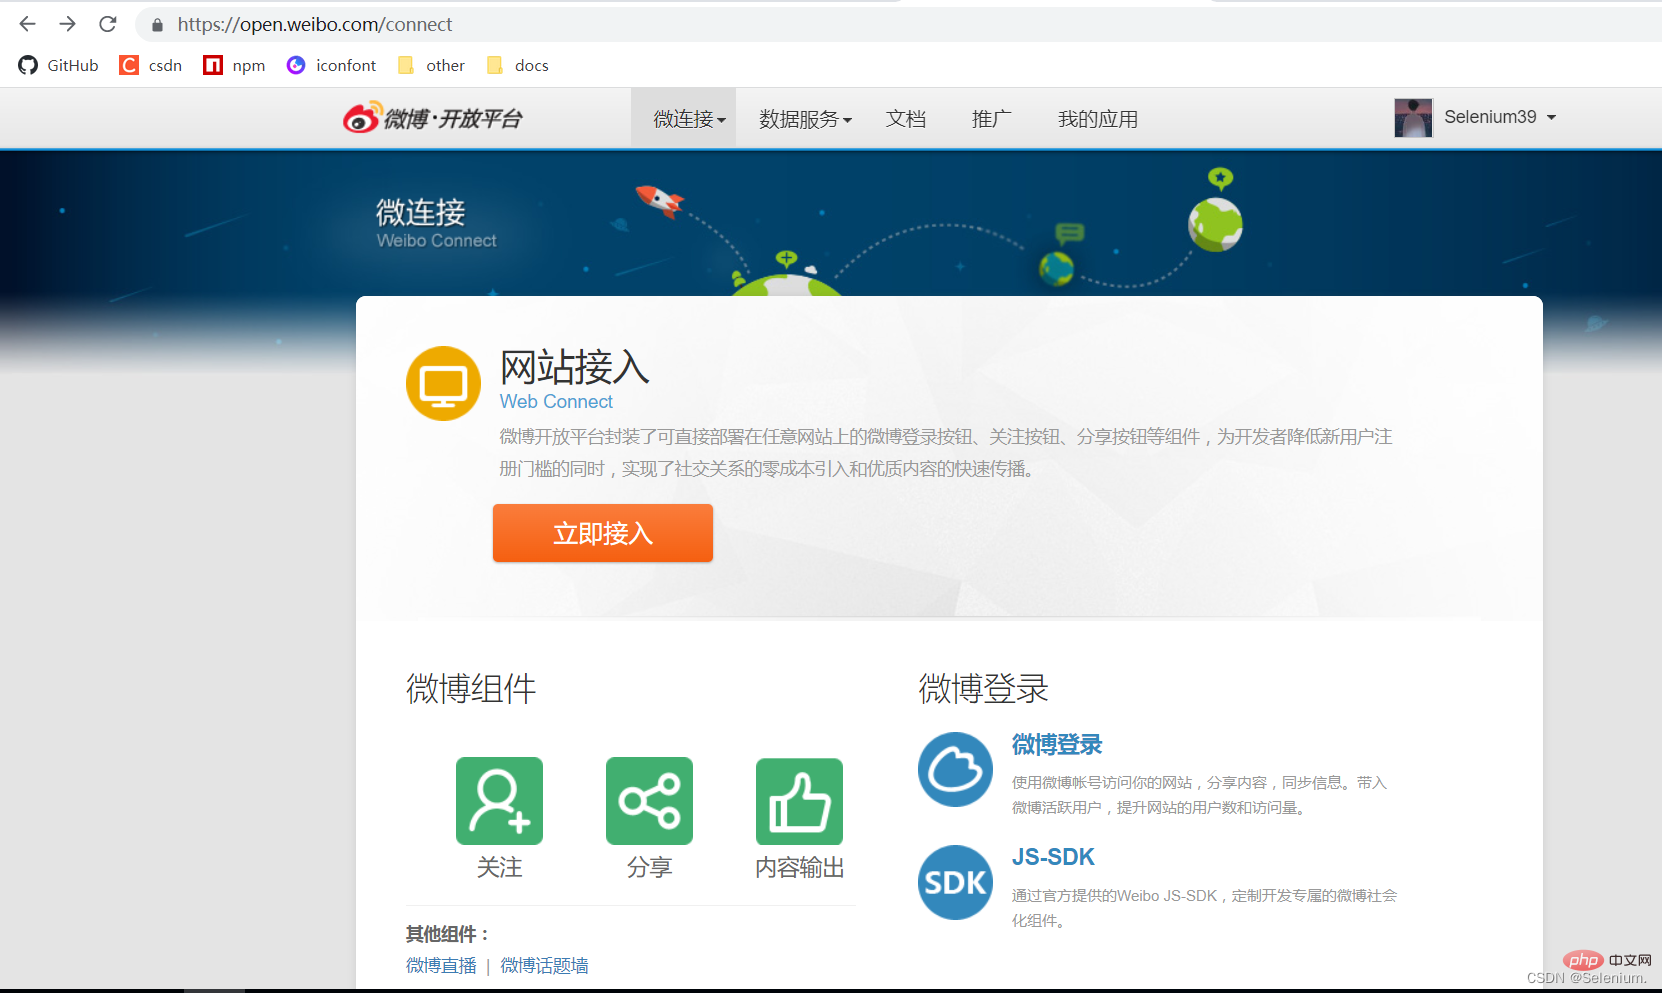
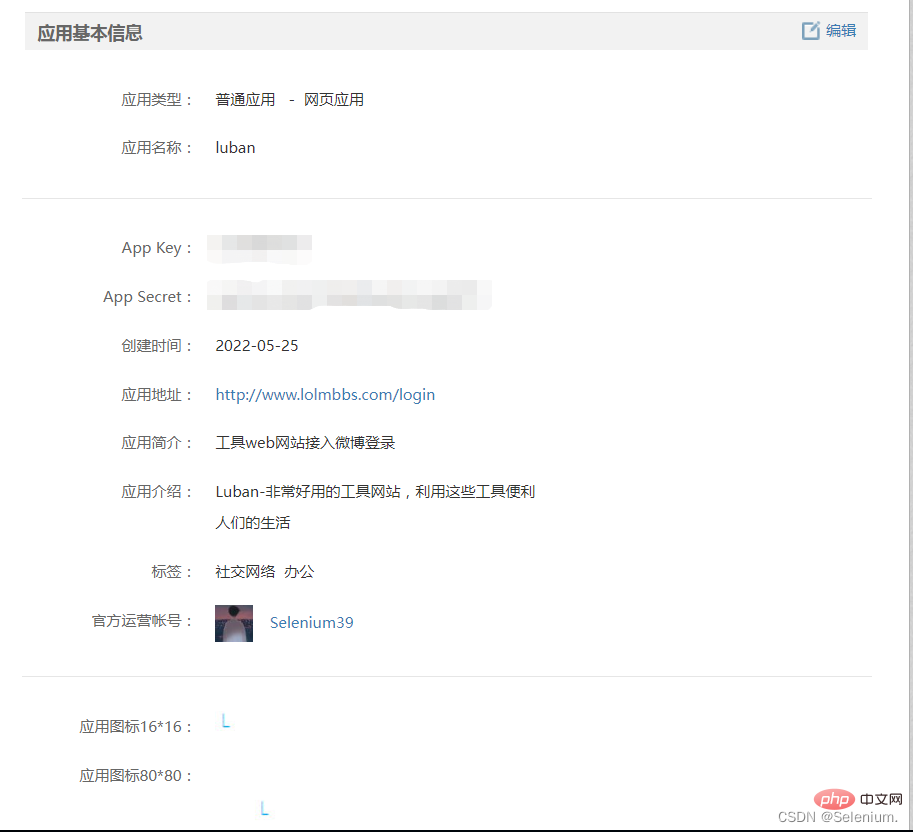
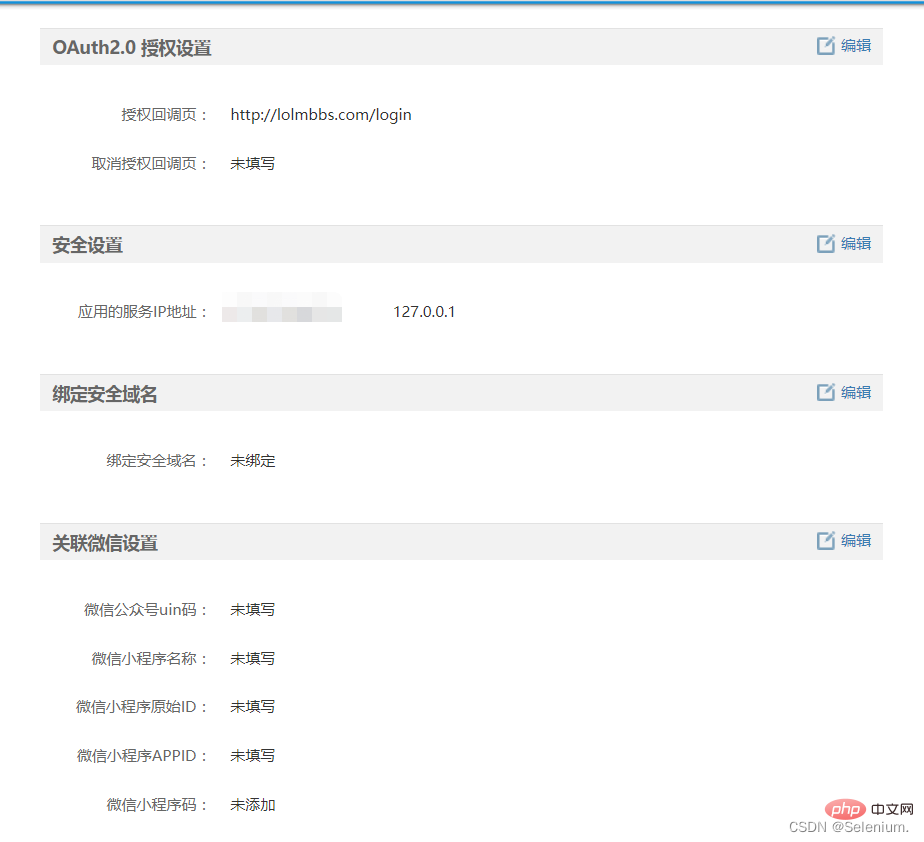
登入https://open.weibo.com/connect申請web網站存取
本機開發的時候應用程式位址寫入:127.0.0.1
const weiboUrl = `https://api.weibo.com/oauth2/authorize?client_id=${weiboConfig.appKey}&response_type=code&redirect_uri=${weiboConfig.redirectUrl}`##使用者授權登入後,會跳到你上一步寫的redirectUrl,並帶上使用者code,url類似http://127.0.0.1:8080/login?code=abcdef
created() {
    const { code } = this.$route.query;
    if (code) {
      loginCallback({ code }).then((res) => {
        this.$message({
          message: `${res.nickname} 欢迎您`,
          type: "success",
        });
        this.setUser(res);
        this.$router.push("/tool/qr");
      });
    }
}3. 後端登入回呼接口,透過使用者code取得accessToken,再透過accessToken取得使用者資訊,完成登入
   async loginCallback(ctx) {
      let { code } = ctx.request.body
      if (!code) {
         return ctx.error(errCode.PARAMS_ERROR, '参数错误')
      }
      // 获取accessToken
      const { access_token, uid } = await got.post('https://api.weibo.com/oauth2/access_token', {
         form: {
            client_id: weiboConfig.appKey,
            client_secret: weiboConfig.appSecret,
            grant_type: 'authorization_code',
            redirect_uri: weiboConfig.redirectUrl,
            code
         }
      }).json()
      // 通过accessToken获取UserInfo
      const { id, name: nickname, avatar_hd: avatar } = await got.get(`https://api.weibo.com/2/users/show.json?access_token=${access_token}&uid=${uid}`).json()
      // 在自己的系统内创建User
      let [user, isCreate] = await WeiboUser.upsert({ id, nickname, avatar })
      // 生成登录Token,通过userType区分是微博登录用户还是系统账号登录用户
      const token = await jwt.createToken({ ...user.toJSON(), userType: 'weiboUser' })
      return ctx.success({ nickname, avatar, token })
}三、微博掃碼登入
 async getWeiboLoginQr(ctx) {
      const qrApi = `https://api.weibo.com/oauth2/qrcode_authorize/generate?client_id=${weiboConfig.appKey}&redirect_uri=${weiboConfig.redirectUrl}&scope=&response_type=code&state=&__rnd=${Date.now()}`
      const { url, vcode } = await got.get(qrApi).json()
      return ctx.success({ weiboQrUrl: url, vcode })
} const id = setInterval(() => {
getWeiboLoginQrStatus({ vcode }).then((res) => {
const { status, url } = res;
if (status === "3") {
window.location = url;
clearInterval(id);
}
});
}, 3000); async getWeiboLoginQrStatus(ctx) {
const { vcode } = ctx.request.query
if (!vcode) {
return ctx.error(errCode.PARAMS_ERROR, '参数错误')
}
const queryQrApi = `https://api.weibo.com/oauth2/qrcode_authorize/query?vcode=${vcode}&__rnd=${Date.now()}`
const { status, url } = await got(queryQrApi).json()
return ctx.success({ status, url })
}以上是淺析node怎麼進行微博第三方登錄的詳細內容。更多資訊請關注PHP中文網其他相關文章!