
最近,有群組朋友問我,他們的一個作業,盡量使用少的標籤去實現這樣一個象棋佈局:
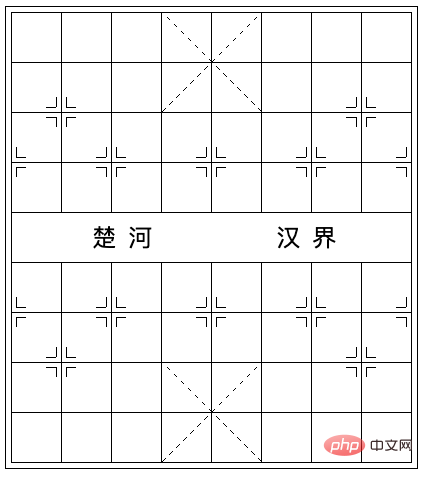
他用了60 多個標籤,而他的同學,只用了6 個,問我有沒有辦法盡可能的做到利用更少的標籤去完成這個佈局效果。
其實,對於一個頁面的佈局而言,標籤越少不一定是好事,我們在考慮DOM 的消耗的同時,也需要關注程式碼的可讀性,以及後續基於這個佈局的製作的互動的難易性等等。
當然,僅僅從用更少的標籤完成這個佈局的角度而言,我們能夠把標籤數壓縮到多少呢? (不考慮 <body> 和 <html>)
答案是 1 個。
本文就試著用一個標籤完成這個效果,當然,這只是探索 CSS 的極限,不代表我推薦在實際業務中這樣去寫。 【推薦學習:css影片教學】
我們對整個版面進行拆分,大致可以分成三個部分:網格虛線交叉十字特殊符號:
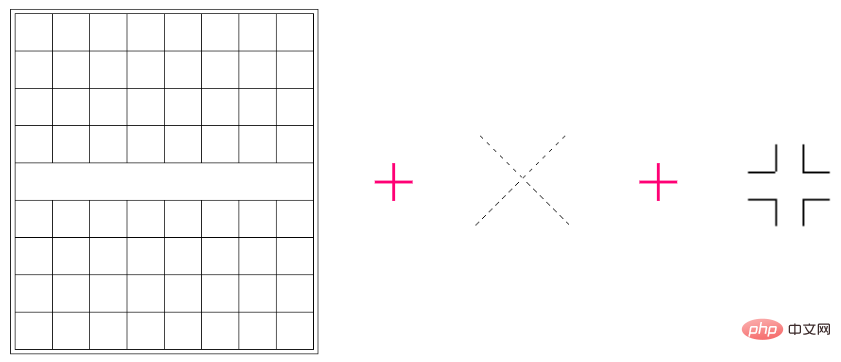
#並且,像虛線交叉十字和特殊的符號都不只一個,這裡必然會有一些技巧存在。
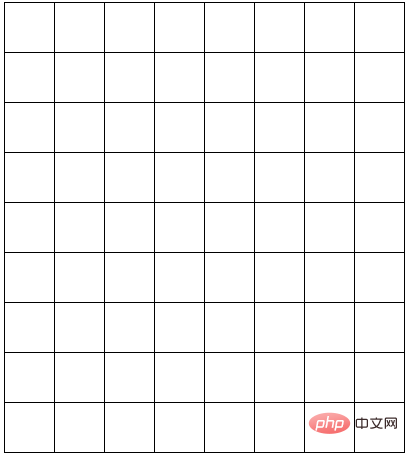
OK,首先,我們實作最簡單的網格佈局:
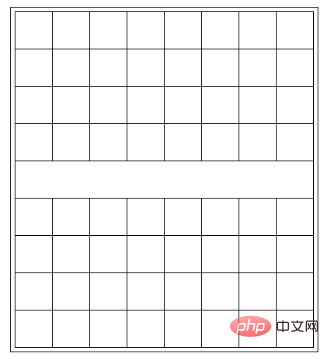
不考慮最外層的一圈邊框,我們可以先利用多重線性漸變實作一個網格佈局:
<div class="g-grid"></div>
.g-grid {
    width: 401px;
    height: 451px;
    background:
        repeating-linear-gradient(#000, #000 1px, transparent 1px, transparent 50px),
        repeating-linear-gradient(90deg, #000, #000 1px, transparent 1px, transparent 50px);
    background-repeat: no-repeat;
    background-size: 100% 100%, 100% 100%;
    background-position: 0 0, 0 0;
}效果如下:
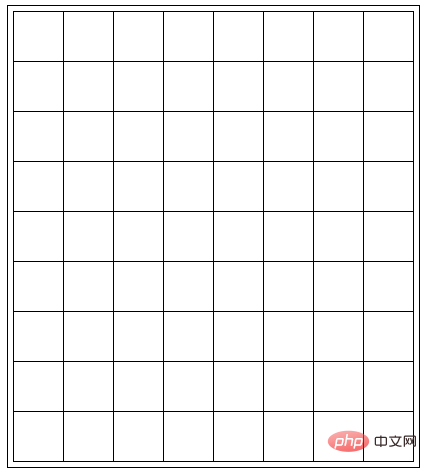
outline 配合outline-offset 即可:
.g-grid {
    width: 401px;
    height: 451px;
    background:
        repeating-linear-gradient(#000, #000 1px, transparent 1px, transparent 50px),
        repeating-linear-gradient(90deg, #000, #000 1px, transparent 1px, transparent 50px);
    background-repeat: no-repeat;
    background-size: 100% 100%, 100% 100%;
    background-position: 0 0, 0 0;
    outline: 1px solid #000;
    outline-offset: 5px;
}
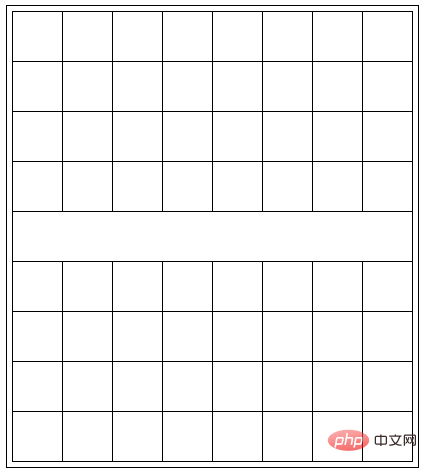
background-size 和 background-position 進行分隔。
.grid {
    // ...
    background:
        // 最上层叠加一层白色渐变
        linear-gradient(#fff, #fff),
        // 下面两个重复线性渐变实现网格
        repeating-linear-gradient(#000, #000 1px, transparent 1px, transparent 50px),
        repeating-linear-gradient(90deg, #000, #000 1px, transparent 1px, transparent 50px);
    background-repeat: no-repeat;
    background-size: calc(100% - 2px) 49px, 100% 100%, 100% 100%;
    background-position: 1px 201px, 0 0, 0 0;
}
所以,這裡我們另闢蹊徑,繼續使用漸層!
首先,打個樣,如果是 100px x 100px 的 div,可以怎麼利用漸層去畫交叉虛線十字呢?
<div></div>
div {
    position: relative;
    margin: auto;
    width: 100px;
    height: 100px;
    border: 1px solid #000;
    background: linear-gradient(
        45deg,
        transparent 0, transparent calc(50% - 0.5px),
        #000 calc(50% - 0.5px), #000 calc(50% + 0.5px),
        transparent calc(50% + 0.5px), transparent 0);
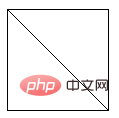
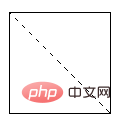
}透明到黑色到透明,實現了一條 45° 的斜線。
多重線性漸變,實現透明到白色的漸變效果:
div {
    position: relative;
    margin: auto;
    width: 100px;
    height: 100px;
    border: 1px solid #000;
    background:
        // 渐变 1
        repeating-linear-gradient(-45deg, transparent 0, transparent 5px, #fff 5px, #fff 10px),
        // 渐变 2
        linear-gradient(45deg,
        transparent 0, transparent calc(50% - 0.5px),
        #000 calc(50% - 0.5px), #000 calc(50% + 0.5px),
        transparent calc(50% + 0.5px), transparent 0);
}
漸層 1的透明色改成黑色,就很好理解了:
##
想象一下,上图的黑色部分,如果是透明的,就能透出原本的那条斜线没有被白色遮挡住的地方。
这里,需要提一下,在渐变中,越是先书写的渐变,层级越高。
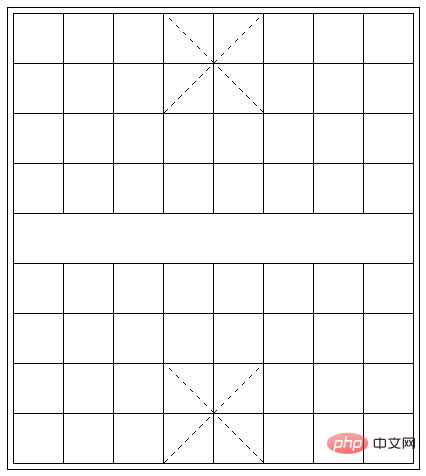
好,有了上面的铺垫,我们基于上面的代码,再继续利用渐变,把上下两个交叉虚线十字补齐即可:
.g-grid {
    width: 401px;
    height: 451px;
    outline: 1px solid #000;
    outline-offset: 5px;
    background:
        // 最上层的白色块,挡住中间的网格
        linear-gradient(#fff, #fff),
        // 实现网格布局
        repeating-linear-gradient(#000, #000 1px, transparent 1px, transparent 50px),
        repeating-linear-gradient(90deg, #000, #000 1px, transparent 1px, transparent 50px),
        // 棋盘上方的虚线1
        repeating-linear-gradient(-45deg, transparent 0, transparent 5px, #fff 5px, #fff 10px),
        linear-gradient(45deg, transparent,
            transparent calc(50% - 0.5px),
            #000 calc(50% - 0.5px),
            #000 calc(50% + 0.5px),
            transparent calc(50% + 0.5px),
            transparent 0),
        // 棋盘上方的虚线2
        repeating-linear-gradient(45deg, transparent 0, transparent 5px, #fff 5px, #fff 10px),
        linear-gradient(-45deg, transparent,
            transparent calc(50% - 0.5px),
            #000 calc(50% - 0.5px),
            #000 calc(50% + 0.5px),
            transparent calc(50% + 0.5px),
            transparent 0),
        // 棋盘下方的虚线1
        repeating-linear-gradient(-45deg, transparent 0, transparent 5px, #fff 5px, #fff 10px),
        linear-gradient(45deg, transparent,
            transparent calc(50% - 0.5px),
            #000 calc(50% - 0.5px),
            #000 calc(50% + 0.5px),
            transparent calc(50% + 0.5px),
            transparent 0),
        // 棋盘下方的虚线2
        repeating-linear-gradient(45deg, transparent 0, transparent 5px, #fff 5px, #fff 10px),
        linear-gradient(-45deg, transparent,
            transparent calc(50% - 0.5px),
            #000 calc(50% - 0.5px),
            #000 calc(50% + 0.5px),
            transparent calc(50% + 0.5px),
            transparent 0);
    background-repeat: no-repeat;
    background-size:
        calc(100% - 2px) 49px, 100% 100%, 100% 100%,
        // 交叉虚线 1
        100px 100px, 100px 100px, 100px 100px, 100px 100px,
        // 交叉虚线 2
        100px 100px, 100px 100px, 100px 100px, 100px 100px;
    background-position:
        1px 201px, 0 0, 0 0,
        // 交叉虚线 1
        151px 0, 151px 0, 151px 0, 151px 0,
        // 交叉虚线 2
        151px 350px, 151px 350px, 151px 350px, 151px 350px;
}嚯,这渐变代码确实复杂了点,但是其实每一块的作用都是很清晰的,这样,我们的棋盘就变成了这样:
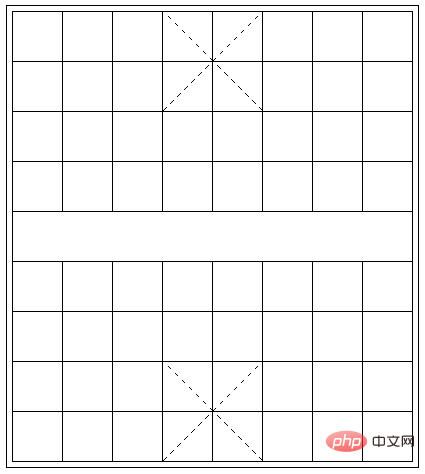
到这里,我们仅仅使用了元素本身,要知道,我们还有元素的两个伪元素没使用。要实现的只剩下多个的这个符合:

因为一共要实现 12 个这样的符号,有的符合还是不完整的,所有这些要在剩余的元素的两个伪元素中完成。可选的方法思来想去,也只有 box-shadow 了。
利用 box-shadow 能够非常好的复制自身。这个技巧其实也反复讲过非常多次了。
我们首先利用元素的一个伪元素,在这个位置,实现一个短横线:
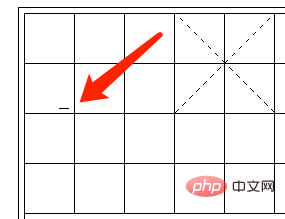
代码大致如下:
.g-grid {
    // ...
    &::before {
        content: "";
        position: absolute;
        top: 95px;
        left: 35px;
        width: 10px;
        height: 1px;
        background: #000;
    }
}我们利用 box-shadow 复制自身,可以完成一半横线效果。当然这里由于是个镜面布局,可以利用镜像 -webkit-box-reflect: below 减少一半的代码:
.g-grid {
    // ...
    &::before {
        content: "";
        position: absolute;
        top: 95px;
        left: 35px;
        width: 10px;
        height: 1px;
        background: #000;
        box-shadow:
            20px 0, 0 10px, 20px 10px,
            300px 0, 320px 0, 300px 10px, 320px 10px,
            -30px 50px, -30px 60px,
            50px 50px, 50px 60px, 70px 50px, 70px 60px,
            150px 50px, 150px 60px, 170px 50px, 170px 60px,
            250px 50px, 250px 60px, 270px 50px, 270px 60px,
            350px 50px, 350px 60px;
        -webkit-box-reflect: below 259px;
    }
}效果如下:
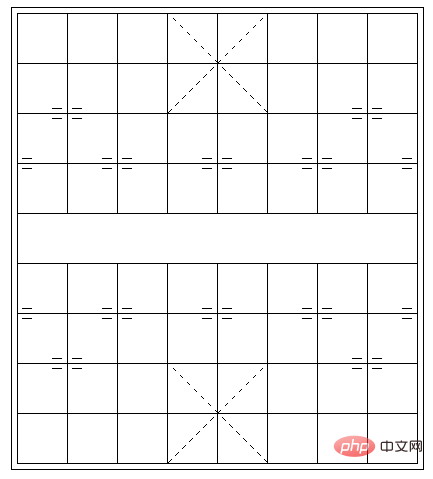
最后,利用另外一个伪元素,完成另外一半的竖向横线即可:
.g-grid {
    // ...
    &::before {
        // ...
    }
    &::after {
        // ...
        box-shadow:
            10px 0, 0 20px, 10px 20px,
            300px 0px, 300px 20px, 310px 0, 310px 20px,
            -40px 50px, -40px 70px,
            50px 50px, 50px 70px, 60px 50px, 60px 70px,
            150px 50px, 150px 70px, 160px 50px, 160px 70px,
            250px 50px, 250px 70px, 260px 50px, 260px 70px,
            350px 50px, 350px 70px;
        -webkit-box-reflect: below 260px;
    }
}这样,我们就在一个标签内,得到这样一个效果:
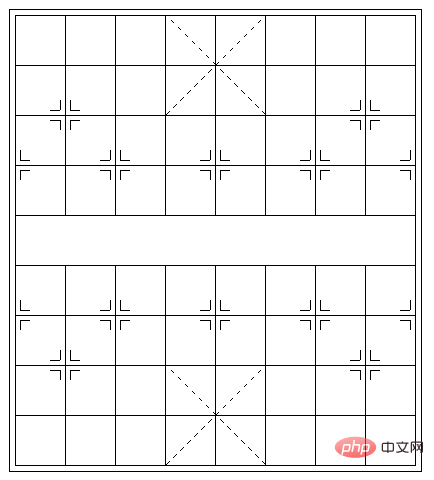
当然,还剩下楚河、汉界 4 个字,这个也简单直接加在 div 中即可,配合一些简单的 CSS 调整,整个效果就在一个标签内完成啦:
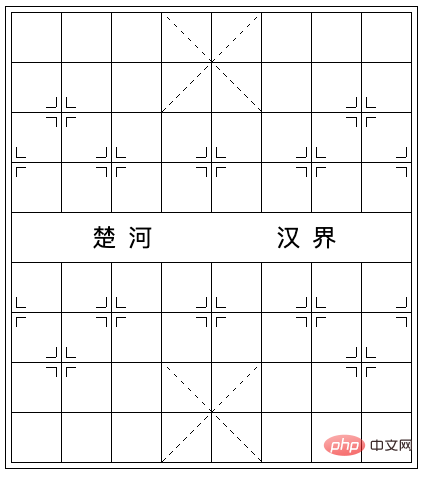
完整的代码你可以戳这里:CodePen Demo -- CSS Chess board
好,实际中我确实不太推荐这么去写,纯粹是为了实现而实现,少了很多代码可读性的考量。因此,本文更多的是给大家带来一些思路,当遇到类似的问题的使用能够有更多的灵感。
原文地址:https://www.cnblogs.com/coco1s/p/16710203.html
作者:ChokCoco
以上是手把手帶你使用單一標籤+CSS實現複雜的棋盤佈局的詳細內容。更多資訊請關注PHP中文網其他相關文章!


