這篇文章介紹的內容是關於Mac apache php 和CGI 的配置,有著一定的參考價值,現在分享給大家,有需要的朋友可以參考一下
今天看了很多關於PHP和CGI 在Mac上apache 的配置的教程,按照起步驟操作了還是不行,最後通過嘗試配置成功了,下面我將為大家總結一些其配置流程,希望能幫到大家! ! ! !
# 1. Mac上Php的設定
# (1)查看Apache的版本資訊在終端機上輸入apachectl -v
Server version: Apache/2.4.29 (Unix)
Server built: Jan 17 2018 18:20:31
#(2)找出apache 設定檔
#在目錄/etc/apache2/下,開啟Finder,選擇"前往"-"前往資料夾",輸入"/etc/apache2/",
##找到其中的"httpd.conf"文件,先拷貝一份出來到桌面
#(3)以文字編輯的形式開啟尋找#LoadModule php7_module libexec/apache2/libphp7.so 將前面的'#'去掉
# 找出
「
# # ServerName www.example.com:80
」
在其下方新增一行ServerName localhost:80

#( 4)自訂目錄設定
在"httpd.conf"檔案找到
DocumentRoot "/Library/WebServer/Documents"
並將其改為(/Users/admin/Sites)自己定義的路徑可以根據自己的需要自行修改
DocumentRoot "/Users/admin/Sites"
找到
#Options FollowSymLinks Multiviews
MultiviewsMatch Any
改為
#Options Indexes FollowSymLinks Multiviews
MultiviewsMatch Any
修改完畢後將httpd.conf 替換/etc/apache2/路徑下的httpd.conf檔
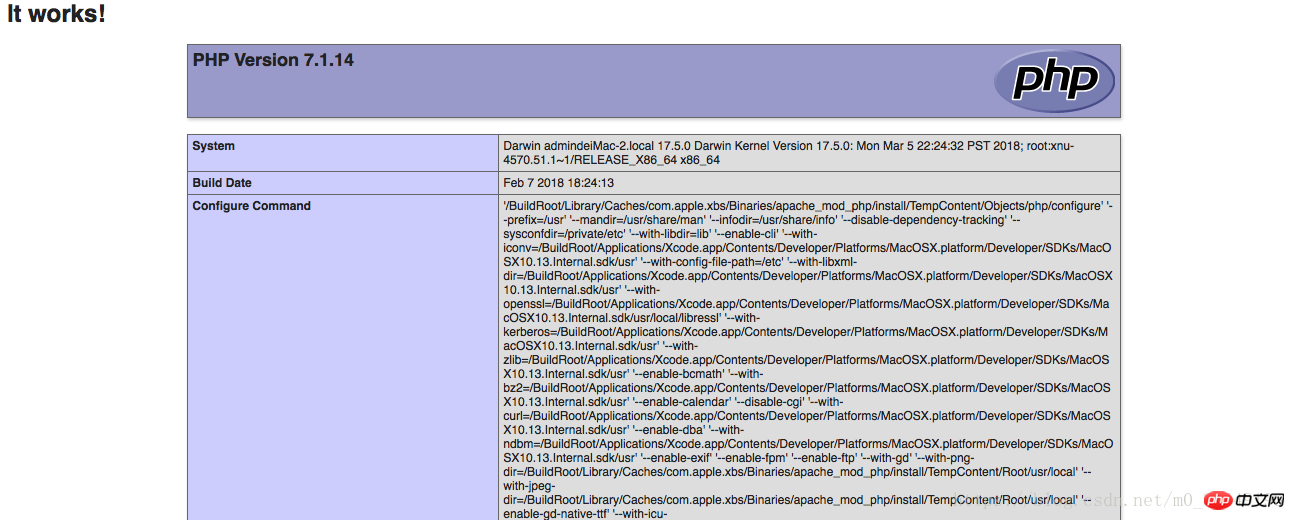
(5)建立測試檔驗證設定php是否成功
# 在終端機上輸入cp /Library/WebServer/Documents/index.html.en /Users/admin/Sites/index.php
# 用文字編輯模式開啟index.php,然後在後面加入
# 啟動apache 在終端機上輸入sudo apachectl -k restart
# 開啟瀏覽器 輸入localhost

# 開啟瀏覽器 輸入localhost
2.設定CGI
在上述作業中拷貝在桌面的httpd.conf 檔案上繼續修改
找到#LoadModule cgi_module libexec/apache2/mod_cgi.so 去掉前面的'#'
##查找
AllowOverride None
Options ExecCGI
Order deny,allow
Allow from all##o#<)>
##查找AddHandler cgi-script .cgi
將其改為
AddHandler cgi-script .cgi .py .pl .sh
#尋找ScriptAliasMatch ^/ cgi-bin/((?!(?i:webobjects)).*$) "/Library/WebServer/CGI-Executables/$1"
將其改為
ScriptAliasMatch ^/cgi-bin/(( ?!(?i:webobjects)).*$) "/Users/admin/Sites/Cgi/$1"
最後儲存替換替換/etc/apache2/路徑下的httpd.conf檔案
重新啟動apache在終端機上輸入sudo apachectl -k restart
在自定的工作目錄下(我的是/Users/admin/Sites/Cgi)下放入hello.py 檔案
檔案內容如下
#!/usr/bin/python
# -*- coding: UTF-8 -*-
print "Content-type:text/html"
print
print ''
print ''
print ''
print '
print '
'
print ''
print 'Hello test Word!
'
print ''
print ''
#開啟瀏覽器 輸入localhost/cgi-bin/hello.py 
以上是Mac apache php 和CGI 的配置的詳細內容。更多資訊請關注PHP中文網其他相關文章!


