基於CSS的漸變與圖片漸變相比,最大的優點是便於修改,同時支援無段縮放,過渡更加自然。目前,實現CSS漸變的只有基於Webkit和Gecko引擎的瀏覽器,基於Presto引擎的Opera瀏覽器暫時不支援漸變,基於Trident的IE雖然可以通過濾鏡的方式實現,但並不提倡。
Webkit引擎(Safari 4以上版本)的CSS漸變設計
基本語法:
-webkit-gradient(
參數說明:
直線漸變基本用法:
/*簡單的線性漸變背景色,從頂部到底部,從藍色向紅色漸變顯示*/background: -webkit-gradient(linear, left top, left bottom, from(blue ), to(red));
示範效果:

/*從頂部到中間,再從中間到底部,從藍色到綠色,再到紅色漸層顯示*/background: -webkit -gradient(linear, left top, left bottom, from(blue), to(red), color-stop(50%, green));
示範效果:
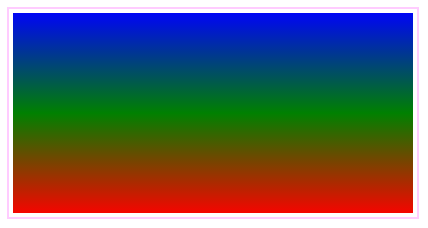
示範效果:
,從頂部到底部,先從藍色到白色漸變顯示,再從黑色到紅色漸變顯示*/background: -webkit-gradient(linear, left top, left bottom, from(blue), to(red),color -stop(0.5, #fff), color-stop(0.5, #000));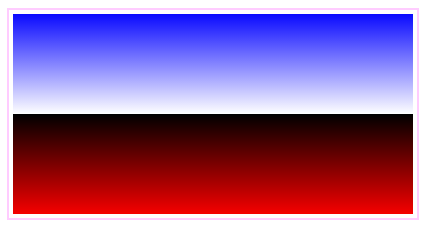
演示效果:
/*透過設定不同的步長值,從而設計多重漸變效果,從頂部漸進效果到底部,先是從藍色到白色漸變,再從百色到黑色漸變,最後是從黑色到紅色漸變顯示*/background: -webkit-gradient(linear, left top, left bottom, from(blue), to( red),color-stop(0.4, #fff), color-stop(0.6, #000));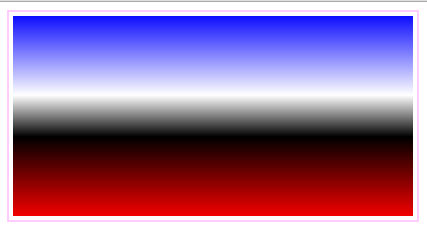
演示效果:
徑向漸變的基本用法
/*同心圓(圓心座標為200,100),內圓半徑為10,外圓半徑為100,內圓小於外圓半徑,由內圓紅色到外圓綠色徑向漸變,超過外圓半徑顯示為綠色,內圓顯示紅色*/background: -webkit-gradient(radial, 200 100, 10, 200 100, 100, from(red), to(green));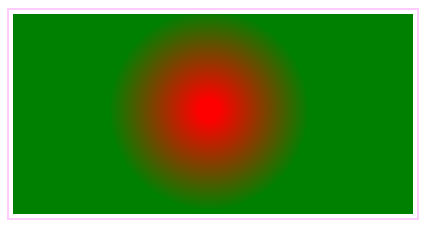
效果顯示:
/*同心圓(圓心座標為200,100),內圓半徑為100,外圓半徑為100,內圓小於外圓半徑,由內圓紅色到外圓綠色徑向漸層。當內圓和外圓半徑相等時,則漸變無效*/background: -webkit-gradient(radial, 200 100, 100, 200 100, 100, from(red), to(green));
演示效果:
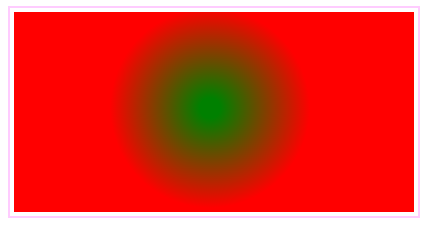
/*非同心圓,內圓心和外圓圓心的距離小於兩圓半徑的差,則顯示上圖效果,呈現錐形徑向漸變效果。錐形的尖銳性與兩圓心距離成正比*/background: -webkit-gradient(radial, 120 100, 10, 200 100, 100, from(red), to(green));
演示效果:
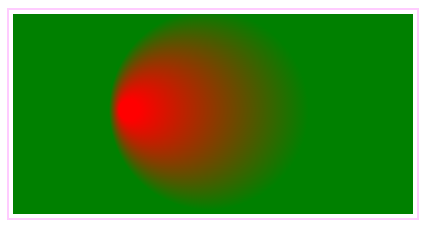
/*同心圓,在內圓到外圓中間90%的位置,即距離外環內添加一個藍色色標,設計多層徑向漸變,如下圖所示。 */background: -webkit-gradient(radial, 200 100, 10, 200 100, 100, from(red), to(green), color-stop(90%, blue));
演示效果:
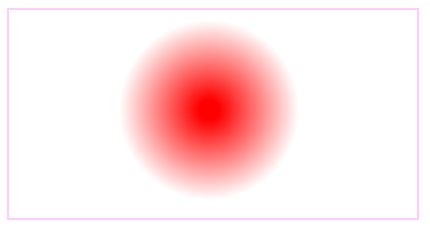
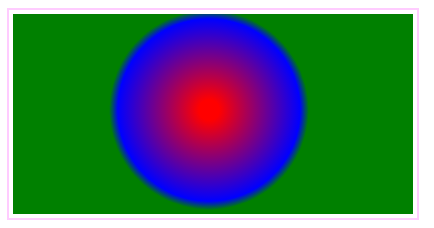 /*透過設定to()函數的顏色值為透明,可以設計發散的圓形效果*/background: -webkit-gradient(radial, 200 100, 10, 200 100, 90, from(red) , to(rgba(1,159,98,0)));
示範效果:
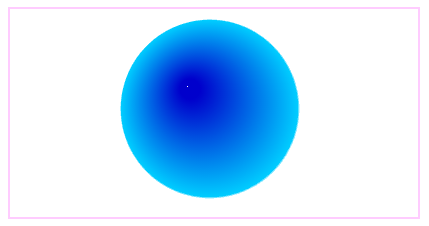
 /*透過設定to()函數的顏色值為透明,同時設計相似色,可設計球形效果* /background: -webkit-gradient(radial, 180 80, 10, 200 100, 90, from(#00C), to(rgba(1,159,98,0)), color-stop(98%, #0CF));
示範效果:
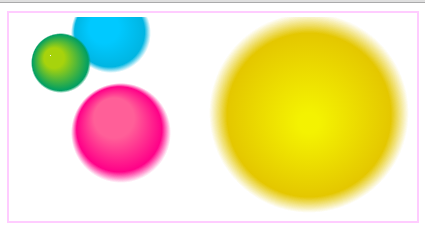
 /*透過為背景圖定義多個徑向漸變,可以設計多個氣泡效果,如下圖所示*/background: -webkit-gradient(radial, 45 45, 10 , 52 50, 30, from(#A7D30C), to(rgba(1,159,98,0)), color-stop(90%, #019F62)), -webkit-gradient(radial, 105 105, 202012 12012 1 , 50, from(#ff5f98), to(rgba(255,1,136,0)), color-stop(75%, #ff0188)), -webkit-gradient(radial, 95 15, 15, 102 20, 40, from(#00c9ff), to(rgba(0,201,255,0)), color-stop(80%, #00b5e2)), -webkit-gradient(radial, 300 110, 10, 300 100, 100,##f , to(rgba(228, 199,0,0)), color-stop(80%, #e4c700)); -webkit-background-origin: padding-box; -webkit-background-clip: content-box;
示範效果:
 漸層應用定義漸變效果的邊框
程式碼:
<!DOCTYPE html PUBLIC "-//W3C//DTD XHTML 1.0 Transitional//EN" "http://www.w3.org/TR/xhtml1/DTD/xhtml1-transitional.dtd">
<html xmlns="http://www.w3.org/1999/xhtml">
<head>
<meta http-equiv="Content-Type" content="text/html; charset=utf-8" />
<title>Webkit引擎的渐变实现方法</title>
<style type="text/css">
div {
 border-width: 20px;
 width: 400px;
 height: 200px;
 margin: 20px;
 -webkit-border-image: -webkit-gradient(linear, left top, left bottom, from(#00abeb), to(#fff), color-stop(0.5, #fff), color-stop(0.5, #66cc00)) 20;
}
</style>
</head>

<body>
<div></div>
</body>
</html>代碼:
<!DOCTYPE html PUBLIC "-//W3C//DTD XHTML 1.0 Transitional//EN" "http://www.w3.org/TR/xhtml1/DTD/xhtml1-transitional.dtd">
<html xmlns="http://www.w3.org/1999/xhtml">
<head>
<meta http-equiv="Content-Type" content="text/html; charset=utf-8" />
<title>Webkit引擎的渐变实现方法</title>
<style type="text/css">
.div1 {
 width:400px;
 height:200px;
 border:10px solid #A7D30C;
 background: -webkit-gradient(linear, left top, left bottom, from(#00abeb), to(#fff), color-stop(0.5, #fff), color-stop(0.5, #66cc00));
 float:left;
}
.div1::before {
 width:400px;
 height:200px;
 border:10px solid #019F62;
 content: -webkit-gradient(radial, 200 100, 10, 200 100, 100, from(#A7D30C), to(rgba(1, 159, 98, 0)), color-stop(90%, #019F62));
 display: block;
}
</style>
</head>

<body>
<div class="div1">透视框</div>
</body>
</html>
顯示效果: 
<!DOCTYPE html PUBLIC "-//W3C//DTD XHTML 1.0 Transitional//EN" "http://www.w3.org/TR/xhtml1/DTD/xhtml1-transitional.dtd">
<html xmlns="http://www.w3.org/1999/xhtml">
<head>
<meta http-equiv="Content-Type" content="text/html; charset=utf-8" />
<title>Webkit引擎的渐变实现方法</title>
<style type="text/css">
ul {
 list-style-image: -webkit-gradient(radial, center center, 4, center center, 8, from(#ff0000), to(rgba(0, 0, 0, 0)), color-stop(90%, #dd0000))
}
</style>
</head>

<body>
<ul>
 <li>新闻列表项1</li>
 <li>新闻列表项2</li>
 <li>新闻列表项3</li>
 <li>新闻列表项4</li>
</ul>
</body>
</html>


