本篇文章给大家带来了关于vuejs/" target="_blank">vue的相关知识,其中主要介绍了关于vue-router安装和使用的相关知识,下面一起来看一下,希望对大家有帮助。

【相关推荐:javascript视频教程、vue.js教程】
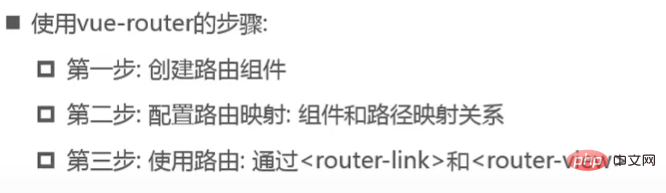
步骤1:安装vue-router
npm install vue-router --save
步骤2:在模块化工程中使用它(因为是一个插件,所以可以通过Vue.use()来安装路由功能)
导入路由对象,并调用Vue.use(VueRouter)
创建路由实例,并传入路由映射配置
在Vue实例中挂载创建的路由实例
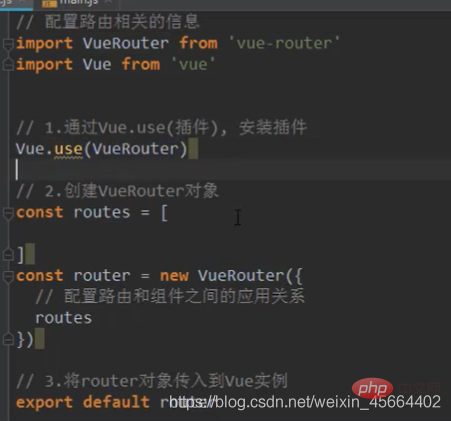
创建的router的配置文件在src下的router文件夹下的index.js文件中
index.js中内容如下:
注:虽然在这里已经注册了router,但是其需要被挂在在vue上,才能起作用。
挂载方法:
在src文件下的main.js中引入router,并挂载在vue实例上。
//main.js
import Vue from 'vue'
import App from './App'
import router from './router'


Vue.config.productionTip = false

/* eslint-disable no-new */
new Vue({
  el: '#app',
  router,
  render: h => h(App)
})实际使用案例:
App.vue中关键配置如下:
<template>
<div>
<h2>我是app组件</h2>
<!-- 通过router自带标签实现 -->
<router-link>首页</router-link>
<router-link>关于</router-link>
<router-link>用户</router-link>
<router-link>档案</router-link>
<!-- <router-link to='/home' tag="button" replace>首页</router-link>
<router-link to='/about' tag="button" replace >关于</router-link>-->
<!-- 通过代码跳转 -->
<!--
<button @click="homeClick">首页</button>
<button @click="aboutClick">关于</button>
-->
<keep-alive>
<router-view></router-view>
</keep-alive>
<button>用户2</button>
<button>档案</button>
</div>
</template><script>
export default {
name: "App",
data(){
return{
userId:'yzk'
}
},
methods: {
aboutClick() {
// 通过代码的方式修改路由 vue-router
// 不能如下操作:此操作会绕过路由进行修改,违背初衷
// history.pushState({},'','home')
// this.$router.push("/home");
this.$router.replace("/home");
console.log("about");
},
homeClick() {
// this.$router.push("/about");
this.$router.replace("/about");
console.log("home");
},
userClick(){
this.$router.push('/user/'+this.userId);
},
profileClick(){
this.$router.push({
path:'/profile',
query:{
name:'kobe',
age:18,
height:1.98
}
})
}
},
};
</script><style>
.router-link-active {
color: red;
}
.active {
color: pink;
}
</style>Router的index.js文件如下:
// 配置路由信息
import Vue from 'vue'
import VueRouter from 'vue-router'
// import Home from '../components/Home'
// import About from '../components/About'
// import User from '../components/User'

// 懒加载,提高效率(因为app.js文件中集成了所有的业务代码,因此请求事件可能较长
// 通过将app.js分隔,在需要使用某些js代码的时候,才接收其代码)
const Home = () => import('../components/Home')
const HomeNews = () => import('../components/HomeNews')
const HomeMessage = () => import('../components/HomeMessage')

const About = () => import('../components/About')
const User = () => import('../components/User')
const Profile = () => import('../components/Profile')


// 1.通过Vue.use(插件),安装插件
Vue.use(VueRouter)

// 2.创建VueRouter对象
const routes = [
  {
    path: '',
    //  component: Home
    // 重定向redirect
    redirect: '/home'
  },
  {
    path: '/home',
    component: Home,
    meta: { title: "首页" },
    children: [
      {
        path: '',
        redirect: 'news'
      },
      {
        path: 'news',
        //  注意这里是没有s的!!!
        component: HomeNews,

      },
      {
        path: 'message',
        component: HomeMessage
      },
    ]
  },
  {
    path: '/about',
    component: About,
    meta: { title: "关于" },
  },
  {
    path: '/user/:userId',
    component: User,
    meta: { title: "用户" },
  },
  {
    path: '/profile',
    component: Profile,
    meta: { title: "档案" },
  }
]
const router = new VueRouter({
  // 配置路由和组件间的映射关系
  routes,
  mode: 'history',
  linkActiveClass: 'active'
})

// 3.将router对象传入到Vue实例中
export default router

// 导航守卫 前置钩子
router.beforeEach((to, from, next) => {
  document.title = to.matched[0].meta.title
  console.log('+++');
  next()
})

// 导航守卫, 后置钩子 不需要调用next函数
router.afterEach((to,from) => {
  console.log('----');
})main.js中的挂载:
import Vue from 'vue'
import App from './App'
import router from './router'


Vue.config.productionTip = false

/* eslint-disable no-new */
new Vue({
  el: '#app',
  router,
  render: h => h(App)
})【相关推荐:javascript视频教程、vue.js教程】
以上就是一文掌握vue-router的安装与使用的详细内容,更多请关注php中文网其它相关文章!


Copyright 2014-2024 //m.sbmmt.com/ All Rights Reserved | php.cn | 湘ICP备2023035733号


 19
19 1377
1377