Course Intermediate 11306
Course Introduction:"Self-study IT Network Linux Load Balancing Video Tutorial" mainly implements Linux load balancing by performing script operations on web, lvs and Linux under nagin.

Course Advanced 17617
Course Introduction:"Shangxuetang MySQL Video Tutorial" introduces you to the process from installing to using the MySQL database, and introduces the specific operations of each link in detail.

Course Advanced 11323
Course Introduction:"Brothers Band Front-end Example Display Video Tutorial" introduces examples of HTML5 and CSS3 technologies to everyone, so that everyone can become more proficient in using HTML5 and CSS3.
Ways to fix issue 2003 (HY000): Unable to connect to MySQL server 'db_mysql:3306' (111)
2023-09-05 11:18:47 0 1 811
Experiment with sorting after query limit
2023-09-05 14:46:42 0 1 717
CSS Grid: Create new row when child content overflows column width
2023-09-05 15:18:28 0 1 608
PHP full text search functionality using AND, OR and NOT operators
2023-09-05 15:06:32 0 1 569
Shortest way to convert all PHP types to string
2023-09-05 15:34:44 0 1 998

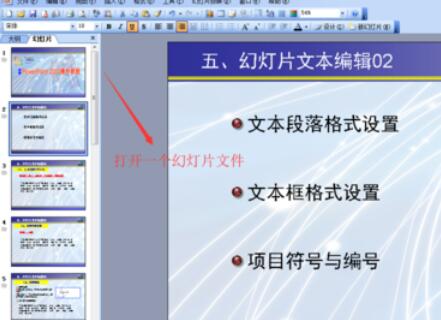
Course Introduction:Find a ready-made PPT2003 slide document, and then open this PPT presentation file. Find and click to expand the [Slide Show] window, and find the [Rehearsal Timing] command in the Slide Show window. Click Rehearse Timing and proceed to full screen manual timing of the slides. Keep timing the entire slideshow to completion. After the timing is completed, click Close to exit. At this time, we will find that the slide browsing mode has changed, so we need to click to switch back to the original normal view. Click again to expand the [Slide Show] window, find and click the [Set Show Mode] command in the slide show window. Then the [Set Screening Mode] dialog window will pop up. In this window, check the options of using rehearsal timing and loop screening. Final slide show
2024-06-12 comment 0 338

Course Introduction:1. Open a document with ppt2013, select the slide we want to copy in the task pane, and right-click the mouse. In the pop-up shortcut menu, we select the [Copy Slide] option. 2. Now that the slide has been copied, you can take a look at the effect. 3. Since the slide copied in this way will be placed directly on the next page of the copied slide, this slide can be moved to the location we selected. We only need to select the slide we want to move in the slide task pane, hold down the left mouse button, drag it to the selected location, and release the mouse. 4. Now the slide has been moved to the position we selected. The effect is shown in the picture.
2024-03-26 comment 0 687

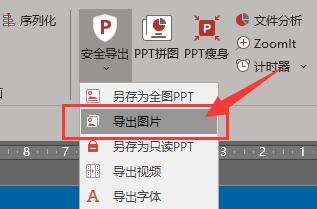
Course Introduction:Open PPT, find iSlide in the menu bar, select Safe Export in the iSlide tool group, click [Export Picture], and in the pop-up [Export Picture] window, set the slide type to be exported. Select [Save As] to export all PPTs as high-definition pictures. You can set the exported image size through "Image Width".
2024-04-17 comment 0 840

Course Introduction:1. Open PPT, click New Slide, and after creating a new slide document, select Page Settings in the Design column of the menu bar. In the pop-up dialog box, set the Slide Size to A4 size, and then set the Slide Orientation to Portrait. Click OK. 2. Select [Background] in [Design] in the menu bar, and select [Background...] in the drop-down menu to open the background setting interface. Click the inverted triangle of [Background Fill], select [Fill Effect], click [Picture] in the pop-up window, then [Select Picture], and click OK. 3. You can add some elements to the poster. Menu bar [Insert] → [Shape]/[Picture], and then you can select some appropriate graphics to add to the poster. 4. We can give the inserted element
2024-03-26 comment 0 618

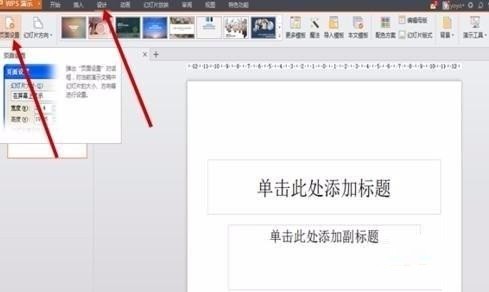
Course Introduction:1. Create a new PPT document 2. Click the [Design] button on the menu bar. 3. Click the [Page Settings] button. 4. The window shown in the figure will pop up. 5. Select [Banner] in the slide size. 6. Enter content in the banner. 7. The effect is as shown in the figure.
2024-04-25 comment 0 1238