Course Intermediate 11306
Course Introduction:"Self-study IT Network Linux Load Balancing Video Tutorial" mainly implements Linux load balancing by performing script operations on web, lvs and Linux under nagin.

Course Advanced 17617
Course Introduction:"Shangxuetang MySQL Video Tutorial" introduces you to the process from installing to using the MySQL database, and introduces the specific operations of each link in detail.

Course Advanced 11324
Course Introduction:"Brothers Band Front-end Example Display Video Tutorial" introduces examples of HTML5 and CSS3 technologies to everyone, so that everyone can become more proficient in using HTML5 and CSS3.
2017-07-05 10:44:09 0 1 992
javascript - Error switching between mouse events and keyboard events when utilizing button tags?
2017-05-18 10:54:36 0 3 588
javascript - How to implement JS to dynamically modify css global styles
2017-05-19 10:11:38 0 3 649
HTML: How to go to next page in ascending order?
2023-09-10 21:41:36 0 1 693
How to center align a toggle button on a div element?
2024-03-27 21:47:43 0 1 405
Course Introduction:2015035 Shuangseqiu Lottery Result: 2015035 Shuangseqiu Lottery Result Establishing backward/forward buttons for query results: Recently there have been many questions on Support Forums about how to create a search result like "Backward 1 2 3 4 5 Forward" "Looks like a link. I hope the script below helps you add this functionality to your search results pages. This example was written specifically for MySQL, but can be easily adapted for other SQL engines. Because every application is different, I use some common statements for MySQL query processing. The TABLE name should be replaced with your actual table name. YOUR CON
2016-07-29 comment 0 4995

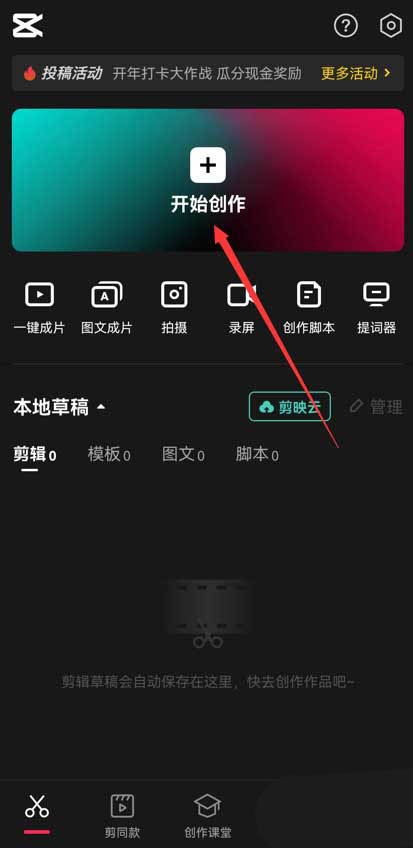
Course Introduction:1. First open the clipping APP, as shown in the picture below. 2. Click the Start Creating button, as shown below. 3. Then click the material library button, select the festive atmosphere, then select a video material with a black background and particle animation, and finally click the add button at the bottom, as shown in the picture below. 4. Click the Picture-in-Picture button at the bottom, and then click the New Picture-in-Picture button, as shown in the picture below. 5. Then click the material library button, select the green screen material, then select a meteorite video material, and click the add button at the bottom, as shown in the picture below. 6. Select the green screen material you just added and click the smart keying button at the bottom, as shown in the picture below. 7. Finally, adjust the duration of the two video materials to be the same. Click the play button to see the effect, as shown in the picture below.
2024-04-15 comment 0 642

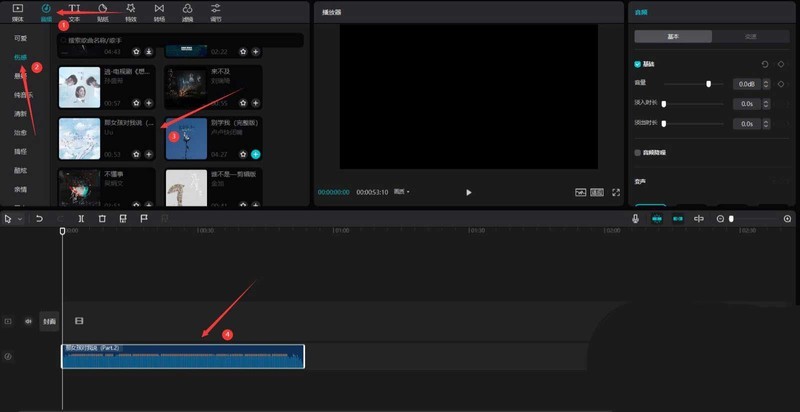
Course Introduction:First open the professional version of Cutout. Click the audio button, select a piece of audio material in Sadness, and add it to the audio track, as shown in the picture below. Select the audio material, click Auto Step, and select Step I, as shown in the picture below. Click the media button, then click the material library button, enter the word sadness in the search bar, select a video material, and add it to the video track, as shown in the picture below. Select the video material and click the freeze button, as shown in the picture below. Select the video material and click the delete button to delete it, as shown in the picture below. Adjust the duration of both clips to 10 seconds, as shown in the picture below. Click the Effect button, select the blur opening effect in the basics, add it to the effects track, then adjust the end of the effect to align with the first audio clip point, and then change the blur level to 11, as shown in the picture below.
2024-04-28 comment 0 965

Course Introduction:How to set up the countdown stop-motion effect animation. How to set it up specifically? Follow the editor to find out. First open the professional version of Cutout, as shown in the picture below. Click the media button, then click the material library button, enter the word landscape in the search bar, select a video, and add it to the video track, as shown in the picture below. Click the special effects button, select the countdown special effect in the basics, and add it to the special effects track, as shown in the picture below. Move the timeline to the end of the special effect, select the video material, and click the freeze button, as shown in the picture below. Select the video material and click the delete button to delete the video, as shown in the figure below. Click the Retro button, select the white border effect, and add it to the effects track, as shown below. Click the text button, select the default text, add it to the text track, and change the text content
2024-06-13 comment 0 1175

Course Introduction:First open the Cutout APP and click the Start Creating button. Click the material library button, enter the word landscape in the search bar, select a video material, and click the add button at the bottom, as shown in the picture below. Select the video material, click the edit button at the bottom, select Crop, and then select 9:16, as shown in the picture below. Drag the timeline to the position you want to split, and click the split button at the bottom, as shown in the picture below. Select the first half of the divided material, click the animation button at the bottom, select the rotation and landing in the combined animation, and increase the effect application duration to the maximum, as shown in the picture below. Select the second half of the split material, click the entrance animation button at the bottom, and select the downward throwing effect, as shown in the picture below. Return to the top layer, click the special effects button at the bottom, select the sharpening effect in the screen effects, and compare the duration of the special effect with the split
2024-04-28 comment 0 472