


This article mainly introduces the detailed steps for Django to configure mysql database, which has certain reference value. Interested friends can refer to it
The Django project uses the sqlite database by default, but I If you want to use mysql database, how should you configure it?
Django connects to the mysql database through the configuration of the root module. In the configuration file settings.py of the project root module, we can query the following DATABASES configuration information:
DATABASES = {
  'default': {
    'ENGINE': 'django.db.backends.sqlite3',
    'NAME': os.path.join(BASE_DIR, 'db.sqlite3'),
  }
}Explain the meaning of the above code:
ENGINE: used for the configuration of a specific database engine. Different database fields are different. Common ones are:
django.db.backends.postgresql # PostgreSQL
django.db.backends.mysql    # mysql
django.db.backends.sqlite3   # sqlite
django.db.backends.oracle   # oracle
#NAME: refers to the name of the database to be connected
The django documentation states that if you want to use mysql, you need to install Python's db API DRIVER, that is Database interface driver, there are three commonly used database driver interfaces, mysqldb, pymysql, mysqlclient. However, MYSQLdb does not support python3, and it is officially recommended to use mysqlclient. Therefore, this article also uses mysqlclient. Okay, without further ado, let’s start today’s Django configuration mysql journey.
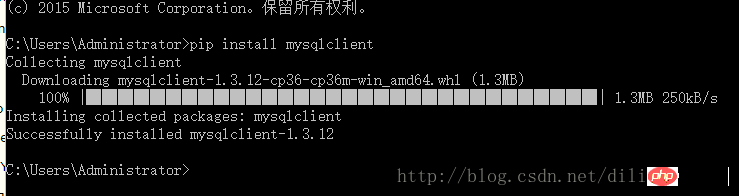
Step one:Download mysqlclient
pip install mysqlclient
Step 2: Create a database. For example, I created a blog database. You can create it with a command, or you can use a visual tool (Navicat Premium) to create it. The command to create a database code:
CREATE DATABASE blog(database_name) CHARACTER SET UTF8;
   #指定数据库的编码utf8
Step 3: Configure the mysql connection parameters in settings.py, as follows:
DATABASES = {
  'default': {
    'ENGINE': 'django.db.backends.mysql',
    'NAME': 'blog',
  'USER':'root',
  'PASSWORD':'kong1234,',
  'HOST':'127.0.0.1',
  'PORT':'3306',
  }
}USER: The username for database login, mysql is usually root
PASSWORD: The password for login to the database must be the password corresponding to the USER user
HOST: Since general databases have a C/S structure, the location of the database server must be specified. Generally, the database server and client are on the same host, so the default is usually Fill in 127.0.0.1
PORT: database server port, mysql default is 3306
HOST and PORT can be left blank, use the default configuration , but if you change the default configuration, you need to fill in the changed
. In fact, this is basically done. To better illustrate, let’s give an example to demonstrate. Let’s do some data manipulation.
Step 4: Create the model class in models.py in the application you created.
For example, I create a class in models.py under my blog application. The code is as follows:
from __future__ import unicode_literals
from django.db import models


class Article(models.Model):
  title = models.CharField(max_length=32, default='Title')
  content = models.TextField(null=True)
## Five steps: Map fields into data tables and execute the following command
python manage.py makemigrations (应用名,选写)
python manage.py migrate (应用名,选写)
Step six: Execute python manage.py sqlmigrate application name file id
View sql statementpython manage.py sqlmigrate blog 0001
Detailed explanation of the use and source code analysis of Django’s admin component
The above is the detailed content of How to configure mysql database in Django. For more information, please follow other related articles on the PHP Chinese website!


![[Web front-end] Node.js quick start](https://img.php.cn/upload/course/000/000/067/662b5d34ba7c0227.png)


