We often use databases when developing in java. Databases can save data and manage data. Of course, connecting to the database is the first step in our development. If you don’t connect to the database, how can you Talking about operating the database, we will encounter many problems during the process of connecting to the database. Let me explain below how to connect to the database and the errors that occur during the connection process.
Recommended mysql video tutorials : "mysql tutorial"

Download JDBC
1. The first step is to search "mysql-connector-java-5.1.24-bin.jar" on Baidu and download it. Put this mysql-connector-java-5.1.24-bin.jar


##Add code
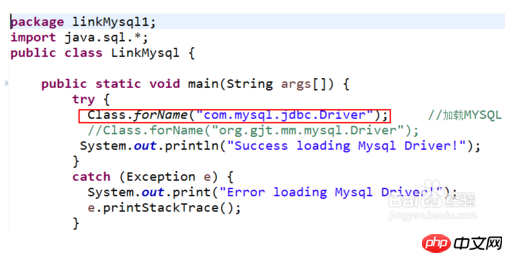
1. The third step is to write the function that loads JDBC. Note: When we test, we are all in main In the function.
try {
          Class.forName("com.mysql.jdbc.Driver");     //加载MYSQL JDBC驱动程序
          //Class.forName("org.gjt.mm.mysql.Driver");
         System.out.println("Success loading Mysql Driver!");
        }
        catch (Exception e) {
          System.out.print("Error loading Mysql Driver!");
          e.printStackTrace();
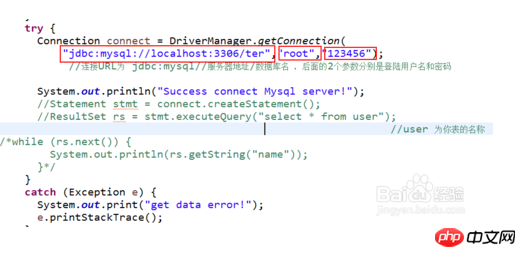
} 2. The fourth step is to connect to the database,
Connection connect = DriverManager.getConnection(
              "jdbc:mysql://localhost:3306/ter","root","123456");
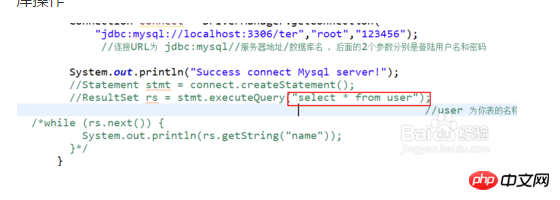
//连接URL为 jdbc:mysql//服务器地址/数据库名 ,后面的2个参数分别是登陆用户名和密码 3. The fifth step is to operate the database. Here my database name is ter. The ones marked in red are the familiar database operations
 4. Step 6: Start the database service. Press CTRL+SHIFT+ESC, click Service.--Find Mysql, right-click to start
##Full codepackage linkMysql1;
import java.sql.*;
public class LinkMysql {
public static void main(String args[]) {
try {
Class.forName("com.mysql.jdbc.Driver"); //加载MYSQL JDBC驱动程序
//Class.forName("org.gjt.mm.mysql.Driver");
System.out.println("Success loading Mysql Driver!");
}
catch (Exception e) {
System.out.print("Error loading Mysql Driver!");
e.printStackTrace();
}
try {
Connection connect = DriverManager.getConnection(
"jdbc:mysql://localhost:3306/ter","root","123456");
//连接URL为 jdbc:mysql//服务器地址/数据库名 ,后面的2个参数分别是登陆用户名和密码
System.out.println("Success connect Mysql server!");
Statement stmt = connect.createStatement();
ResultSet rs = stmt.executeQuery("select * from user");
//user 为你表的名称
while (rs.next()) {
System.out.println(rs.getString("name"));
}
}
catch (Exception e) {
System.out.print("get data error!");
e.printStackTrace();
}
}
}
InstructionsRemember to open Mysql
The above is the detailed content of Connect to mysql database using Eclipse. For more information, please follow other related articles on the PHP Chinese website!


