
Home > Article > Backend Development > Django installation tutorial in pycharm (picture and text)

This article brings you the installation tutorial (pictures and text) of Django in pycharm. It has certain reference value. Friends in need can refer to it. I hope it will be helpful to you. help.
1. Installation:
1. Click File and find the setting option
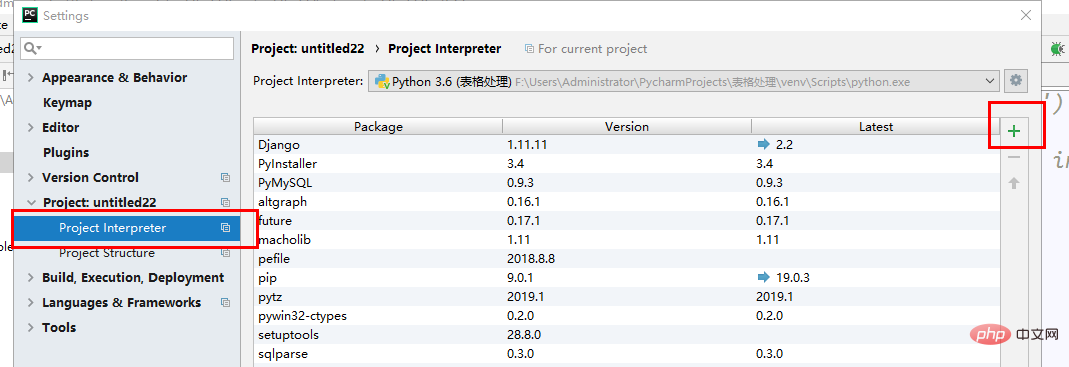
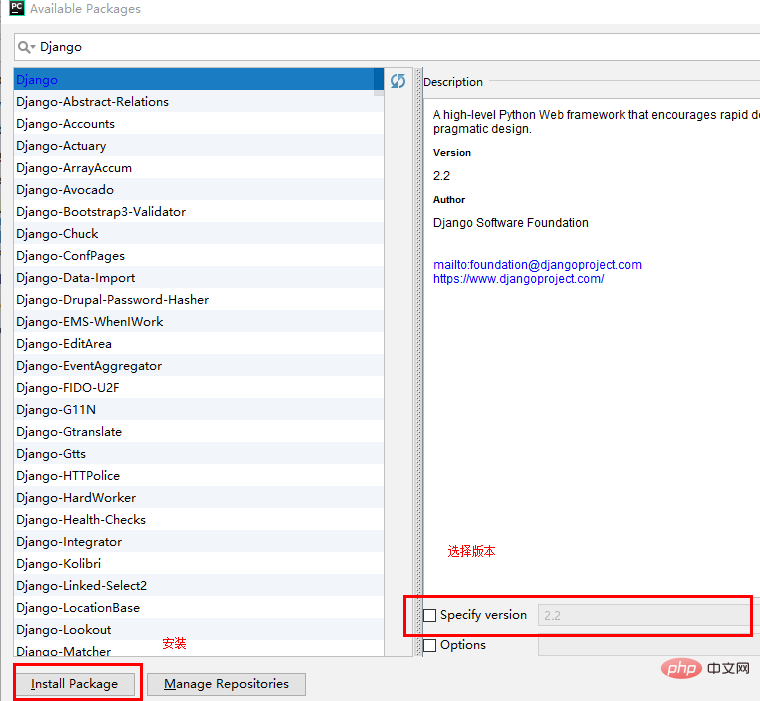
##2. Click on the number to enter the following interface
2. Create Django project

##After the creation is successful, the left side of the new project:
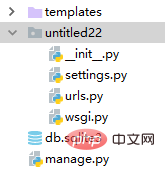
setting.py: used to configure Django
##urls.py: used to store addresses
wsgi: The package of wsgiref.py imported by Django (Django is a framework developed based on the native wsgiref)
manage.py: Start the Django project
After having the above, you can create the project.
There are two ways to create it in pycharm:
1. Enter python manage.py startapp application name in Terminal
2. Open the Tools menu (recommended) 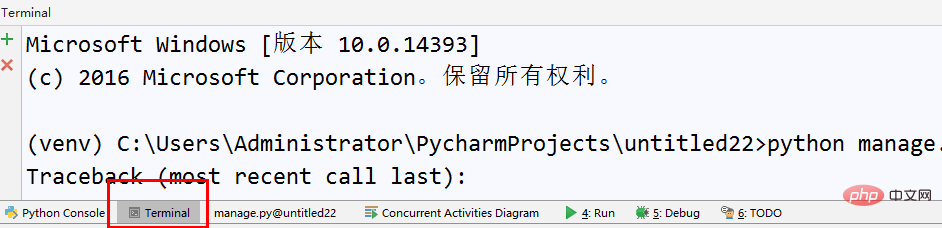
Enter the startapp application name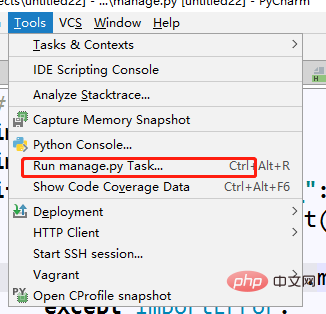
 ## You can get something like this Folder (taking app01 as an example)
Today I will only talk about Views.py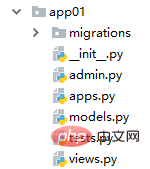
3. Simple use
Open your settings file
##Add your application name to INSTALLED_APPS (mine is app01) 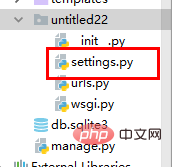
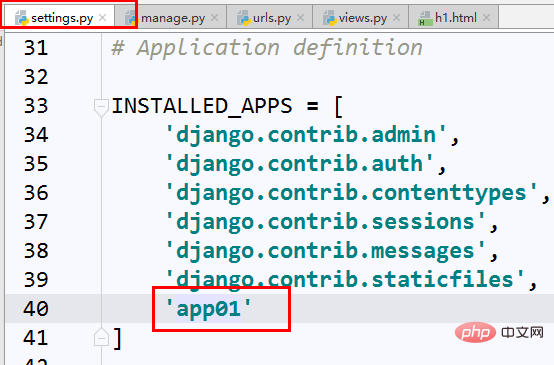 At this time your Django can be run
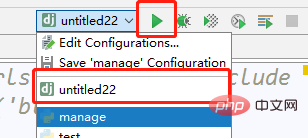
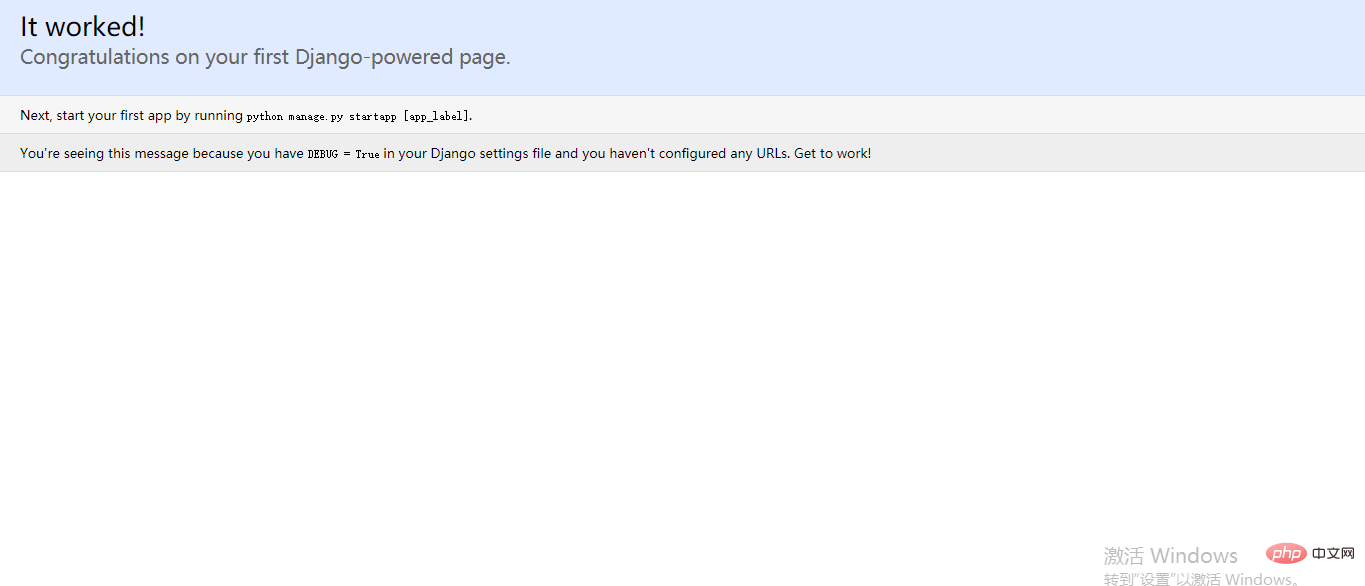
##After clicking, the effect will be as follows: 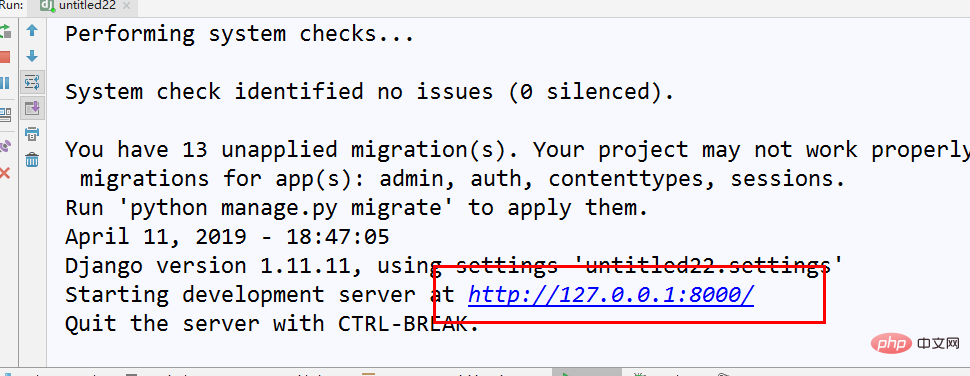
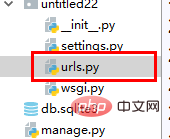
# #Want to add something? Very simple
Open the urls.py file
Is there anything in views? Don't panic, just be reckless and write the function later The format in urlpatterns is url(r'^pathname',views.function name) Okay, okay, let’s stop being reckless and write the function honestly. Open your views file There are three frequently used packages to use in views, abbreviated as Django beginners must know three things: They are: HttpResponge (Response) ,redirect(redirect) .render(replace) Import above the file First of all: HttpResponge (response): Run your project at this time: ## Wrong writing? That's right, it's because you didn't set a start page In the urls.py file, I wrote it like this, where admin is the page that comes with Django, ignore it for now
You will get the following page, which is what we just set value Second type: redirect:
In the browser:
Of course you can also jump to your own page:
The third type: render render exists for dynamic effects. Here is one A small example of getting the time Same as above:
##request(request, Your HTML file, {passed value}) Note that the passed value must be in dictionary format This way it can be used in our HTML Get the value we transferred: HTML is created in the templates file: Usage method is: { { variable name} } Open it and try the effect: Refresh: You can see that the time obtained by each visit is different, so A simple dynamic page is completed 


 ##Enter
 ## Successfully jumped to the Baidu page
 Jump to the db page I wrote myself ( The effect is very simple and will not be demonstrated)
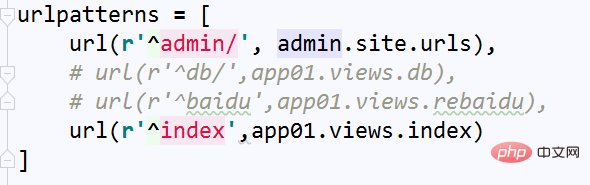


The above is the detailed content of Django installation tutorial in pycharm (picture and text). For more information, please follow other related articles on the PHP Chinese website!