Home > Article > Web Front-end > How to make PS brush font

How to make PS brush font?
1. After opening Photoshop, create a new PS file, and then directly use bold fonts to type out the text content to be made into calligraphy brush characters, such as the two characters "风云" made in the pilot, Then you can find some available brush strokes on the Internet, make them into uniform layers, and drag them into this PS file.
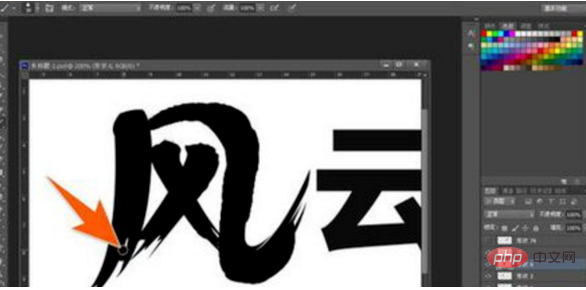
#2. Select the stroke layer, press the CTRL T key again, select the deformation tool, and use the mouse to shape it into the desired stroke shape.
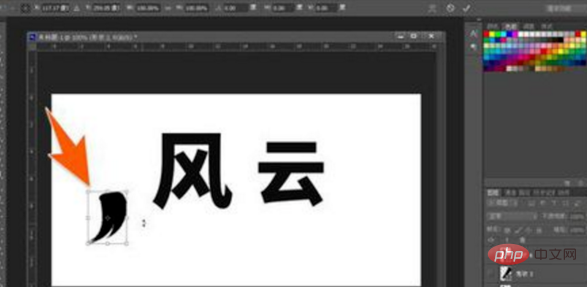
#3. In this way, roughly call out the strokes of the entire character in sequence, and match the strokes one by one, as shown in the figure below.
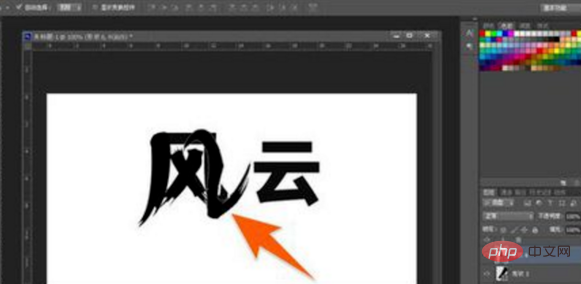
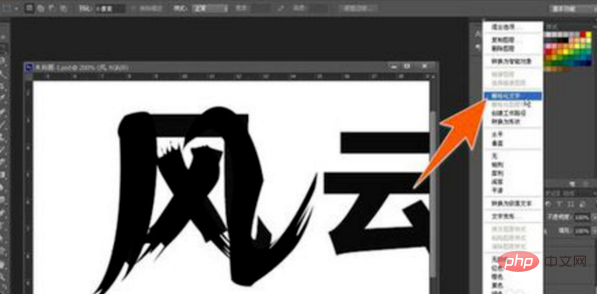
#4. Select these text and stroke layers again, right-click the mouse, and in the options that pop up again, select Delete text.
#5. Use the eraser tool on the toolbar again, select an appropriate pen shape to erase the excess and inappropriate parts of the original strokes.
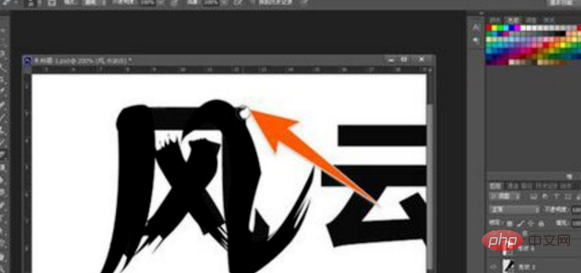
6. Use the brush tool again to repair the strokes that need to be reduced and corrected, so as to achieve the effect of handwritten brush strokes. If the original brush strokes are used properly, Then the repair work will be much more difficult.
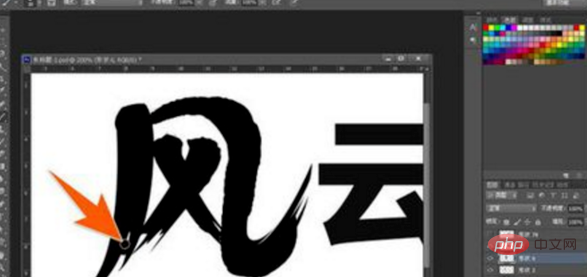
#7. After the stroke repair is completed, you can continue to make appropriate adjustments to the entire glyph so that it fits better when placed together with other characters.
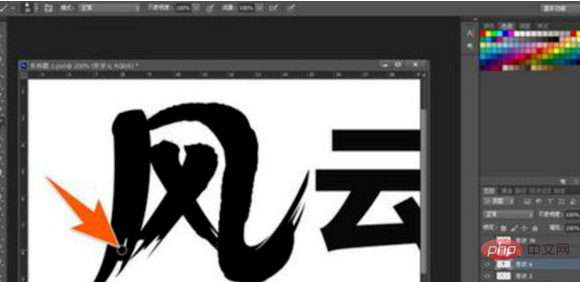
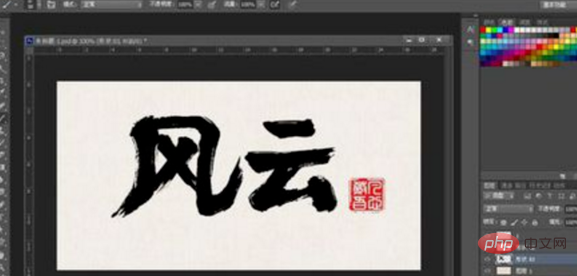
#8. Use the same method to expand and complete another character again. In this way, the text can be made into a calligraphy brush character effect through PS.
The above is the detailed content of How to make PS brush font. For more information, please follow other related articles on the PHP Chinese website!