Home >Common Problem >Step-by-step tutorial on installing win7 system on Apple laptop
Although Apple’s Mac system is very smooth, because there are too few software and too few games, many people will abandon the Apple system for this reason. However, users who have already bought Apple computers can actually use Apple computers. Let’s take a look at the step-by-step tutorial on how to install the Windows 7 system on an Apple notebook. Let’s take a look.
Preparation work:
1. Back up all important files on the Apple computer OS
3. Operating system: Download win7 onlineInstallation tutorial1. First make a uefi boot U disk, copy the win7 system iso directly to the U disk, on an Apple computer, For example, insert a USB flash drive into a macbook and hold down the option key during startup.#2. Enter the boot menu selection interface, press the right arrow key to move to the EFI Boot icon, and press the enter key. 
#3. Start the Dabaicai pe system and double-click [DG Partition Tool] on the desktop. 
#4. Right-click the Apple computer hard drive and select [Delete all partitions]. 
5. A prompt box pops up, click Yes to confirm deletion of the partition. 
#6. Then click to save changes, right-click the hard disk and select [Quick Partition]. 
#7. Set the number of partitions, such as 2 partitions, and then set the space size of each partition, OK. 
8. Perform the partition operation after completion. 
9. Then double-click [Chinese cabbage PE one-click installation], select win7 iso as the image path, click the drop-down box to automatically load win7.gho, select the installation location, not necessarily C drive, you can select and confirm according to the volume label [System]. 
#10. This dialog box pops up, check "Boot Repair" and click Yes. 
#11. In this interface, perform the win7 system decompression operation. 
#12. After decompression is completed, the computer will automatically restart. At this time, pull out the USB flash drive and start installing the win7 system. 
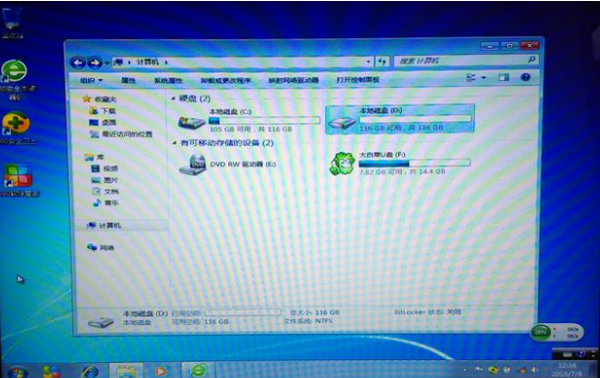
#13. After the installation is completed, boot into the win7 system. 
#The above is the step-by-step tutorial on how to install the win7 system on an Apple notebook. Let’s take a look. 
The above is the detailed content of Step-by-step tutorial on installing win7 system on Apple laptop. For more information, please follow other related articles on the PHP Chinese website!