In the previous article "Teach you how to use PS to create a melting word effect (share)", I introduced you how to use PS to create a melting word effect. The following article will introduce to you how to quickly blend into the background using PS. Let’s see how to do it together.

The effect of blending into the background is as follows

##psHow to quickly blend into the background
1. Open ps, import the picture and then cut it out.
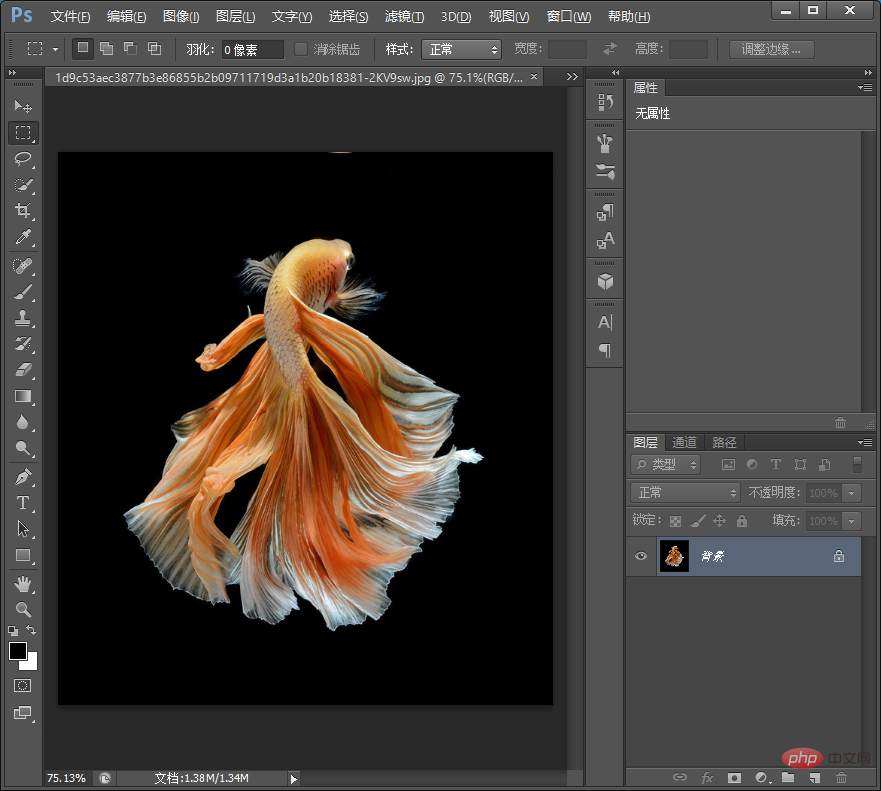
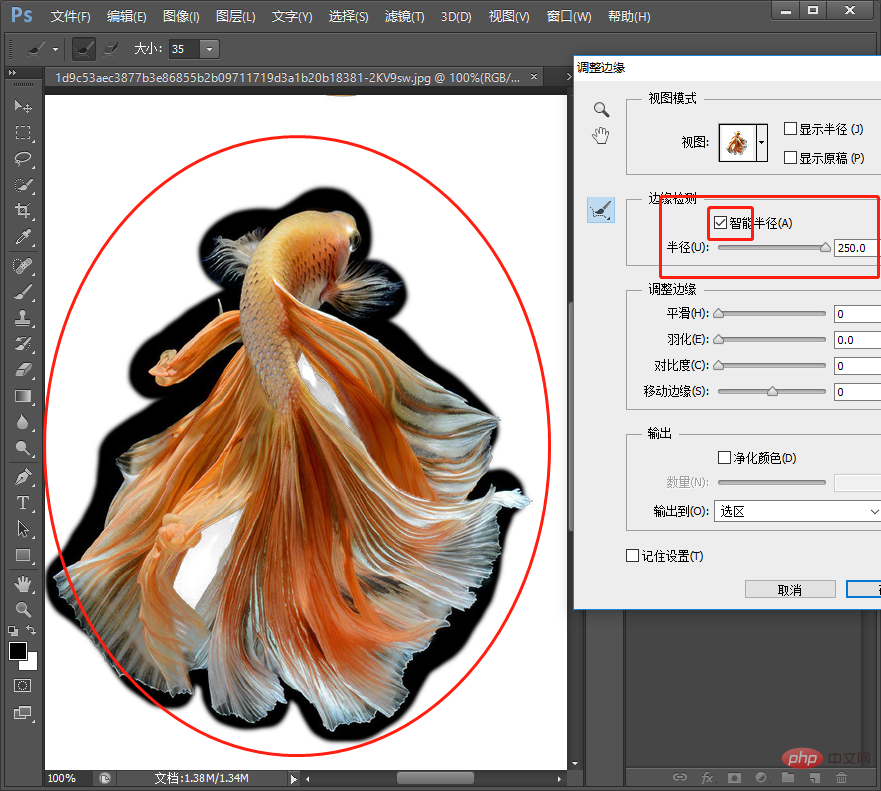
#2. Click the "Magic Wand Tool" button in the upper left corner to select the subject (fish), and then click [Adjust Edge].

#3. Edge detection can check whether the edge details have been processed well. Select the smart radius, and the edges can be processed and the required parts can be cut out.
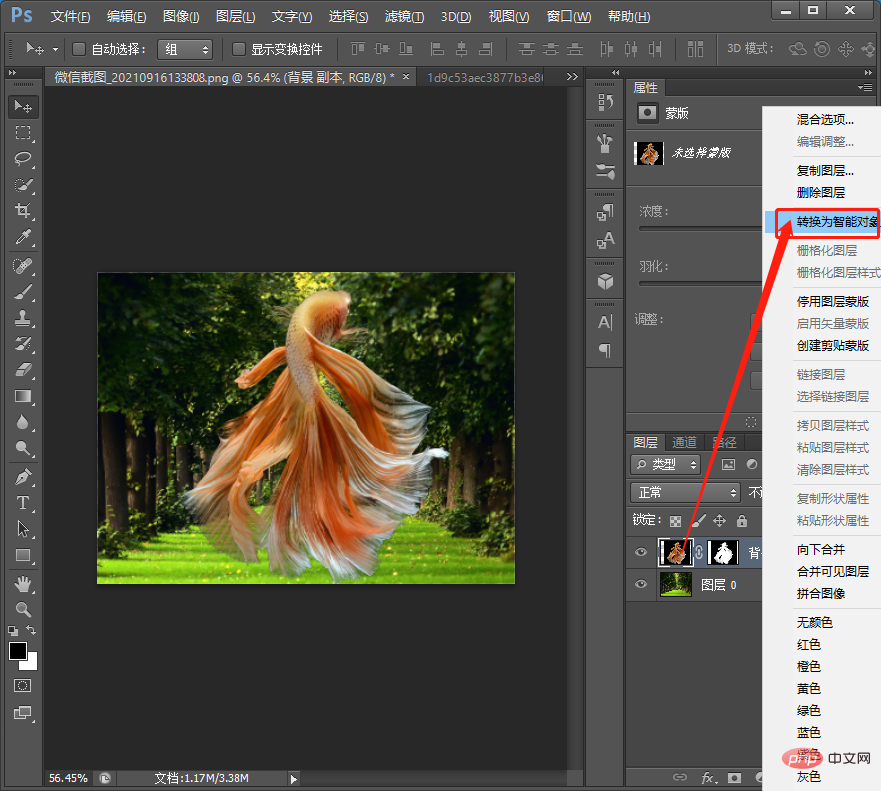
#4. After cutting it out, drag it back to the document and convert the left button of the [Fish] layer into a smart object.
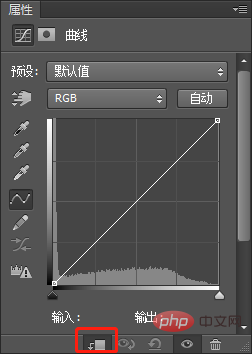
#5. Add [Curves] to its adjustment layer.

#6. Click the small button at the bottom of the curve dialog box to create a clipping mask.
#7. Click the button in the upper left corner to pop up and select [Automatic Options].
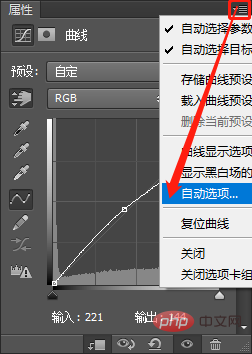
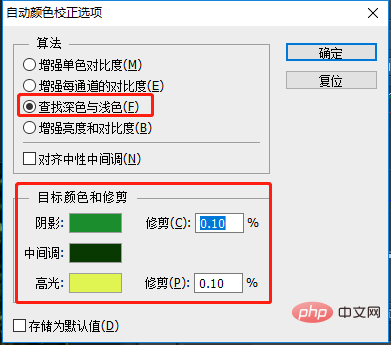
8. In the automatic options dialog box, algorithm [Find dark and light colors], target colors: shadows, midtones, highlights, just use the color card to absorb, single Click OK.
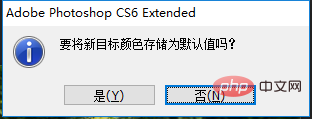
9. Click "Yes" directly.
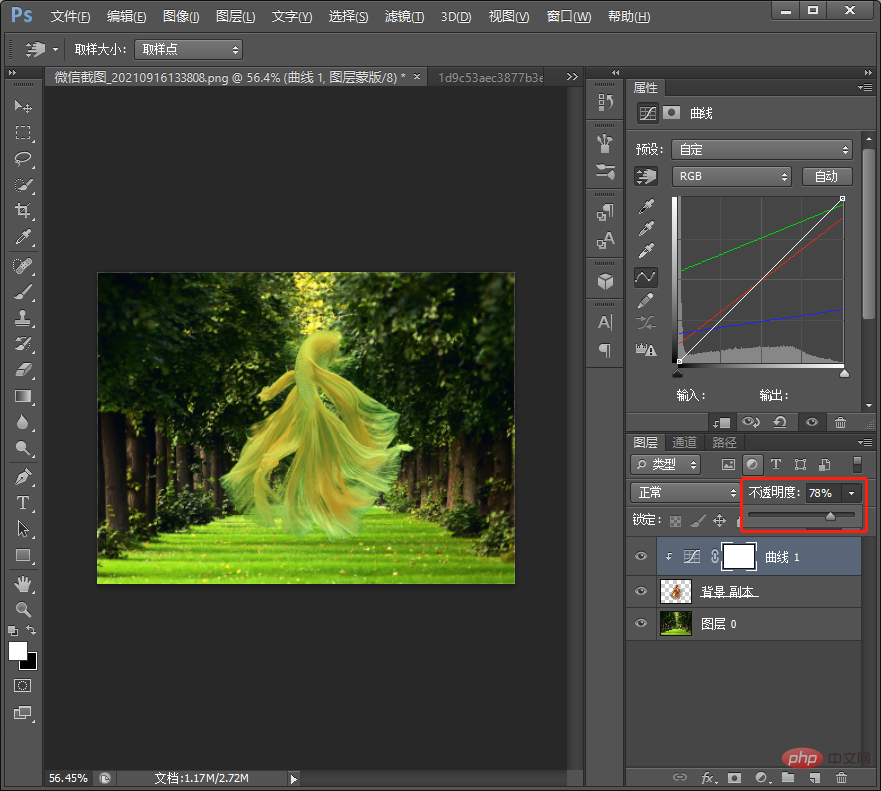
10. Set the opacity of the adjustment layer to 70%. You can adjust it yourself as needed.
#11. Add a shadow to it, duplicate the layer and merge the layers.
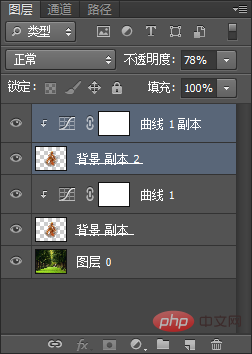
12. Press [Ctrl T] to freely transform, and select [Vertical Flip].

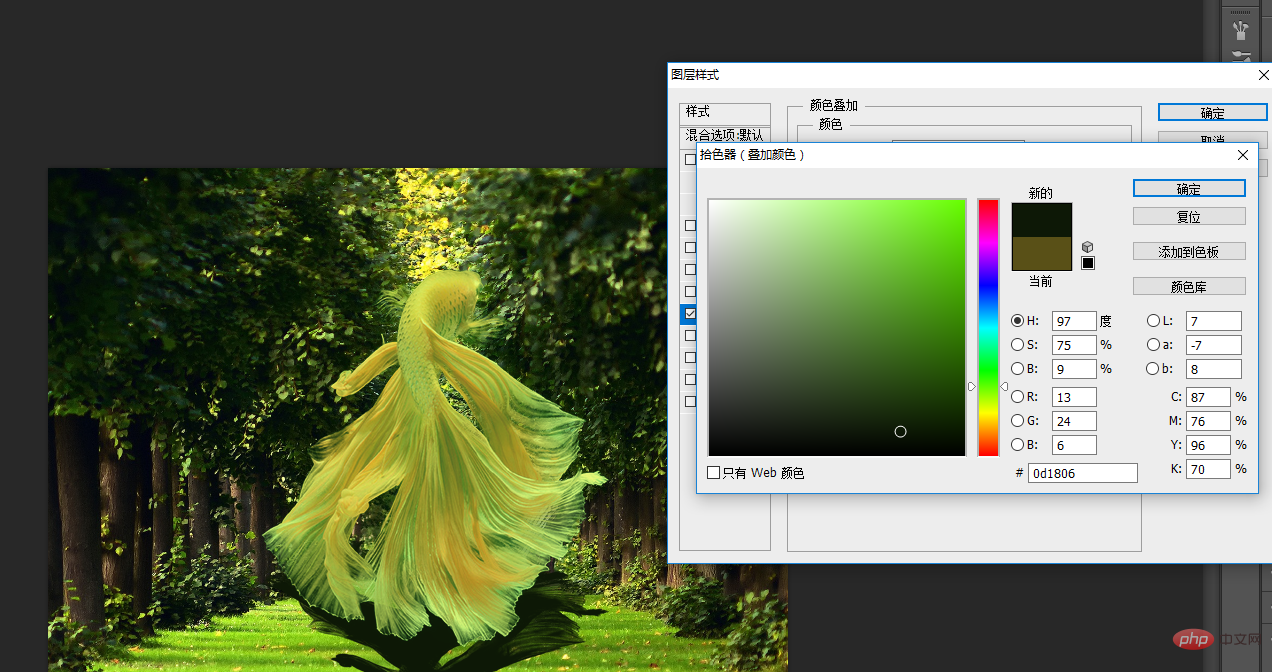
#13. Double-click on the layer to open the style and add an overlay color to it.
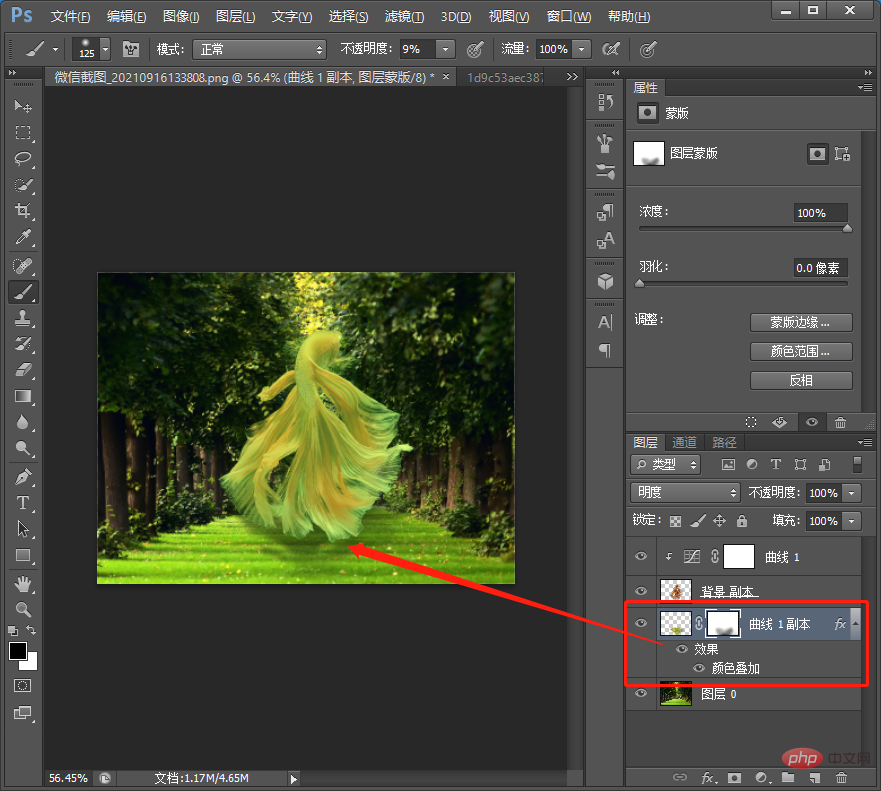
#14. Add a mask to the shadow layer and use the [Brush Tool] to adjust it until the effect is achieved. The effect is complete.
Recommended learning:
PS video tutorial
The above is the detailed content of Getting Started: How to quickly blend into the background with PS (summary). For more information, please follow other related articles on the PHP Chinese website!


