Home >Database >Mysql Tutorial >Super detailed MySQL8.0.22 installation and configuration

##Free learning recommendation: mysql video tutorial
Hello everyone, today we will learn about the installation and configuration of MySQL8.0.22. Read it carefully, learn it carefully, super detailed
The first step
Enter MySQL official website to download, as shown below:
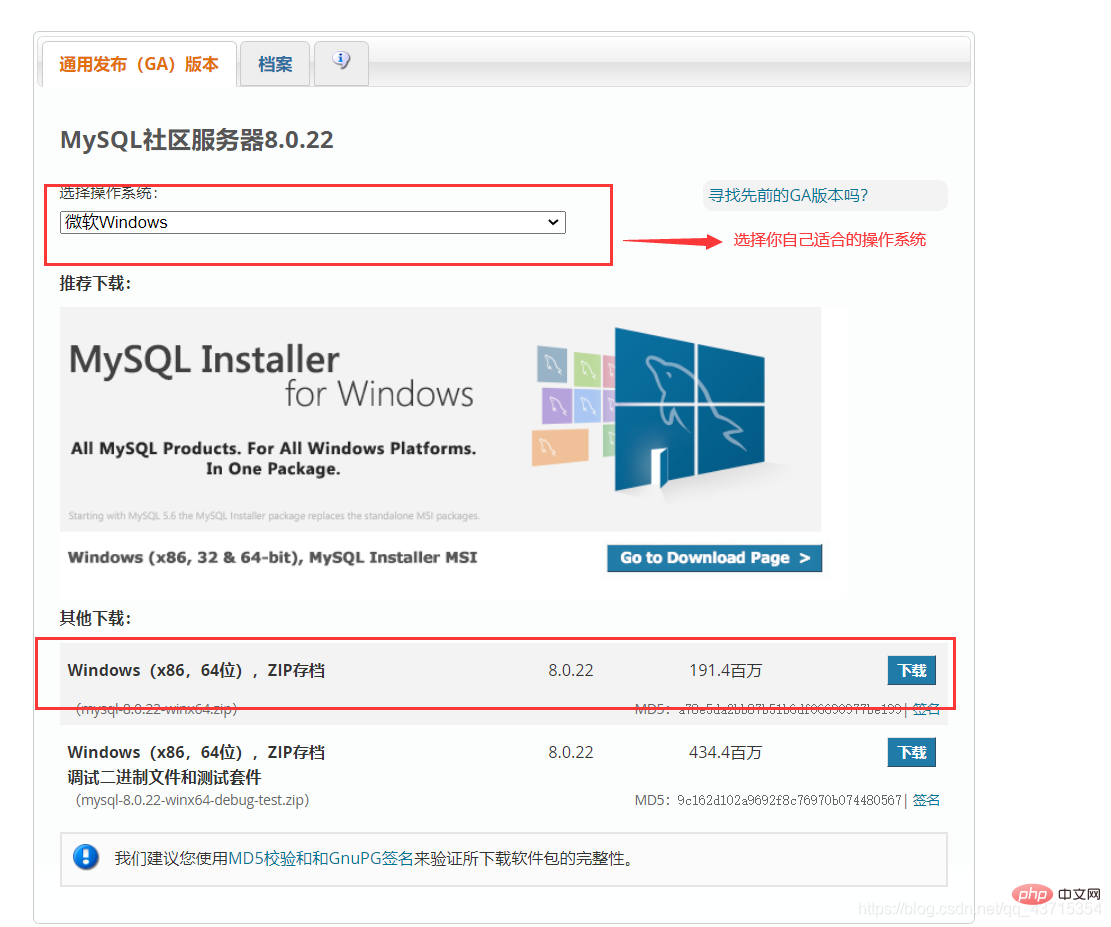
After the download is complete, extract it to a disk other than the c drive, as shown in the figure below:
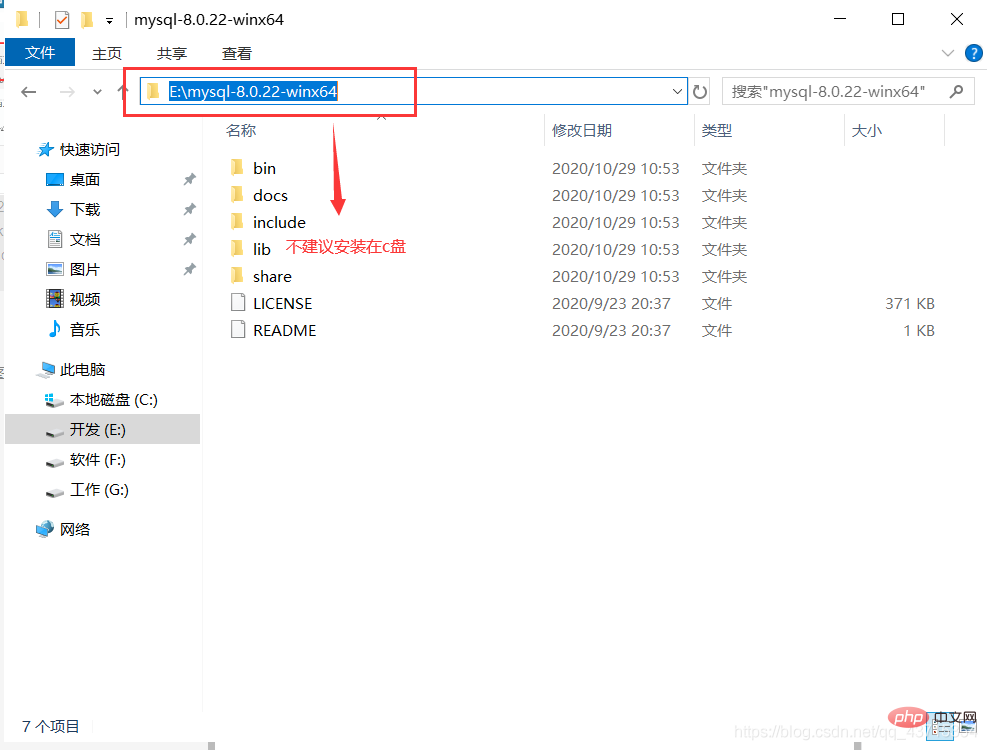
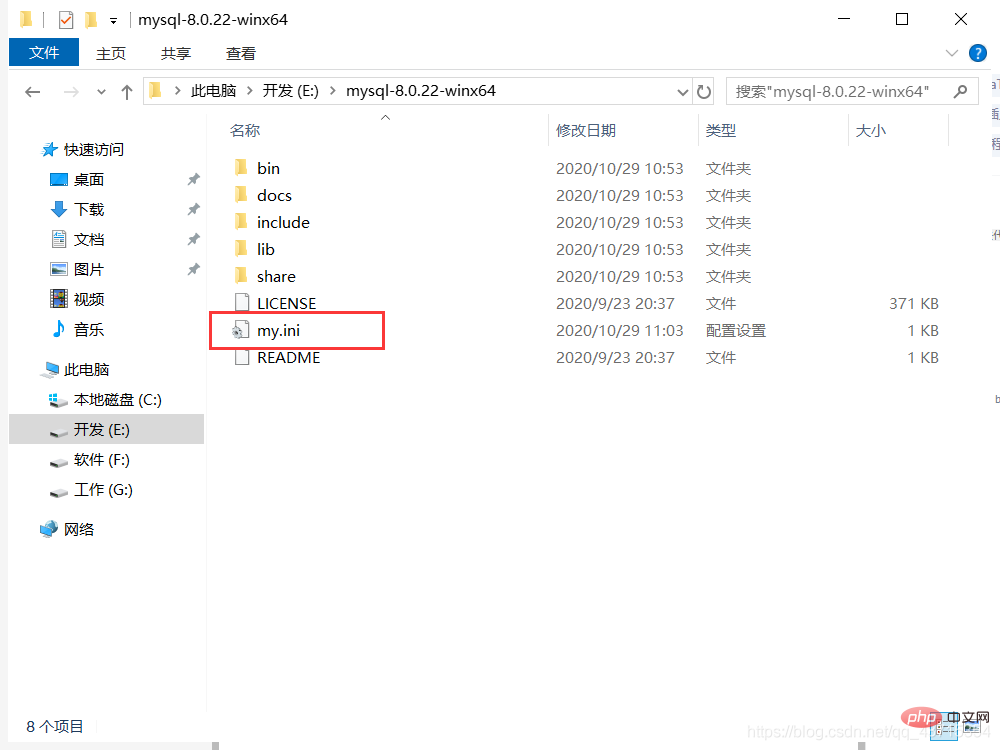
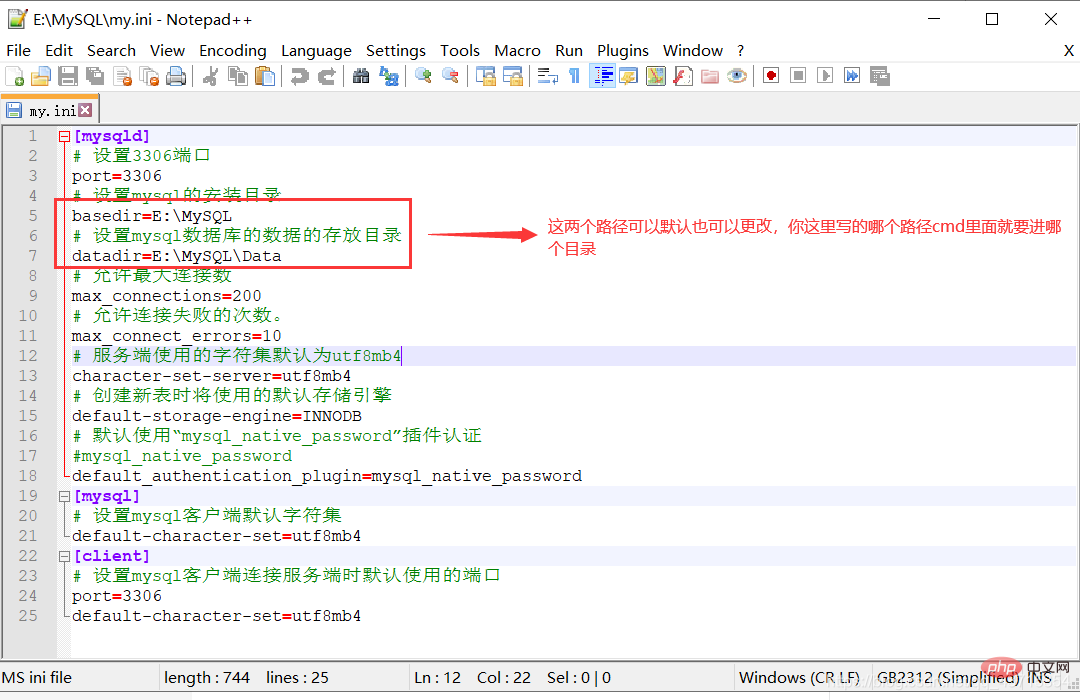
#The decompressed directory does not have the my.ini file. It doesn’t matter. You can create it yourself in the installation root directory. Add my.ini(create a new text file, change the file type to .ini), and write the basic configuration:
[mysqld]# 设置3306端口
port=3306# 设置mysql的安装目录
basedir=C:\Program Files\MySQL
# 设置mysql数据库的数据的存放目录
datadir=C:\Program Files\MySQL\Data
# 允许最大连接数
max_connections=200# 允许连接失败的次数。
max_connect_errors=10# 服务端使用的字符集默认为utf8mb4
character-set-server=utf8mb4
# 创建新表时将使用的默认存储引擎default-storage-engine=INNODB# 默认使用“mysql_native_password”插件认证
#mysql_native_password
default_authentication_plugin=mysql_native_password[mysql]# 设置mysql客户端默认字符集default-character-set=utf8mb4[client]# 设置mysql客户端连接服务端时默认使用的端口
port=3306default-character-set=utf8mb4
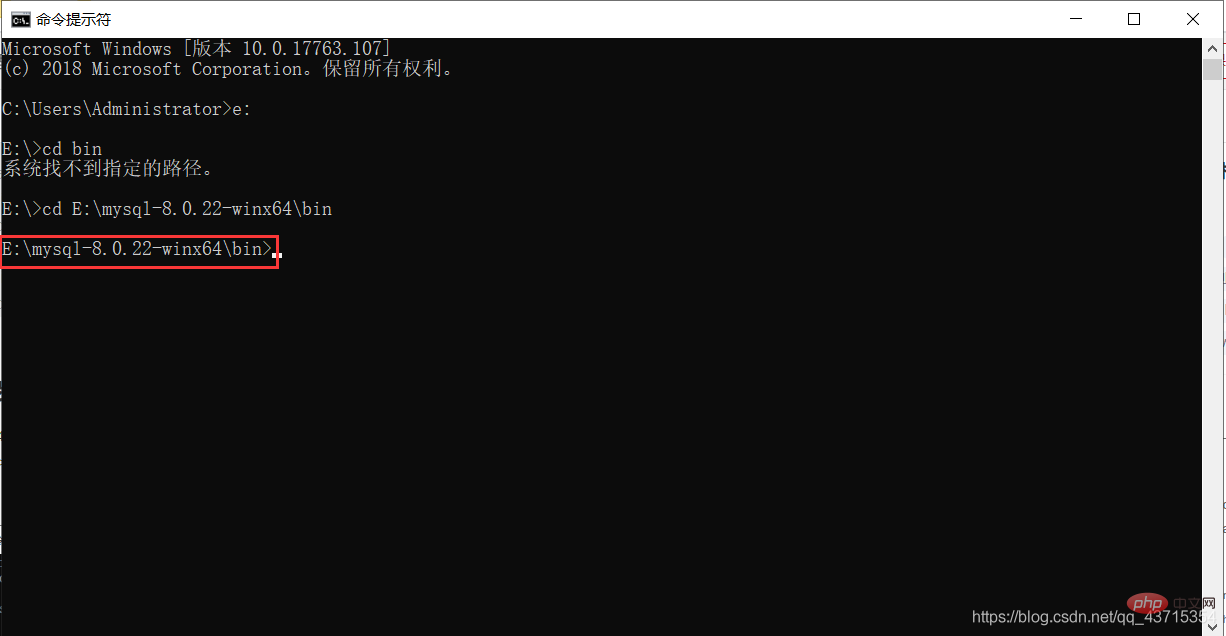
Initialize MySQL. During installation, to avoid permission issues, we try to run CMD as an administrator. , otherwise an error will be reported during installation, which will cause the installation to fail, as shown in the following figure:

After opening, enter the bin directory of mysql, entercd and spaces your path , as shown in the following figure:
Entermysqld --initialize - in the bin directory under the MySQL directory -console, as shown below:
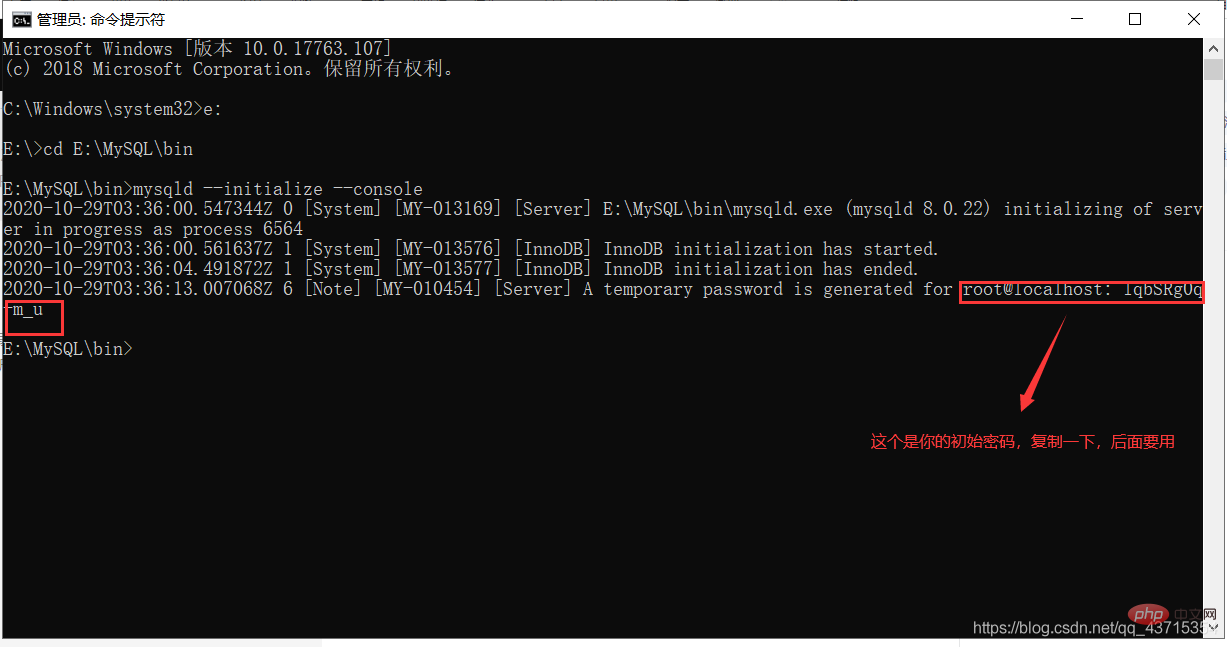
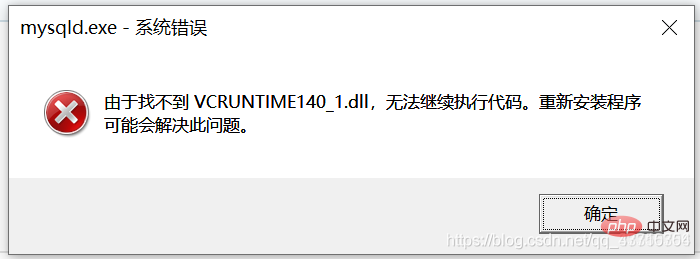
VCRUNTIME140_1.dll. Just download and install this program, as shown below:
2. Open the file explorer and enter
Step 7
windows folder, enter the system32 folder, and paste it. After pasting, you will be prompted to require administrator rights, give it to him! !
Install the MySQL service, enter
mysqld --install [service name] (the service name can be omitted and defaults to mysql) , as shown in the figure below:
##Eighth Step 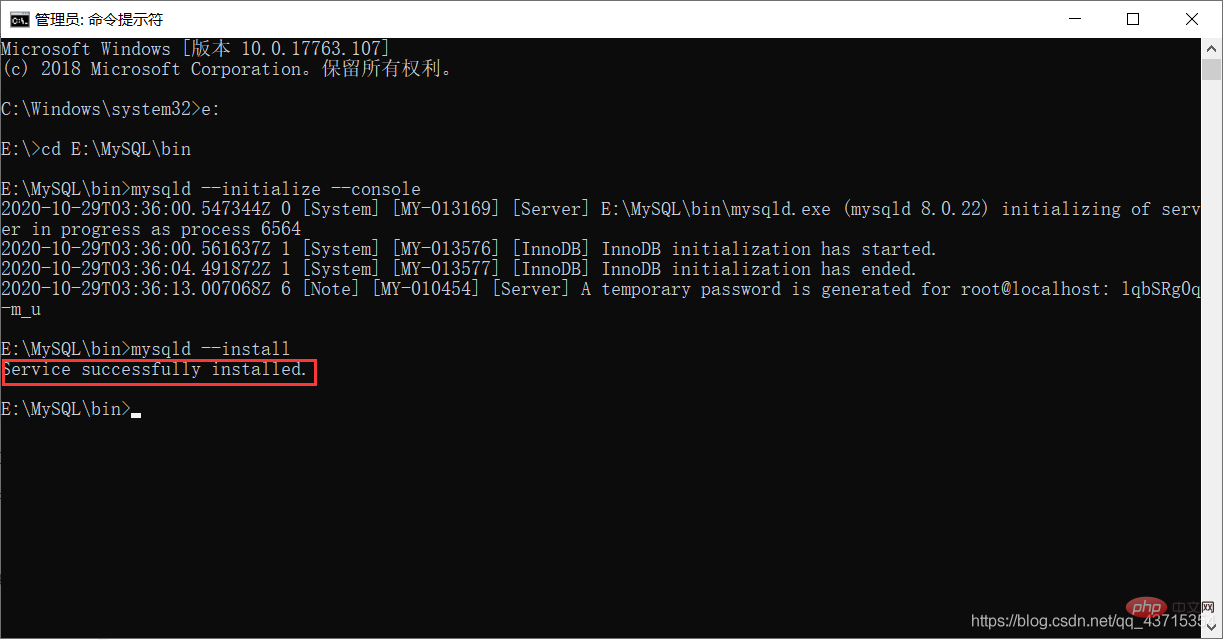
After the service is installed successfully, enter
net start mysql(start the MySQL service) , as shown in the figure below:
Step 9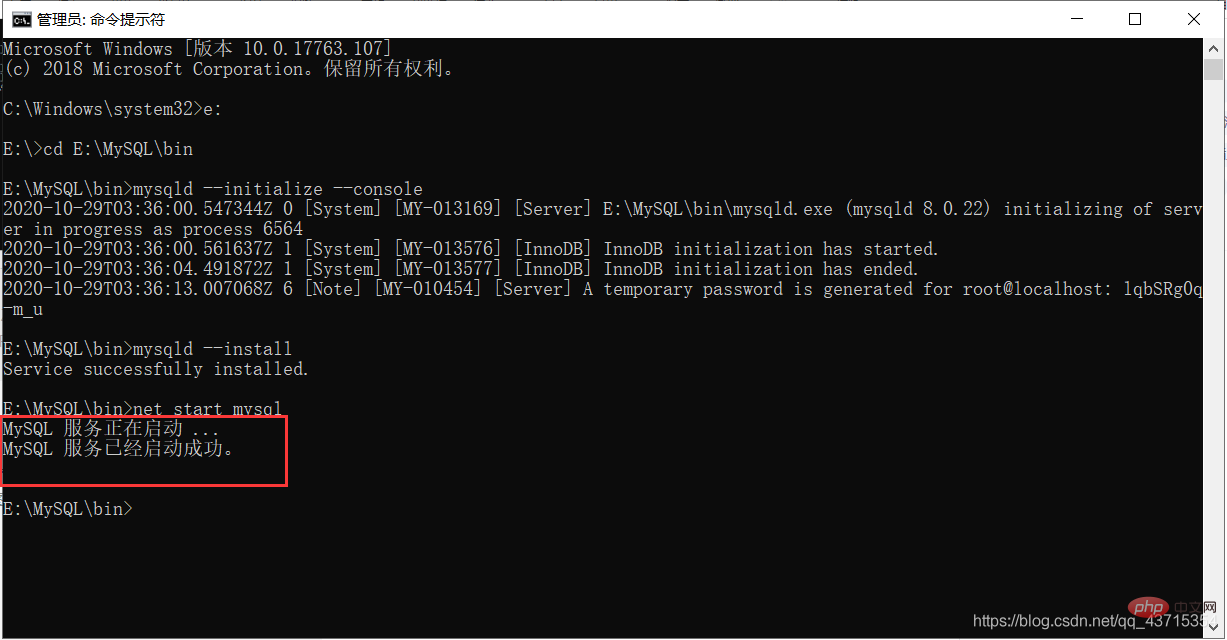
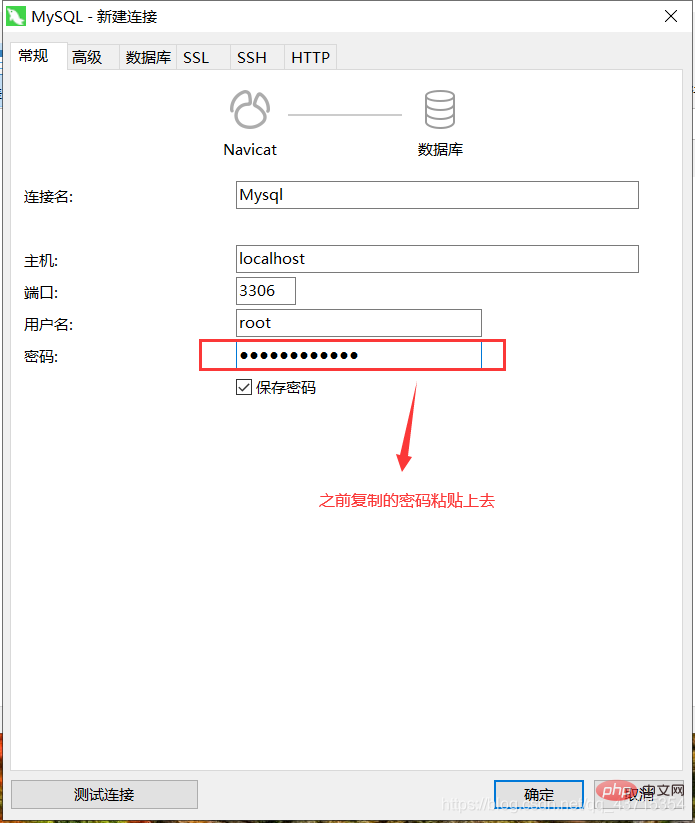
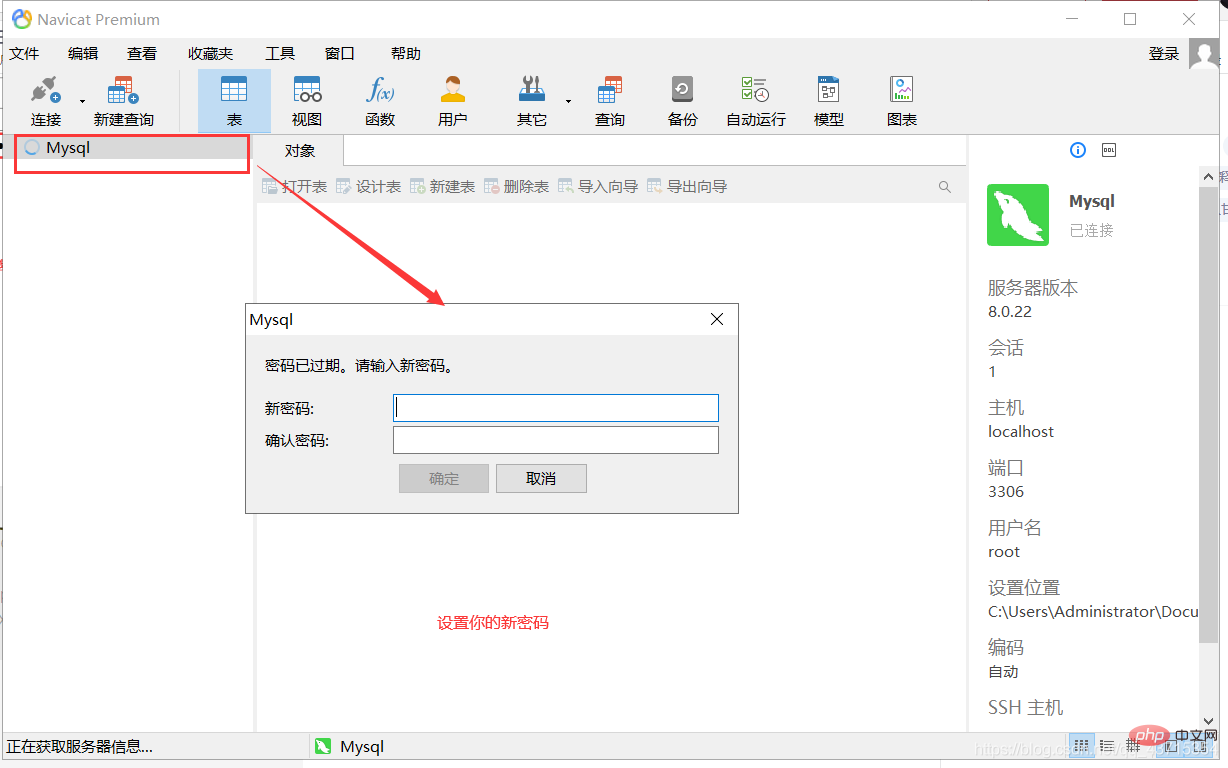
##Connect to MySQL, I use Navicat to show it, as follows As shown in the picture:
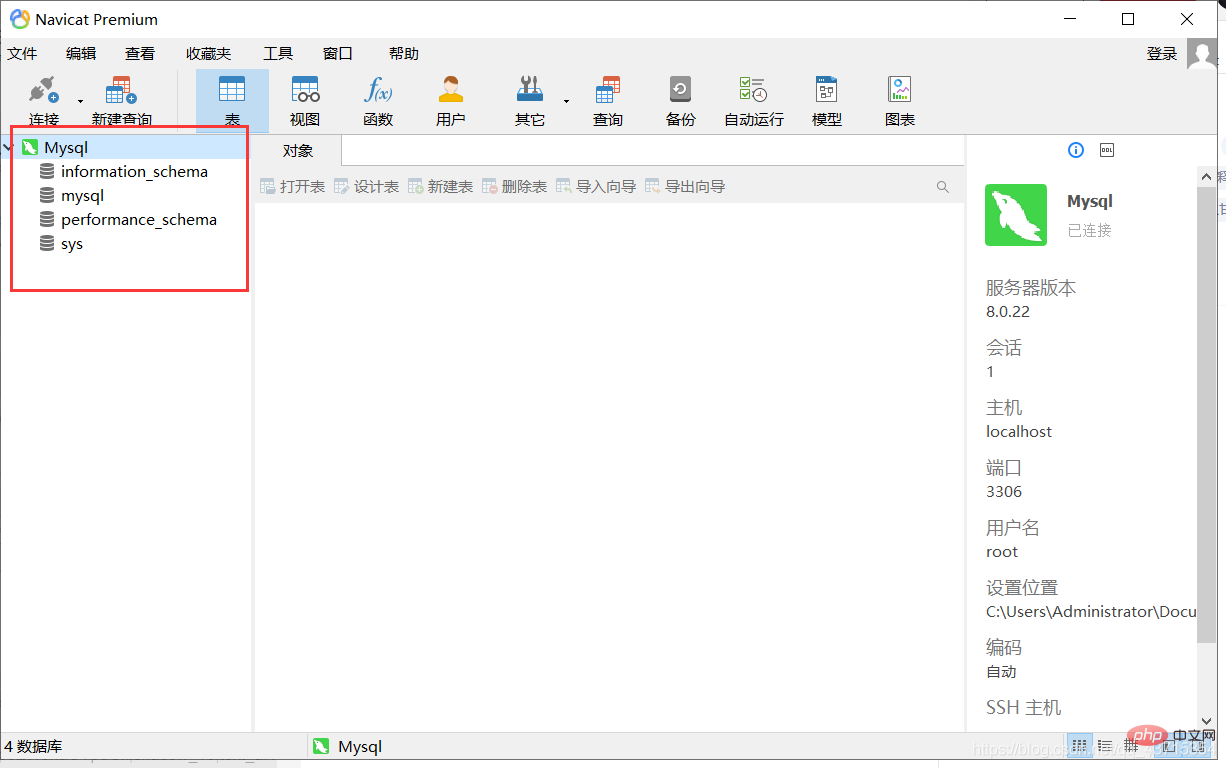
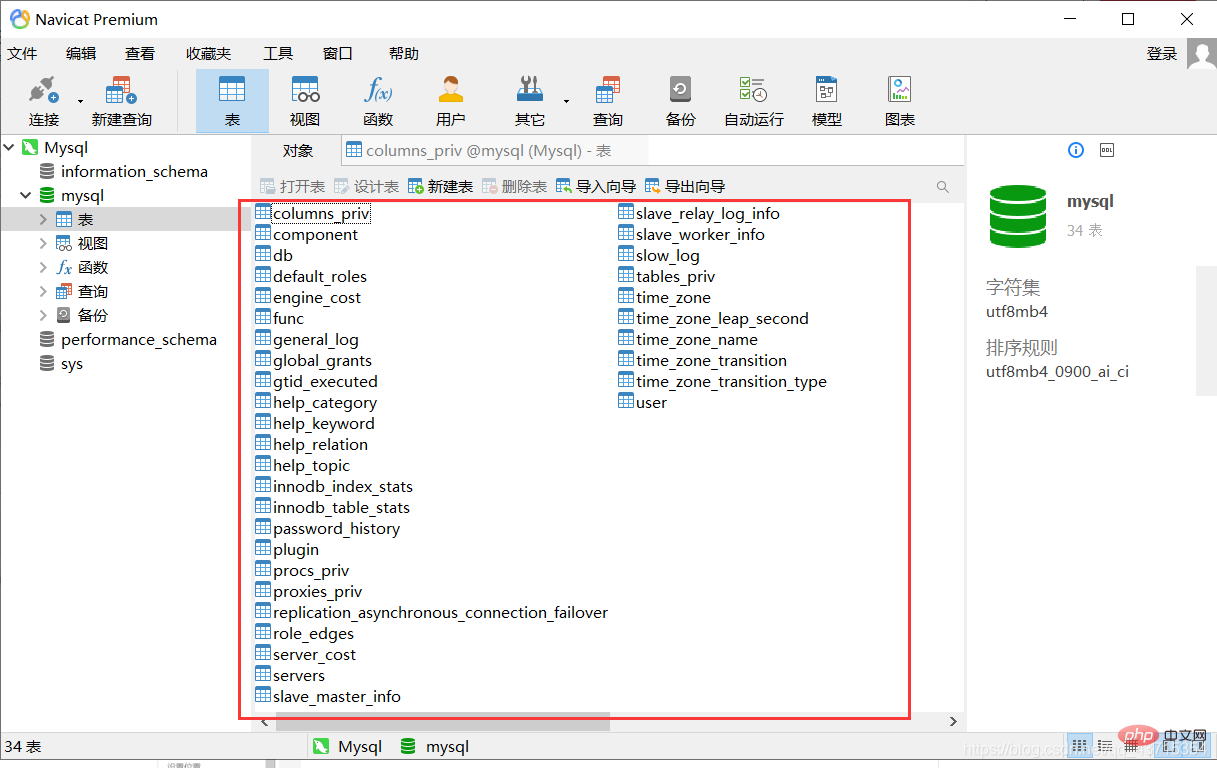
#This way you can use MySQL
Conclusion
##This is the introduction to the installation and configuration of MySQL8.0.22. Everyone is welcome to give your advice, communicate with each other, and learn together
Related free learning recommendations:mysql database(Video)
The above is the detailed content of Super detailed MySQL8.0.22 installation and configuration. For more information, please follow other related articles on the PHP Chinese website!