


This article mainly introduces the vue+node+webpack environment construction tutorial in detail. It has certain reference value. Interested friends can refer to it. I hope it can help everyone.
1. Environment construction
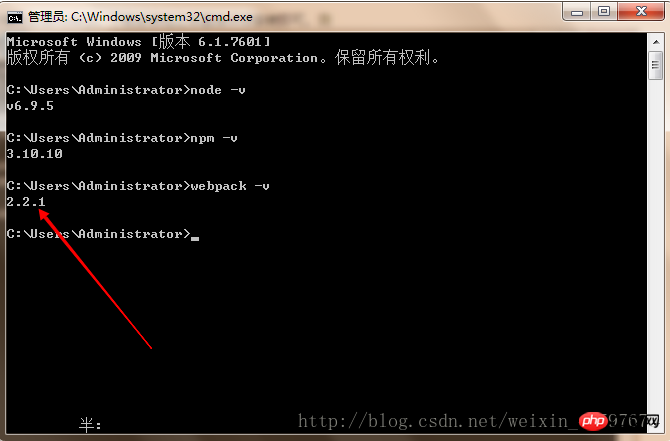
Pay attention to the node version. Only nodes that support harmony mode will support es6. It will not be used when building the project name based on webpack. An error will be reported. The latest version is recommended.
After downloading the installation package, just click to install. The interface for testing successful installation is as follows:

1.2. Use npm to install webpack. The command line statement is npm install webpack -g. The interface for successful test installation is as follows:
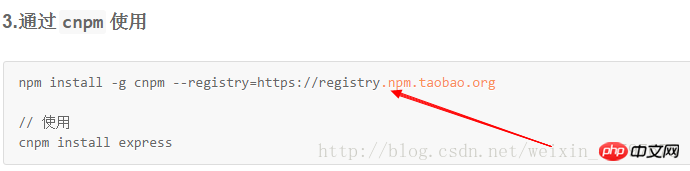
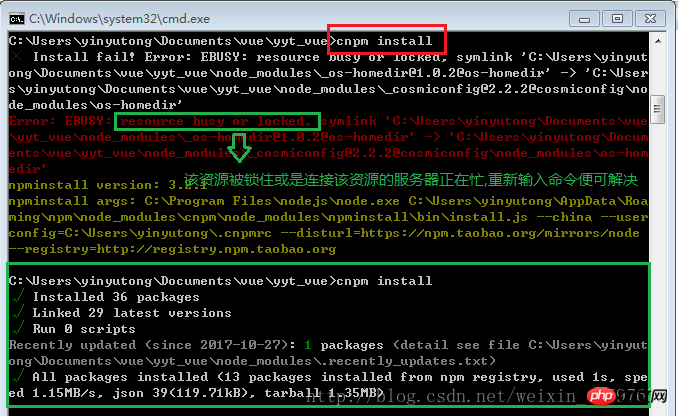
1.3. The following is to install the Taobao image, as shown below:
1.4. The next step is to install vue-cli globally. It should be noted that it takes a long time to install vue-cli using npm, which may take more than two hours.
The installation statement is:npminstall--globalvue-cli
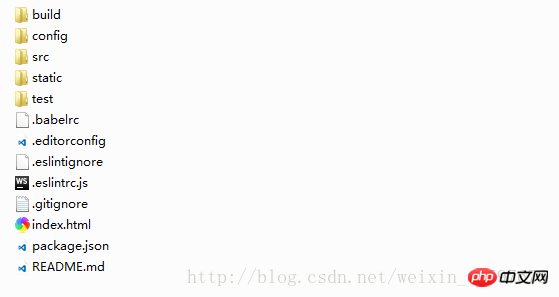
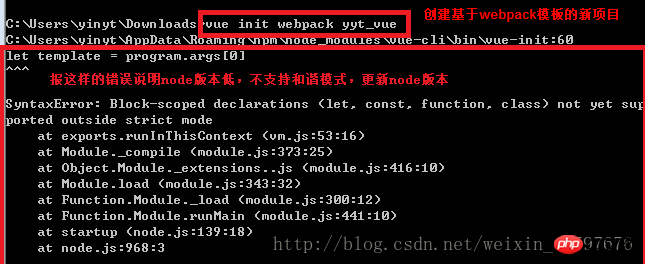
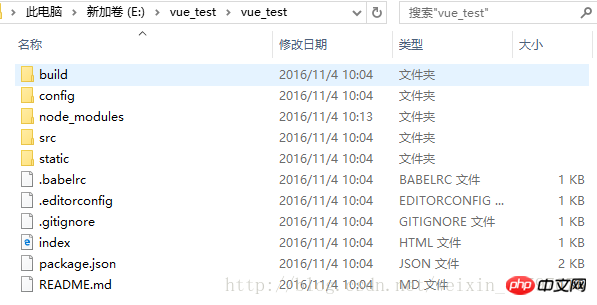
##1.5 , Create a new project based on the webpack template The command line statement isvue init webpack my-project(where my-project is the file name, and the file name can only be lowercase letters). When creating a new template project, you need to go to the specified folder.
Inputvue init webpack my-project(project folder name) in cmd, press Enter, wait for a short while, items under 'git' will appear in sequence, you can press The following operation

Method 1:Enter in cmd:cnpm rundev
(obviously every It is a very tedious process to modify the code every time and enter the command in cmd, so bring up the npm menu in webstorm Right-click on the package.json file -> click show npm scripts to bring up the menu. , to run in the future, just double-click dev in the npm menu. Note that running the project on the command line and running the dev project cannot be run at the same time. When running one, you need to close the other, otherwise an error that the port is occupied will be reported. . )Method 2:Enter in the browser: localhost:8080 (the default port is 8080)
If you enter the run command, an error will be reported. . There are two situations, as shown in the figure below: The first situation: port occupation problem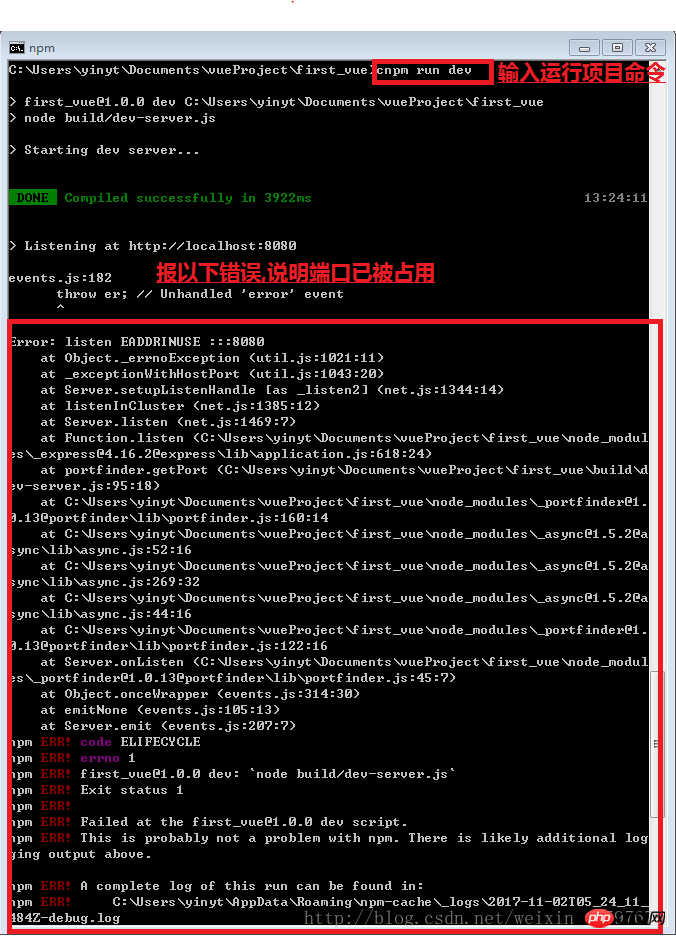
Solutionis:
Solution 1:Close the port during the process.
a. Open cmd and enter the command netstat –ano. All port numbers will appear. b. Below local address is the port number, and PID is the process number of a program that occupies the port number ( Remember the process number) c. Open the task manager (ctrl + alt +delete), click on the process, then click on View, select "Select Column", click OK and you will find the process program occupying the port.d. Find the remembered process number and close it
Option 2:In the config/index.js file, modify the port number. Port: New port number.
Second type: npm version is too low and needs to be upgraded:
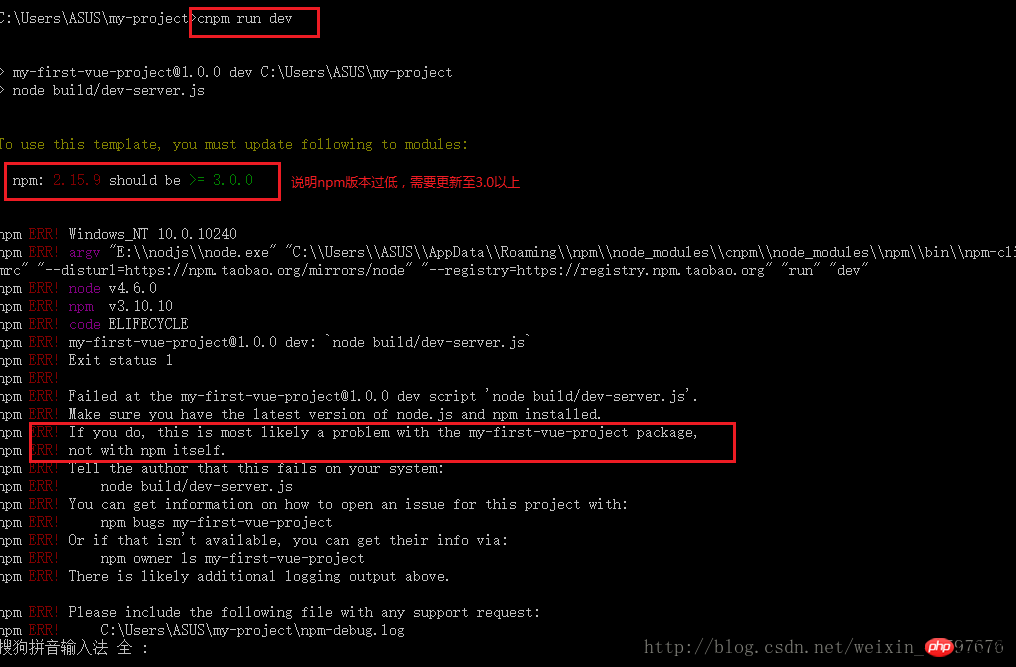
Solution:
a. Enter the command: npm install - g npm
b. Copy the files under C:\Users\{your Windows username}\AppData\Roaming\npm\node_modules\npm to \node_modules\npm in your NodeJS installation directory, Overwrite all the original files
(or use the comparative method and go through the previous steps again)
The effect after running is as shown below:

2. Changes based on personal needs
1. vue.js changes the default port number 8080 to the specified port:
Executing npm run dev actually calls package.json in the root directory
After opening package.json, you can find such a piece of code
"scripts":{ "dev":"nodebuild/dev-server.js", "build":"nodebuild/build.js", "lint":"eslint--ext.js,.vuesrc" }
From this It can be seen that we should check the dev-server.js file in the build directory
It can be found in the dev-server.js file
varuri='http://localhost:'+port
The port here is what we are looking for. At the beginning of dev-server.js we can find
varpath=require('path')
And where does path come from?
There is a config folder in the root directory. You can tell from the name that it is related to configuration. Open index.js in the config directory
dev:{ env:require('./dev.env'), port:8080, autoOpenBrowser:true, assetsSubDirectory:'static', assetsPublicPath:'/', proxyTable:{}, cssSourceMap:false }
Not only can you Change the port and other configuration information as needed.
Related recommendations:
AngularJS environment building tutorial
A simple tutorial on how to build a vue environment with detailed examples
The clearest graphic tutorial on building a PHP server environment
The above is the detailed content of Detailed explanation of vue, node, and webpack environment building tutorials. For more information, please follow other related articles on the PHP Chinese website!


![[Web front-end] Node.js quick start](https://img.php.cn/upload/course/000/000/067/662b5d34ba7c0227.png)


