


Reading instructions: The article is based on Tomcat8. If there are differences in other versions, please identify them yourself. This article is an original article by the blogger and may not be reproduced without permission.
Without any IDE, here are three ways to manually deploy web projects in Tomcat:
1. Deploy the unpacked webapp directory
2. Packaged war file
3.Manager Web application
1: Deploy the unpacked webapp directory
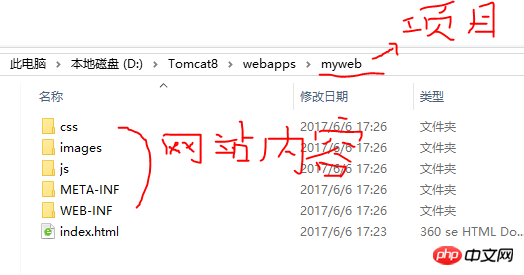
Deploy the web project to One of the methods in Tomcat is to deploy web projects that are not encapsulated in WAR files. To use this method to deploy an unpackaged webapp directory, just put our project (compiled release project, non-development project) in Tomcat's webapps directory. As shown in the figure below:
#At this time, open the Tomcat server (make sure the server is open), and you can access our project in the browser, as shown in the figure below:
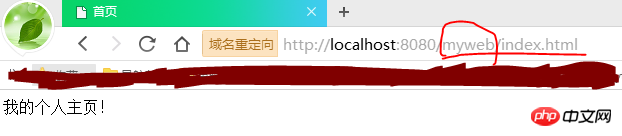
But at this time, we found that when accessing our project content, we must add our project name "myweb", which is not good. If we want to access directly in the form of http://localhost:8080/index.html without adding the project name, as follows:
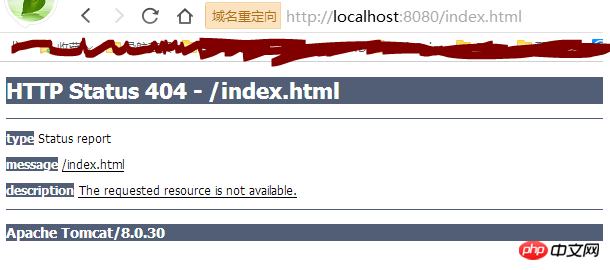
We find that a 404 error occurs. If we want to have normal access to our project through the above connection, we can edit conf/server.xml to configure it.
Open the server.xml file and find the Host element. The default configuration is as follows:
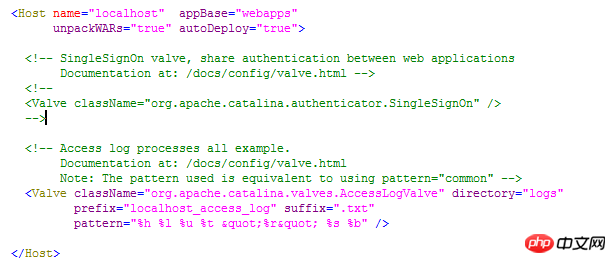
We need to add the content of Context inside the Host. After adding it, it is as follows:
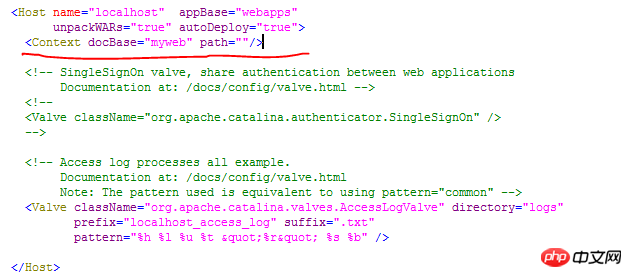
At this time, you can access it through http://localhost:8080/index.html without adding a project name. As follows:
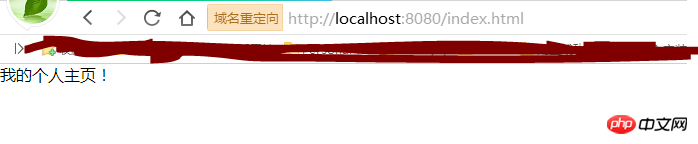
(In fact, it can still be accessed through the address http://localhost:8080/myweb/index.html at this time.)
2: Packaged war file
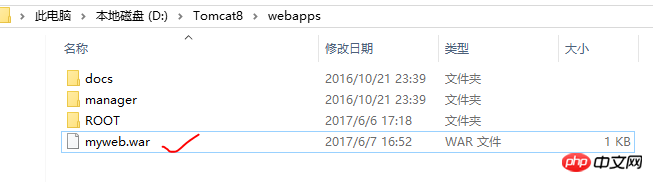
In this way, you only need to place the packaged war file in the webapps directory. As shown in the figure below:
When we start Tomcat, the first thing Tomcat needs to do is to unpack the contents of the war file into a path with the same file name. Remove the .war extension and read the project files from the unpacked directory. Now, we start Tomcat, as shown in the following figure:
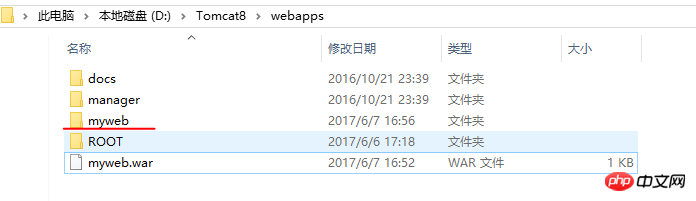
You can see that there is an unpacked myweb folder in the webapps directory. Then you can access it in the browser through the address http://localhost:8080/myweb/index.html. If we want to access with the address http://localhost:8080/index.html, we also need to configure the server.xml file. The operation steps are the same as above and will not be repeated.
Three: Manager Web method
The Manager Web source application allows us to manage our own Web projects through the Web. Of course, things get a little trickier if anyone can manage everyone else's projects, let alone security. Therefore, when we want to manage our own projects through Manager Web, we need to set permissions.
First visit the Apache Tomcat welcome page (it should be noted that if the project files in the webapps/ROOT directory are overwritten by our own projects developed and deployed in the IDE, the welcome page may not be accessible).
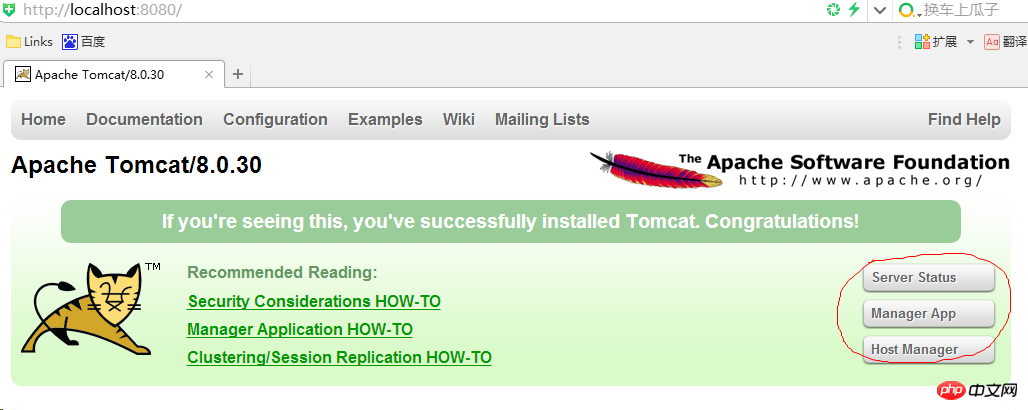
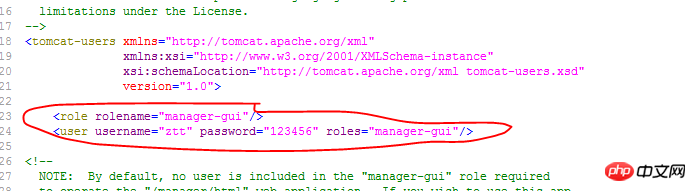
At this time, when we click on the circled part in the picture, we will be prompted to enter the user name and password. So we need to add roles in the conf/tomcat-users.xml file. Tomcat-users.xml does not add any roles by default. Because we want to manage our project through Manager Web, we add the manager-gui role in it. As follows (the part in the circle is the role we added, just fill in the username, password, and roles in the manager-gui above):
After configuring this, restart the server , you can enter the management interface.
Enter the Server Status page to view the status of the server and see Tomcat related information, including Tomcat version, JVM version, JVM provider, etc., as shown below:

Enter the Manager App page to manage our projects. The page is as shown below:

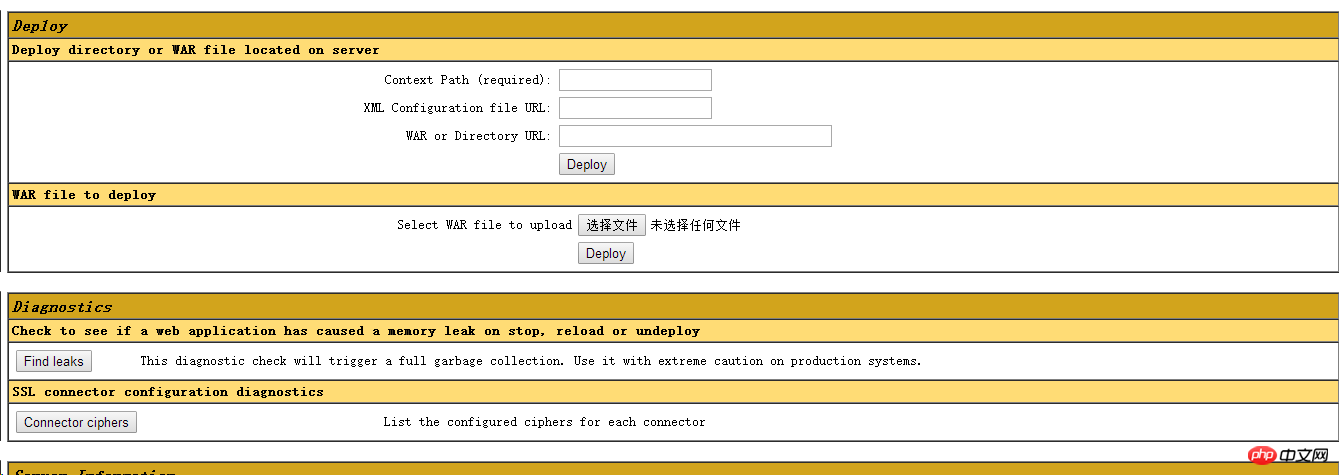
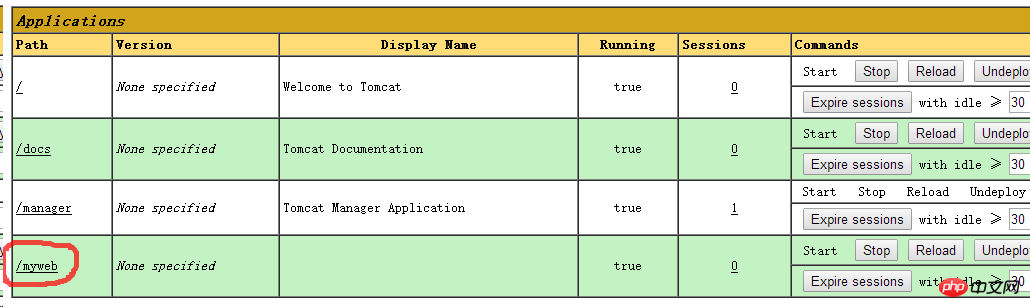
Applications shows the project directory under the webapps directory: ROOT directory, doc directory, manager directory, these are all included with Tomcat. We don’t have any projects of our own at this time. Now we start deploying our project. Under Deploy, we see two ways: 1. Deploy directory or WAR file located on server; 2. WAR file to deploy.
First demonstrate the method of deploying through WAR file.
myweb.war is our packaged project file. Click "Select File" to select our project file on our host. This file can be placed in any location. If it is placed under webapps, Tomcat will decompress it directly when starting Tomcat. If placed in another location, when starting Tomcat, Tomcat will copy the myweb.war file to the webapps directory and then decompress it. Select the file and click Deploy to publish it. At this time, you can access it through http://localhost:8080/myweb/index.html in the browser.
At this time, let’s take a look at the changes in the Manager App page. The circled part in the picture below has the myweb project we just released.
The next step is to deploy directory or WAR file located on server. Copy myweb.war to the webapps directory, fill in \myweb after WAR or Directory URL:, and click Deploy to publish.
The above is the detailed content of How to implement Tomcat deployment of web projects?. For more information, please follow other related articles on the PHP Chinese website!
 How to configure Tomcat environment variables
 How to integrate idea with Tomcat
 How to view Tomcat source code
 What are the common tomcat vulnerabilities?
 How to solve garbled tomcat logs
 What are the differences between weblogic and tomcat
 What are the differences between tomcat and nginx
 How to solve tomcat startup crash


![[Web front-end] Node.js quick start](https://img.php.cn/upload/course/000/000/067/662b5d34ba7c0227.png)


