

Cet article vous présentera comment utiliser workerman pour mettre en œuvre le chat instantané. Il a une certaine valeur de référence. Les amis dans le besoin peuvent s'y référer. J'espère qu'il sera utile à tout le monde.
Recommandations associées : "tutoriel Workerman"
Documentation de développement : http://doc2.workerman.net/
Téléchargez le fichier d'installation côté serveur :
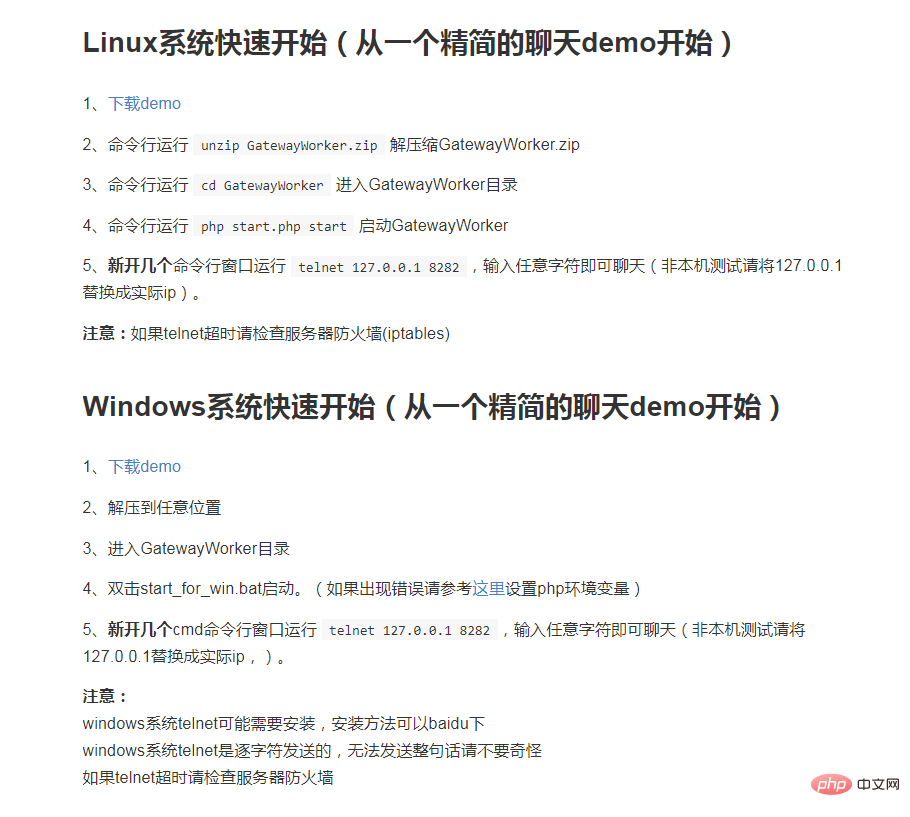
Il existe deux versions : la version Windows et la version Linux. La version Linux que j'ai téléchargée peut également fonctionner sous Windows.
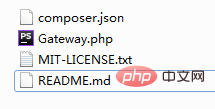
Après ouverture, il y a ces fichiers :
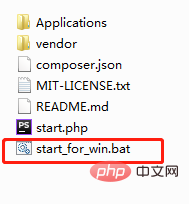
Vous pouvez mettre ce fichier sur le serveur ou dans le projet. Ce qui doit être exécuté est le dernier. Fichier start_for_win.bat .

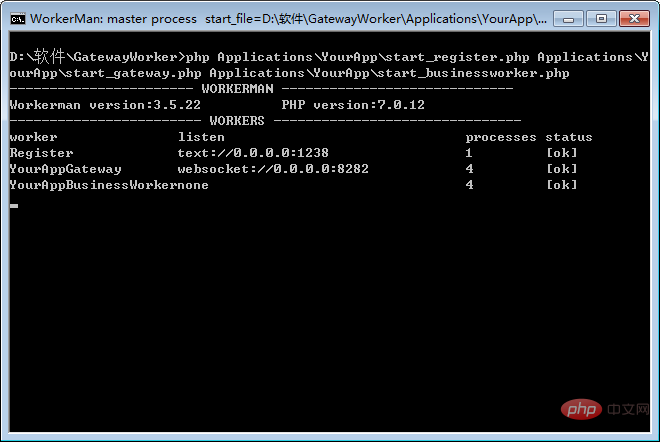
Exécuter avec succès.
Modifiez le fichier start_gateway.php :
<?php
/**
* This file is part of workerman.
*
* Licensed under The MIT License
* For full copyright and license information, please see the MIT-LICENSE.txt
* Redistributions of files must retain the above copyright notice.
*
* @author walkor<walkor@workerman.net>
* @copyright walkor<walkor@workerman.net>
* @link http://www.workerman.net/
* @license http://www.opensource.org/licenses/mit-license.php MIT License
*/
use \Workerman\Worker;
use \Workerman\WebServer;
use \GatewayWorker\Gateway;
use \GatewayWorker\BusinessWorker;
use \Workerman\Autoloader;
// 自动加载类
require_once __DIR__ . '/../../vendor/autoload.php';
// gateway 进程,这里使用Text协议,可以用telnet测试
$gateway = new Gateway("websocket://0.0.0.0:8282");
// gateway名称,status方便查看
$gateway->name = 'YourAppGateway';
// gateway进程数
$gateway->count = 4;
// 本机ip,分布式部署时使用内网ip
$gateway->lanIp = '127.0.0.1';
// 内部通讯起始端口,假如$gateway->count=4,起始端口为4000
// 则一般会使用4000 4001 4002 4003 4个端口作为内部通讯端口
$gateway->startPort = 2900;
// 服务注册地址
$gateway->registerAddress = '127.0.0.1:1238';
// 心跳间隔
$gateway->pingInterval = 60;
// 心跳数据
$gateway->pingData = '{"type":"ping"}';
/*
// 当客户端连接上来时,设置连接的onWebSocketConnect,即在websocket握手时的回调
$gateway->onConnect = function($connection)
{
$connection->onWebSocketConnect = function($connection , $http_header)
{
// 可以在这里判断连接来源是否合法,不合法就关掉连接
// $_SERVER['HTTP_ORIGIN']标识来自哪个站点的页面发起的websocket链接
if($_SERVER['HTTP_ORIGIN'] != 'http://kedou.workerman.net')
{
$connection->close();
}
// onWebSocketConnect 里面$_GET $_SERVER是可用的
// var_dump($_GET, $_SERVER);
};
};
*/
// 如果不是在根目录启动,则运行runAll方法
if(!defined('GLOBAL_START'))
{
Worker::runAll();
}Ligne 24, changez le protocole TCP en protocole websocket
Lignes 38 et 40, définissez la direction du serveur. temps de pulsation envoyé par le client pour détecter si le client est connecté. S'il n'est pas connecté, il sera déconnecté.
Le contenu suivant est commenté par défaut. Vous pouvez l'ouvrir ou le modifier selon vos besoins.
Exécutez à nouveau le fichier start_for_win.bat :
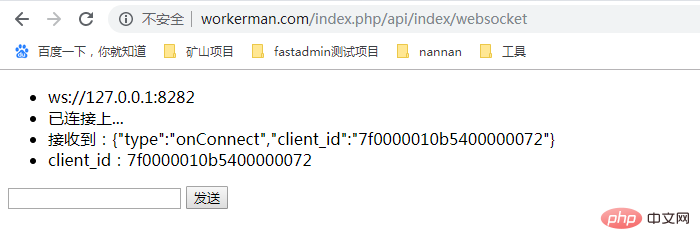
Le protocole deviendra le protocole websocket, et vous pourrez désormais effectuer des opérations au sein du projet.
Vous devez également télécharger un fichier supplémentaire : https://github.com/walkor/GatewayClient
Mettez ces fichiers dans le fichier d'extension thinkphp Fold it (j'utilise la version thinkphp5.0) :
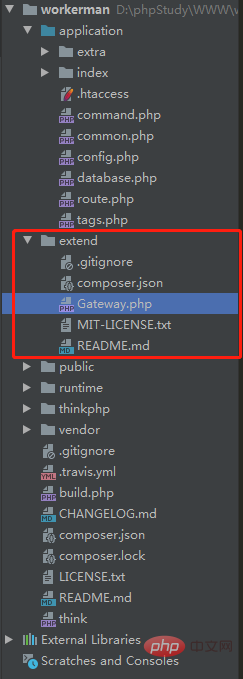
Presque toutes les méthodes sont écrites dans le fichier Gateway.php.
Écrivez une page frontale simple :
<!DOCTYPE html>
<html>
<head>
<meta charset="UTF-8">
<meta name="viewport" content="width=device-width, initial-scale=1.0">
<meta http-equiv="X-UA-Compatible" content="ie=edge">
<title></title>
</head>
<body>
<ul id="msgUl">
<li>ws://127.0.0.1:8282</li>
</ul>
<input type="" name="" id="sendValue" value="" />
<button type="button" id="sendButton">发送</button>
<div style="margin-top: 100px">
{volist name="msg" id="vo" empty="这里没有数据" key ='s'}
<br/>
<span>{$vo.user_name}:</span>
<span>{$vo.msg}</span>
<span>{$vo.createtime}</span>
<br/>
{/volist}
</div>
<script src="http://www.zhihuapinpai.com/static/index/js/jquery-1.11.3.min.js"></script>
<script>
// var ws = new WebSocket("ws://123.56.216.232:8282");
var ws = new WebSocket("ws://127.0.0.1:8282");
ws.onopen = function() {
$('#msgUl').append('<li>已连接上...</li>')
sendValue();
};
ws.onmessage = function(evt) {
$('#msgUl').append('<li>接收到:' + evt.data + '</li>')
var obj = JSON.parse(evt.data);
if (obj.type == 'onConnect') {
// 连接成功
$('#msgUl').append('<li>client_id:' + obj.client_id + '</li>')
$.ajax({
type:"POST",
url:"/index.php/api/Index/user_bind",
data:{
client_id:obj.client_id
},
dataType: "html",
success: function(data){
console.log('成功')
}
});
} else if (obj.type == 'ping') {
// 心跳检测 不做任何处理
} else if (obj.type == 'chatGroup') {
// 群组聊天
$('#msgUl').append('<li>接收到:' + evt.data + '</li>')
}
};
ws.onclose = function() {
// console.log('连接已关闭...');
$('#msgUl').append('<li>连接已关闭...</li>')
};
function sendValue() {
$('#sendButton').click(function() {
var thisValue = $('#sendValue').val();
if (thisValue) {
ws.send(thisValue);
$('#msgUl').append('<li>发送数据:' + thisValue + '</li>')
$.get("/index.php/api/Index/send_msg/msg/"+thisValue,function (data,status) {
console.log('成功:'+thisValue)
});
}
})
}
</script>
</body>
</html>Les lignes 42 à 52 transmettent le client_id à l'arrière-plan et le lient à l'utilisateur dans la table utilisateur .
Code backend :
<?php
namespace app\api\controller;
use think\Controller;
use GatewayClient\Gateway;
use think\Db;
class Index extends Controller
{
public function websocket(){
$where=[];
$user_id=1;
$where['from_id|to_id']=$user_id;
$msg=Db::name('msg')->where($where)->select();
foreach ($msg as $key=>$val){
$msg[$key]['createtime']=date('Y-m-d H:i:s',$val['createtime']);
$msg[$key]['user_name']=Db::name('user')->where(['id'=>$val['from_id']])->value('name');
}
$this->assign('msg',$msg);
return view();
}
//绑定用户
public function user_bind($user_id=1){
//$user_id=1; //发送人用户id
$client_id = input('post.client_id');
// $user=Db::name('user')->where(['id'=>$user_id])->find();
Gateway::bindUid($client_id, 1);
return $client_id;
}
//发送信息
public function send_msg(){
$msg=input('msg');
if($msg){
$data=[
'msg'=>$msg,
'from_id'=>1,
'to_id'=>2,
'createtime'=>time()
];
Db::name('msg')->insert($data);
Gateway::sendToUid(1,$msg);
Gateway::sendToUid(2,$msg);
}
return 'success';
}
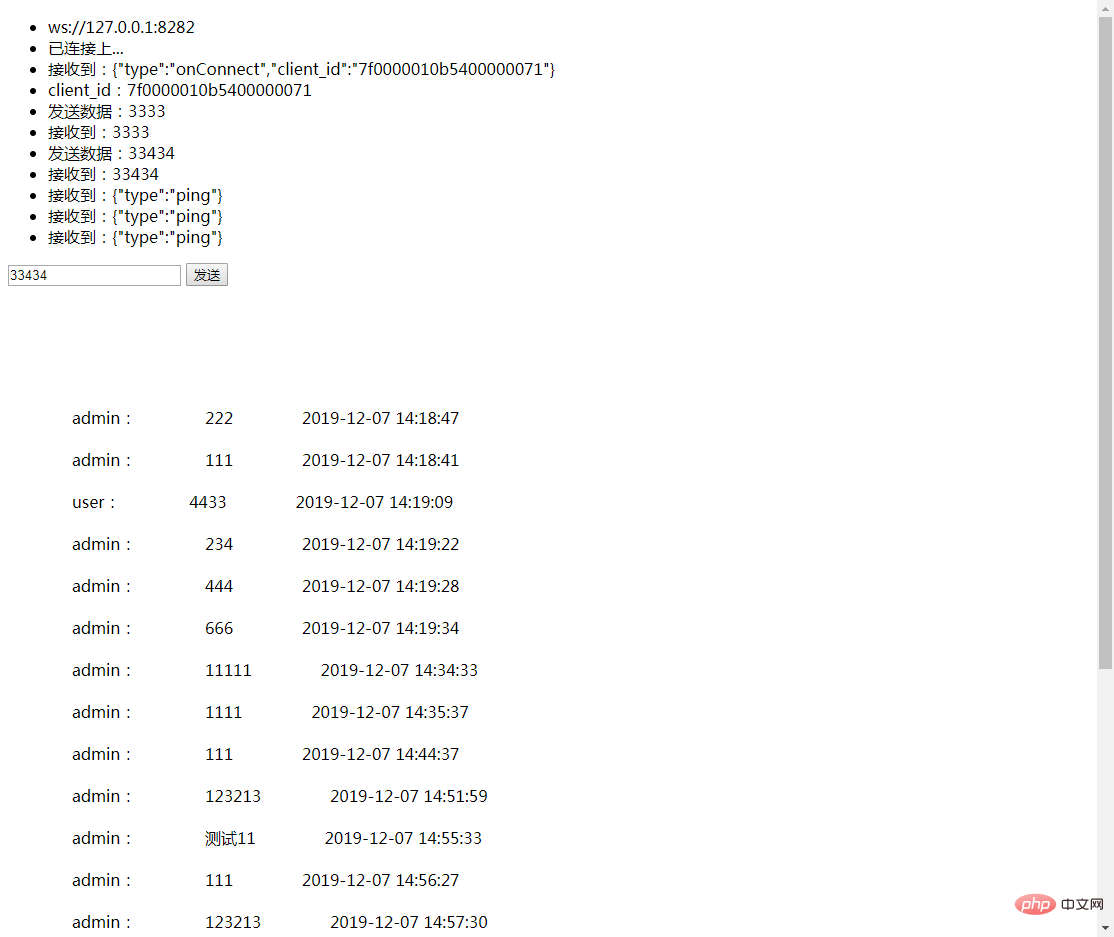
}Envoyez le message et stockez-le dans la base de données, et la page s'affichera.
Pour plus de connaissances sur la programmation informatique, veuillez visiter : Vidéo de programmation ! !
Ce qui précède est le contenu détaillé de. pour plus d'informations, suivez d'autres articles connexes sur le site Web de PHP en chinois!
 Les performances des micro-ordinateurs dépendent principalement de
 moyens visibles
 Où est le bouton d'impression ?
 Échec de la routine d'initialisation de la bibliothèque de liens dynamiques
 Quel logiciel est premier
 Comment faire défiler les images en ppt
 nième enfant
 Pourquoi les mots après avoir tapé le mot disparaissent-ils ?


![[Web front-end] Démarrage rapide de Node.js](https://img.php.cn/upload/course/000/000/067/662b5d34ba7c0227.png)


