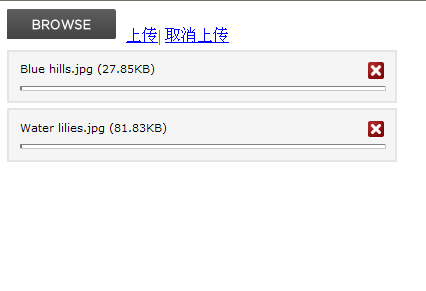
后来朋友推荐了一个这个叫uploadify的上传插件,似乎挺好,就到官方下了个示例运行,感觉挺好,自己再稍加美化一下就OK 了..!
接下来就讲讲使用过程吧:
1. 下载
官方网站:http://www.uploadify.com/
直接下载:jquery.uploadify-v2.1.0.rar
我的Demo: MyUpload.rar 官方网站也有demo
下载解压后:

说明:它里面有demo 但是是PHP的,还有一个帮助文档:uploadify v2.1.0 Manual.pdf.
2.创建工程:
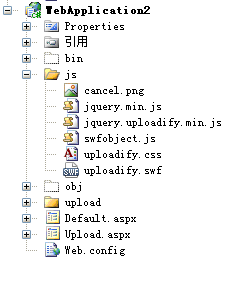
结构如图>>

文件说明:
A.js文件夹下的所有文件:必需,从下载下来的包里解压复制过来,名字可以自己改改
B.Default.aspx:测试页,后台没有代码

4.最后说说:这个只是一个简单的入门例子,至于界面可以根据自己的需要去改
 Que sont les plug-ins jquery ?
 Comment faire fonctionner json avec jquery
 Comment supprimer des éléments dans jquery
 Utilisation de la méthode jQuery hover()
 jquery implémente la méthode de pagination
 Qu'est-ce qu'un élément caché dans jquery
 Qu'est-ce qui est mis en évidence dans jquery
 Que signifie le HD du téléphone portable ?