
Confused about managing multiple folders in Visual Studio Code? No need to worry now. PHP Editor Banana brings you a detailed guide on how to easily add multiple folders in VSCode to give your workspace a new look. This article will walk you through the simple steps of adding, removing, and configuring multiple folders to help you organize and manage your projects efficiently. Read on now to learn how to unleash the power of VSCode and increase your development efficiency!
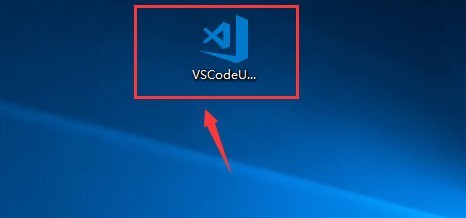
The first step is to click to open the latest version of [vscode editor] (as shown in the picture below).
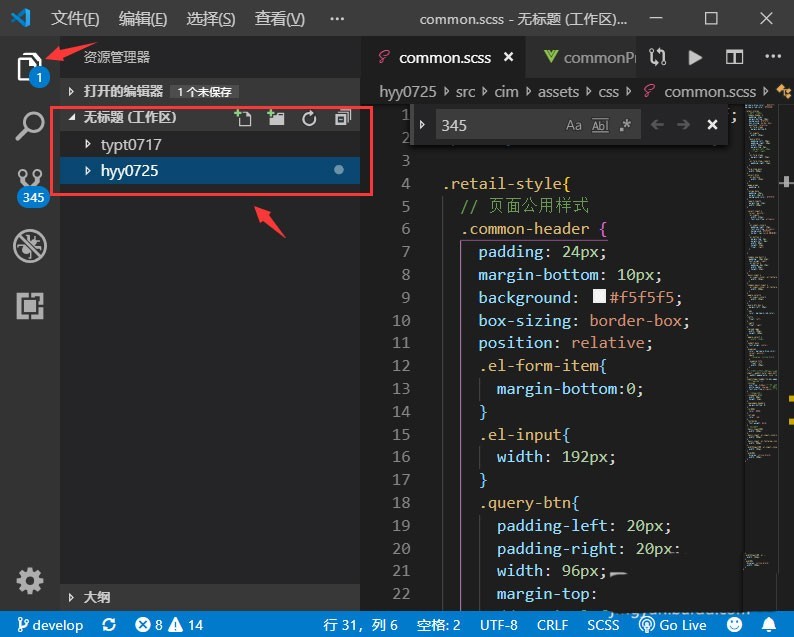
The second step, after entering the vscode editor interface, we click the [Resource Manager Icon], and then we can see the workspace. Let’s talk about how to create a new folder Add it to the workspace (as shown in the picture below).
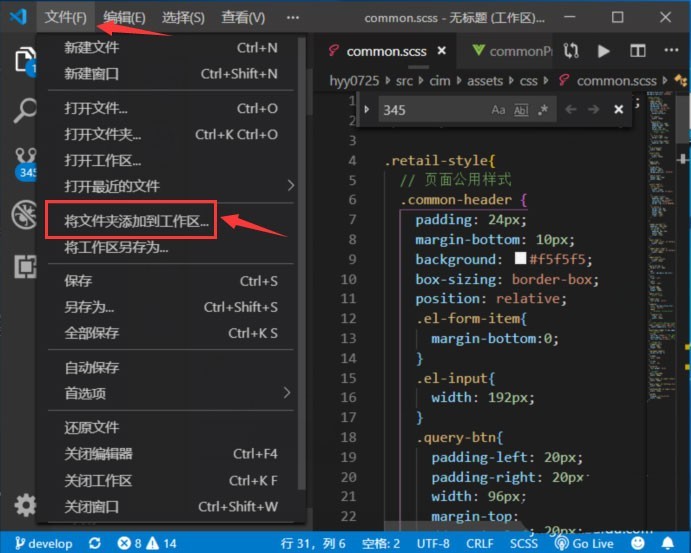
The third step, we click the button [File] in the upper right corner of the interface. After clicking the file, a menu will pop up on the interface. We click the button [Add Folder to Workspace] (As shown below).
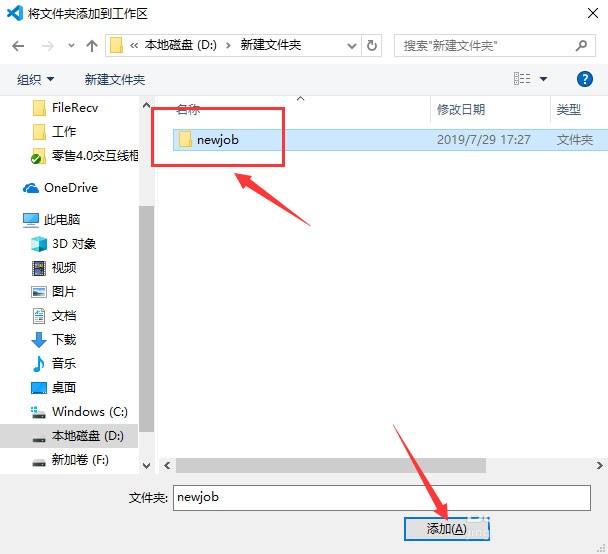
The fourth step, then we select the folder you want to add to the workspace, and then click the button [Add] (as shown in the picture below).
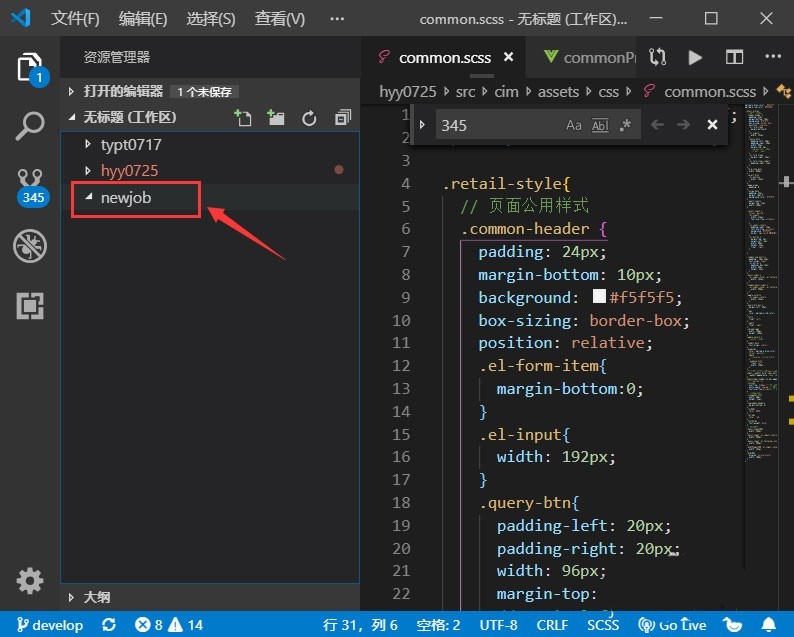
The fifth step is to return to the resource management interface, and you can see the added folder in the workspace, and we can switch development freely (as shown in the figure below).
The above is the detailed content of How to add multiple folders to vscode workspace_How to add multiple folders to vscode workspace. For more information, please follow other related articles on the PHP Chinese website!