php Xiaobian Xigua can add vitality and appeal to presentations with the help of PPT animation effects. Among them, the film move effect is a commonly used production technique that can give pictures or text a unique visual effect on a slide. To achieve this effect, it can be easily accomplished in just a few simple steps. Next, we will introduce in detail the specific method of creating film movement effect in PPT, so that you can easily master this technique and improve the texture and attractiveness of your presentation.
1. Start PPT, create a new blank document, select all text boxes and delete them.

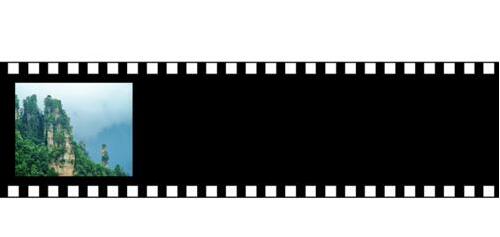
2. Execute the Insert-Shape command, drag a rectangle in the document, and fill the shape with black.

3. Drag the rectangle to elongate it, execute the Insert-Shape command, drag out the small square, and set the fill color to white.

4. Copy and paste the small squares one by one, so that the top and bottom are evenly distributed on both sides of the film. After ctrl a selects all, right-click and select Group.

5. Execute the insert-picture command, find the picture to be inserted in the pop-up dialog box, click to open, and adjust the size and position of the picture.

6. Repeat step 5 to insert and set the remaining pictures in order to form a film picture.

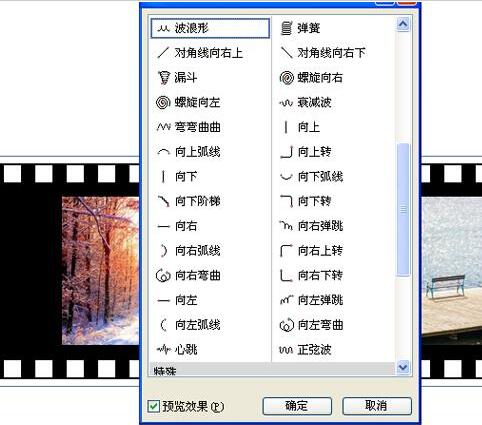
7. Select the film, execute animation-Add animation command, select the action path command, select left animation, and drag the action path to both ends.

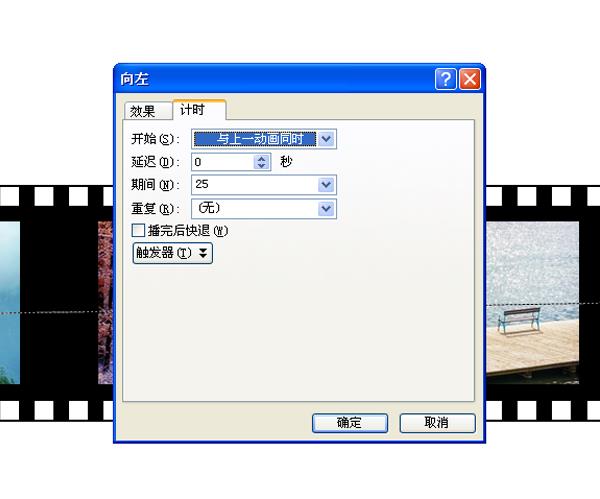
8. Double-click the action path to pop up a dialog box to the left. In this dialog box, set the start to be at the same time as the previous animation and the period to be 25s.

9. In this way, the moving film effect is completed. Execute the file-save as command and find a suitable place to save it.

The above is the detailed content of Specific method to create film movement effect in PPT. For more information, please follow other related articles on the PHP Chinese website!