
Git is an open source version control system used by developers around the world. Next, we'll cover how to create your own Git Linux server to host your projects.
A Git server is used to host a project's repository, which contains source code and other core files. While in most cases you can rely on a globally renowned Git hosting service like GitHub, in some cases it is better to host your own personal Git server for added privacy, customizability, and security.
Now, let’s learn how to set up a private Git server on Linux.
Before you start setting up your private Git server, you will need to have access to a backup computer or subscribe to a cloud provider. This is important because you will be setting up the backup machine as a Git server and connecting to it from your local machine and performing Git operations.
Although there are no explicit system requirements, 1GB of RAM should be enough to get the Git server running properly. Also, make sure you have a Linux distribution installed and running on your computer.
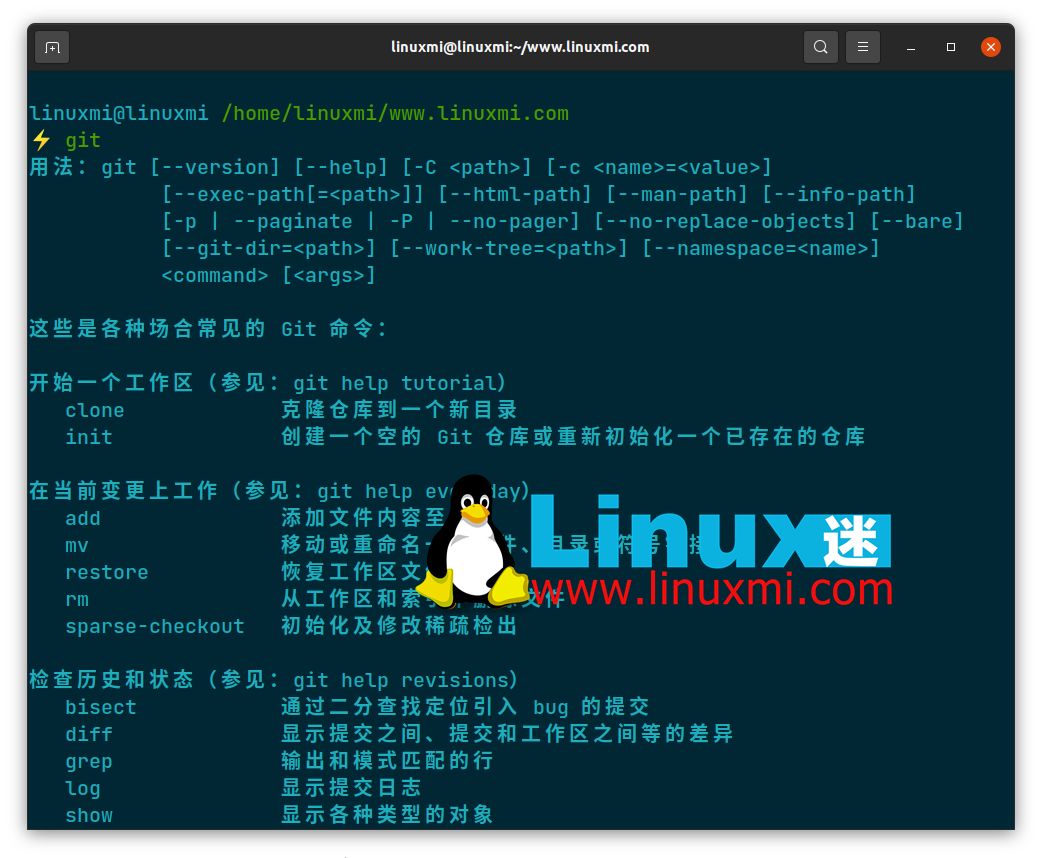
It goes without saying that as a preliminary step, you need to install Git on your Linux server. Launch a terminal and use your Linux distribution’s package manager to install Git:
On Debian/Ubuntu derivatives:
sudo apt install git
Arch-based distributions:
sudo pacman -S git
On CentOS/RHEL/Fedora:
sudo dnf install git
“
After installing Git on your system, continue with the following steps to configure your Linux system to host your Git repository as a Git server.
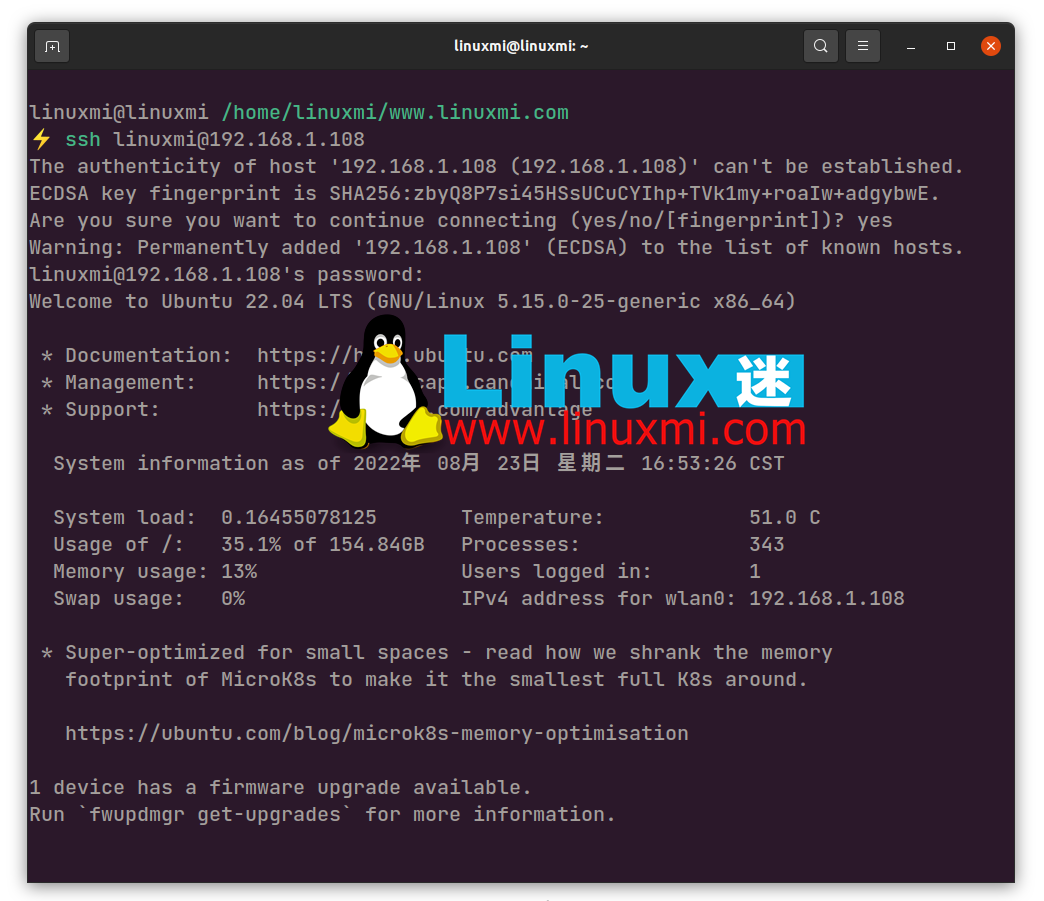
Connect to your Linux server via SSH, RDP or any other remote access protocol. Alternatively, if you are using an alternate machine as a server, turn it on and create a new user account to work with your repository.
ssh username@address
sudo useradd git
“
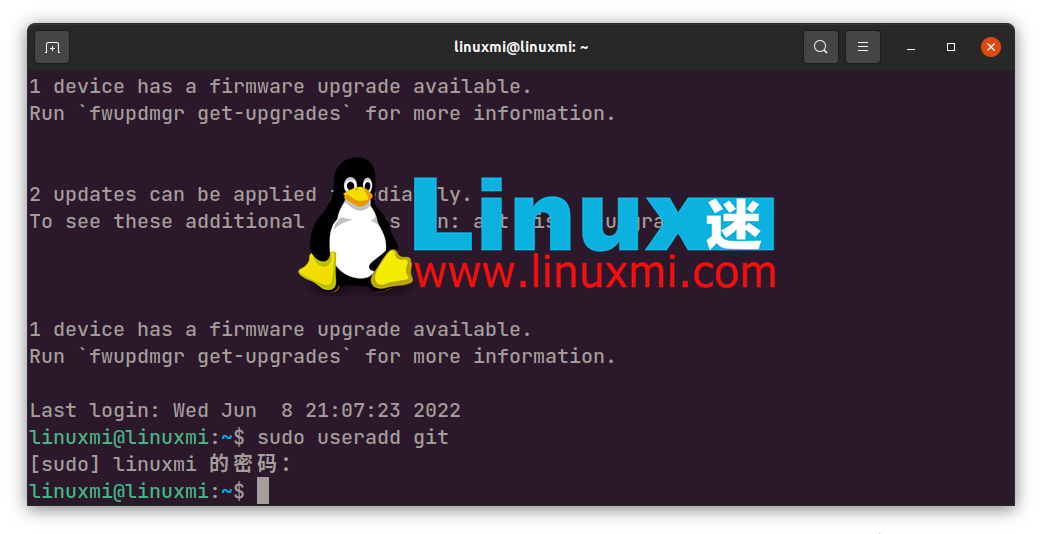
After adding a new user, use the su command to switch to the user:
su git
Create a dedicated git User account is a security protocol that ensures clients connecting to your Git server have limited visibility and access to the resources on the machine. This allows you to collaborate securely on group projects where multiple team members will have access to your server.
Creating a **.ssh** directory is necessary to store the public key and other basic data that will determine who can access this Git server. First, log in to the git user account you created earlier, create a .ssh directory, and restrict access to only the git user:
ssh git@address
mkdir .ssh
chmod 700 .ssh/
touch .ssh/authorized_keys
“
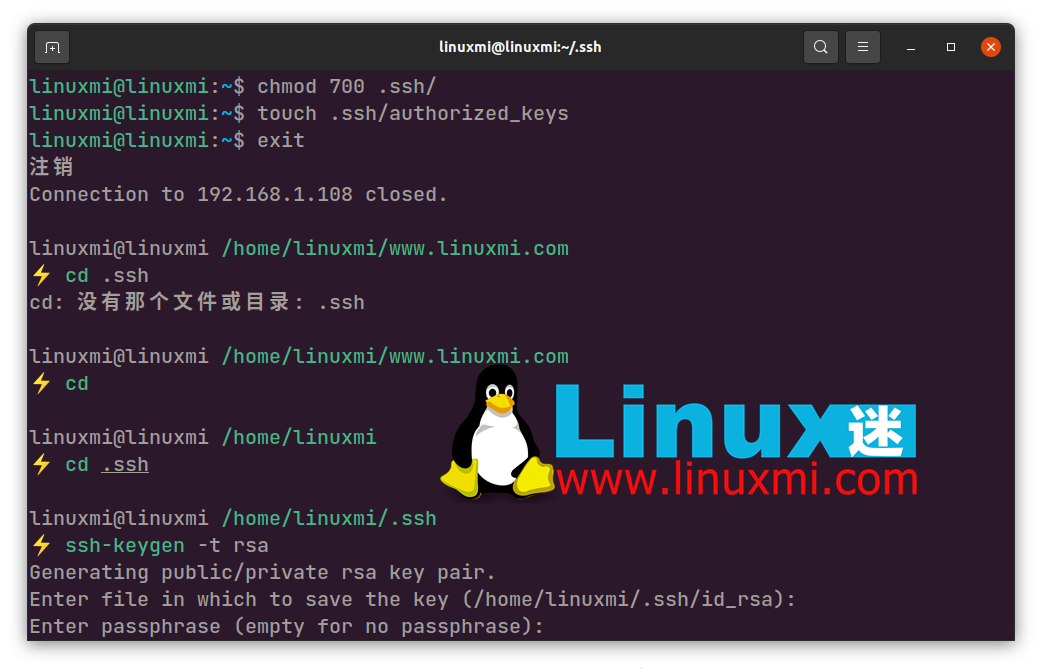
Use the chmod command to protect directory access to ensure that no one but you can change it. Go into the **.ssh directory and use the ****touch** command to create a new file "authorized_keys".
cd .ssh
ssh-keygen -t rsa #如果您没有 id_rsa.pub 文件,请使用此命令
cat id_rsa.pub
“
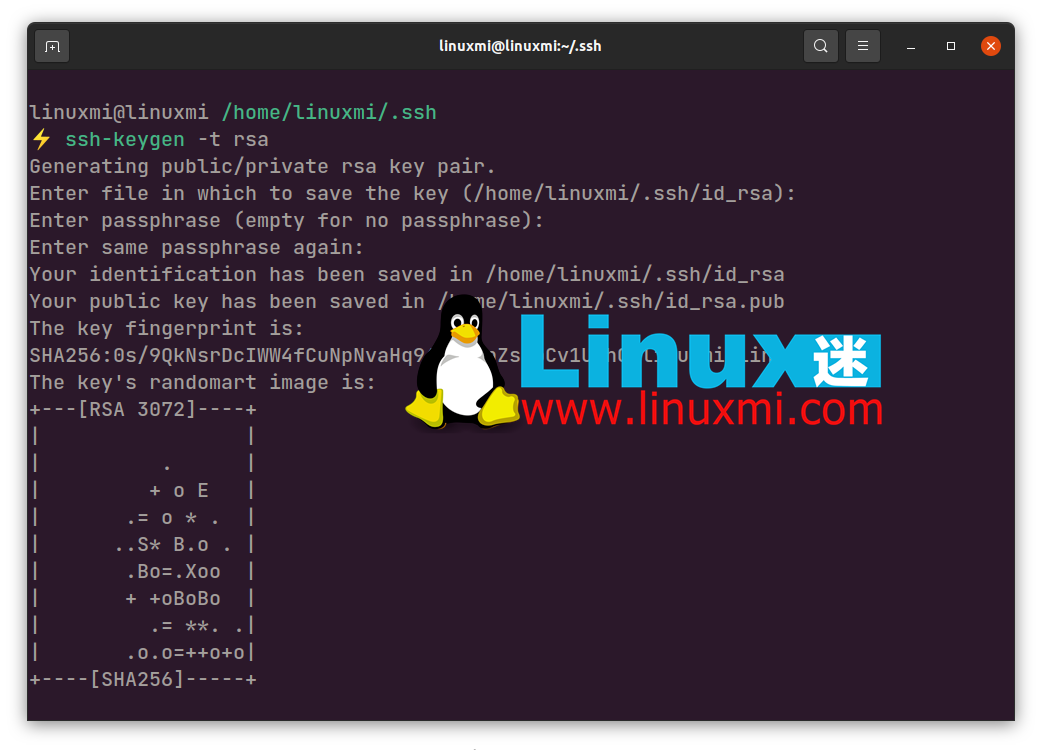
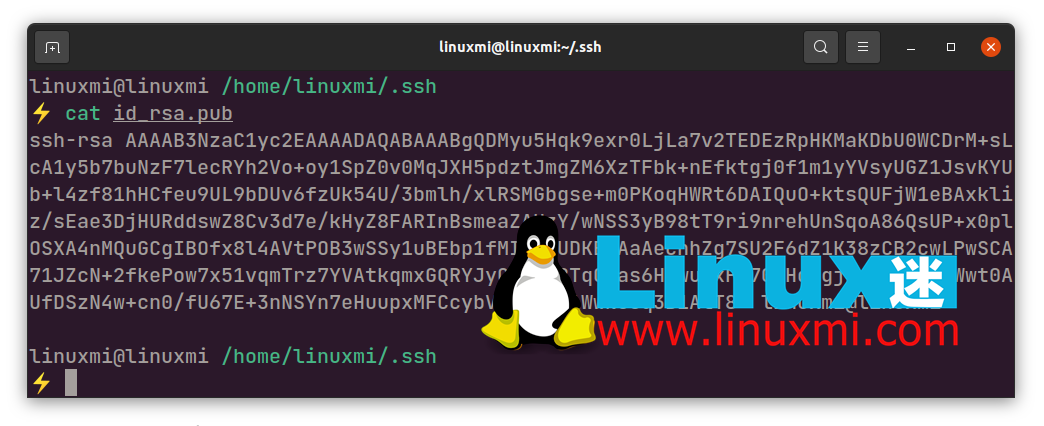
您必须使用您希望授予对 Git 服务器访问权限的客户端的 SSH 公钥来更新此文件。暂停 SSH 会话并使用文本编辑器或cat 命令在本地计算机中打开**.ssh/id_rsa.pub**文件。该文件包含您的公共加密密钥,当将其写入authorized_keys 文件时,您将无需密码即可访问Git 服务器。
cd .sshvi authorized_keys
复制公钥并启动到 Git 服务器的新 SSH 连接。进入**.ssh**目录,使用文本编辑器打开 authorized_keys 文件并粘贴公钥。保存更改并退出。
从那时起,您应该能够在没有任何密码的情况下连接到服务器。对将连接到服务器的每台计算机重复此步骤。
访问 Linux 服务器并创建一个目录或使用内置目录作为根目录。请记住,这是存储所有存储库的目录。为了更整洁地组织项目,这是一个很好的做法。
mkdir directory_name
创建目录后,继续本指南的最后一步以完成 Git 服务器的设置。
您现在实际上已经完成了 Git 服务器的设置。现在您只需要通过初始化存储库并将远程源添加到本地计算机来开始开发。使用cd命令进入父目录并创建一个**.git**项目目录:
cd parent_director
ymkdir new_project.git
现在,初始化一个裸 git 存储库:
git init --bare
初始化存储库后,是时候在本地计算机上添加远程源了:
git remote add origin name git@address:new_project.git
这就是您在服务器端需要做的所有事情。现在任何经过身份验证的客户端都可以执行常规的 Git 操作,例如推送、拉取、合并、克隆等。要开始新项目,每次创建新项目时都必须重复此步骤。
通过执行 git push 测试其功能:
touch testfile
git add testfile
git commit -m "test file"
git push name master
git clone git@address:new_project.git
您的文件将成功推送到远程源。要交叉检查推送操作是否有效,您可以克隆存储库,您应该在存储库中找到测试文件。
随着 Git 服务器的启动和运行,您必须密切注意它的安全状态,因为它是您的个人服务器,维护和保护它免受外部威胁是您的唯一责任。要采用的一些最佳安全实践是:
您可以在 Linux 服务器上实施许多此类安全配置和安全措施,以保护其免受攻击者的侵害并防止未经授权的访问。
The above is the detailed content of How to set up a private Git server on Linux. For more information, please follow other related articles on the PHP Chinese website!


