

 Software Tutorial
Computer Software
MacBook Air one-click factory reset tutorial: steps to reset your Apple computer
Software Tutorial
Computer Software
MacBook Air one-click factory reset tutorial: steps to reset your Apple computer
MacBook Air one-click factory reset tutorial: steps to reset your Apple computer

Recently, the editor has received many questions from friends on this site. Everyone asked me about the tutorial on how to restore the factory settings of Apple computers. The editor didn't know it at first, so I collected relevant information online and finally found it. Two ways to format and restore factory settings on MacBook Air with one click. The details are given in the article below. If you need it, please come to this site to take a look.

Tutorial on how to restore factory settings on Apple computers
Method 1,
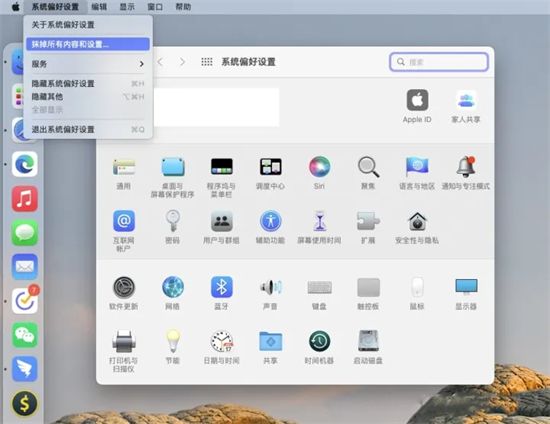
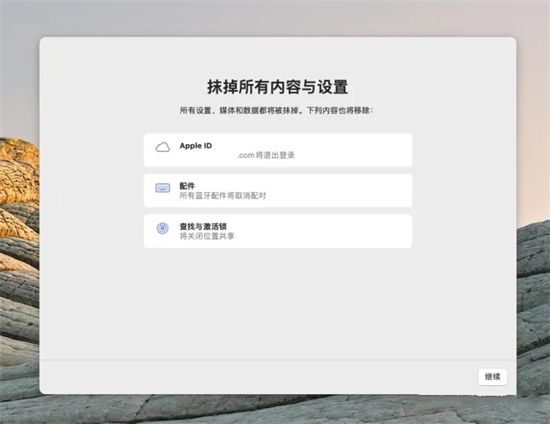
1. Open Settings-System Preferences in the upper left corner-Erase For everything, just follow the prompts.
Method 2,
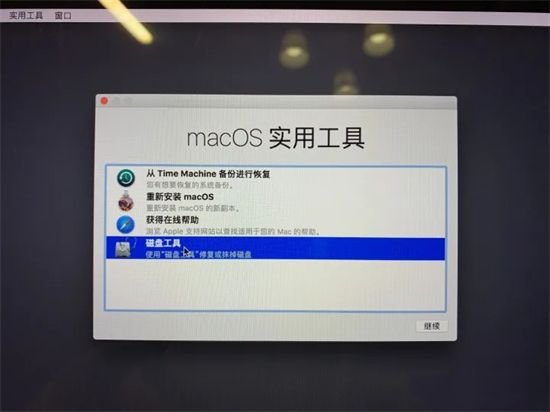
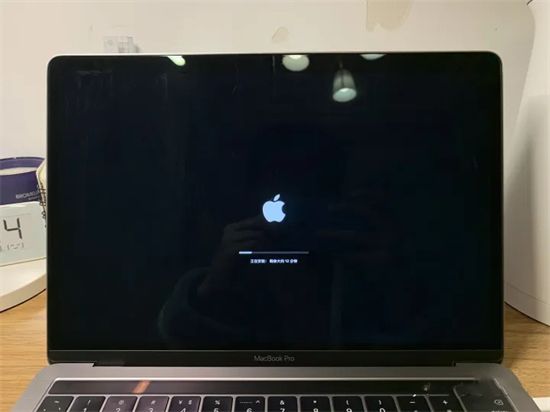
1. Turn off the computer and press the key combination (option command R or command R) , then press the power button to turn on the computer until the Apple logo and progress bar appear, then let go and start the macOS utility;

2. After the macOS utility dialog box appears, select the disk Tools, click the Continue button;
3. Select the built-in main hard drive on the left to erase, you can rename it to Macintosh HD;

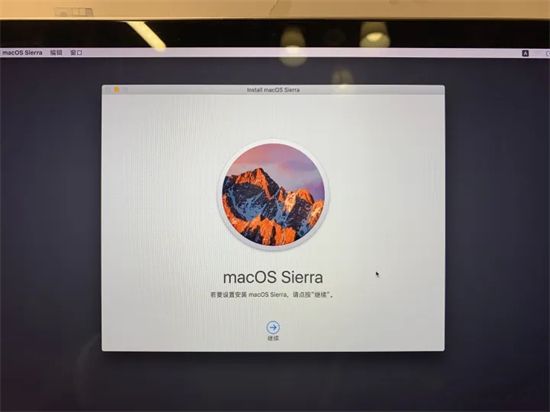
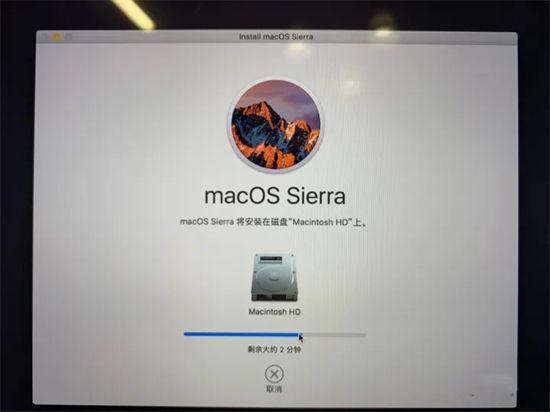
4. Close the dialog box, return to the utility page, and choose to reinstall macOS (if there is a problem, don’t worry, long press the shutdown button to force a shutdown, then press cmd R to re-enter and select installation);
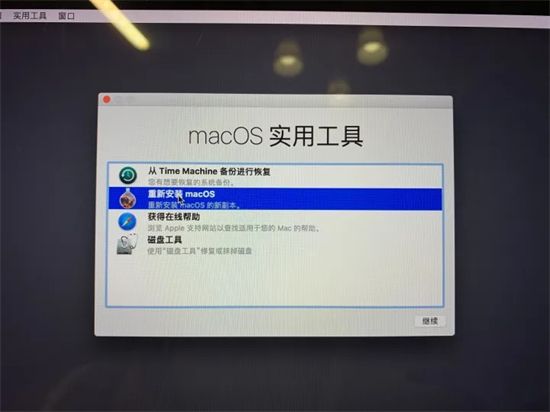
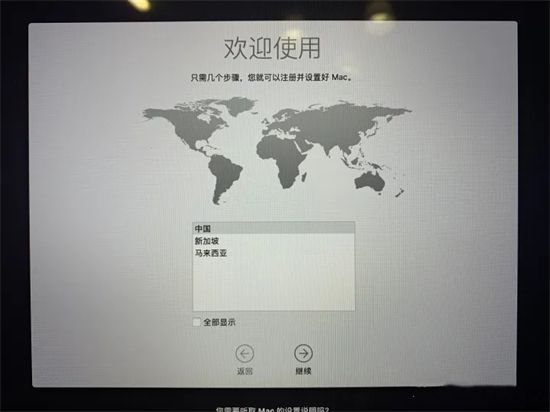
5. When reinstalling, it is recommended to check whether the Wi-Fi in the upper right corner is connected, and then follow the prompts.
 ##
##
The above is the detailed content of MacBook Air one-click factory reset tutorial: steps to reset your Apple computer. For more information, please follow other related articles on the PHP Chinese website!

Hot AI Tools

Undress AI Tool
Undress images for free

Undresser.AI Undress
AI-powered app for creating realistic nude photos

AI Clothes Remover
Online AI tool for removing clothes from photos.

Clothoff.io
AI clothes remover

Video Face Swap
Swap faces in any video effortlessly with our completely free AI face swap tool!

Hot Article
Hot Tools

Notepad++7.3.1
Easy-to-use and free code editor

SublimeText3 Chinese version
Chinese version, very easy to use

Zend Studio 13.0.1
Powerful PHP integrated development environment

Dreamweaver CS6
Visual web development tools

SublimeText3 Mac version
God-level code editing software (SublimeText3)


 How to get Photoshop for free
Jul 12, 2025 am 12:34 AM
How to get Photoshop for free
Jul 12, 2025 am 12:34 AM
Adobe Photoshop does not have a permanent free version, but can be legally used in the following ways: 1. The official website provides a 7-day free trial, complete functions but automatic renewal is required; 2. Use a simplified version based on the browser (Beta), which supports basic editing functions; 3. Students or teachers can obtain a full-featured version through the school education plan; 4. Consider alternative software such as GIMP, Photopea, Krita or Canva Pixlr to meet daily needs. The above methods can meet the needs of different users and ensure legal and compliant use.

 How to rotate canvas in Photoshop
Jul 12, 2025 am 12:41 AM
How to rotate canvas in Photoshop
Jul 12, 2025 am 12:41 AM
Rotating the canvas in Photoshop does not affect the image content, it can be achieved through the Navigator panel or shortcut keys. 1. Use the Navigator panel: After opening the panel, drag the mouse on the edge of the preview box to rotate the canvas in real time. 2. Use shortcut keys: Press the R key to activate the rotation view tool, drag the mouse to rotate; Shift R can temporarily switch back to the original tool. 3. Reset the angle: Click the "X" icon in the upper right corner or double-click the left mouse button to restore the default direction. Pay attention to distinguishing the "rotating image" function to avoid misoperation.
 How to use Bates numbering in Adobe Acrobat Pro?
Jul 13, 2025 am 01:19 AM
How to use Bates numbering in Adobe Acrobat Pro?
Jul 13, 2025 am 01:19 AM
Bates numbering is a numbering system used in legal documents to uniquely identify files. Adobe AcrobatPro can be added through the following steps: 1. Turn on the "Bates numbering" function in the tool; 2. Set the starting number, format, location and style; 3. Apply automatically after confirmation. Multiple files can be merged first and then unified to avoid duplication. Notes include: adjusting the numbering position to avoid the content area, previewing the effect before application, backing up the original file, and saving the complete version before splitting.
 How to use the Action Wizard in Adobe Acrobat Pro?
Jul 12, 2025 am 12:58 AM
How to use the Action Wizard in Adobe Acrobat Pro?
Jul 12, 2025 am 12:58 AM
ActionWizard is an automation tool in Adobe AcrobatPro for batch processing of PDFs. It allows users to combine multiple tasks such as merging files, adding watermarks, compression, etc. into one action, and execute them in one click in sequence, saving time. The creation steps include: Open the ActionWizard panel → Create a new action → Naming → Add operation steps → Set parameters → Save. Common uses include batch watermarking, merging and exporting to Word, compressing volume, encrypting documents, extracting pages, etc. When using it, you need to pay attention to the operation sequence that cannot be changed, the action cannot be paused during operation, some functions are incompatible, it is recommended to test first and then batch processing, and the common actions can also be fixed to the home page Quick Access bar to improve efficiency.
 Remote Desktop your credentials did not work
Jul 15, 2025 am 12:57 AM
Remote Desktop your credentials did not work
Jul 15, 2025 am 12:57 AM
When encountering the "RemoteDesktopyourcredentialsdidnotwork" problem, first confirm whether the correct username and password have been entered, including checking whether the case, keyboard layout and special characters are entered correctly, and it is recommended to try to log in locally to verify the credentials; secondly, confirm whether the account has remote login permissions, you can view and add allowed users through the remote option in the system properties; thirdly, if network-level authentication (NLA) is enabled, some clients may not be able to authenticate normally, you can try to uncheck "Always require network-level authentication" on the client or turn off the NLA option on the target computer; finally, check whether there are group policy or other security settings restrictions, such as company domain
 Why does Adobe Acrobat keep asking me to sign in?
Jul 20, 2025 am 12:05 AM
Why does Adobe Acrobat keep asking me to sign in?
Jul 20, 2025 am 12:05 AM
The reasons why Adobe Acrobat frequently require login include synchronous settings, cloud storage or verification of licenses. Solutions include: 1. Use the "Remember Me" option; 2. Avoid using cloud features; 3. Stay online regularly; 4. Try old versions or third-party readers. To manage cloud services and authorization, Adobe will continuously verify the account when using related functions. After understanding the trigger mechanism, it can adjust the workflow to reduce interference.
 How to add text to a photo in Photoshop
Jul 13, 2025 am 12:59 AM
How to add text to a photo in Photoshop
Jul 13, 2025 am 12:59 AM
Use Photoshop to add text to photos to follow the following steps: 1. Select the right tool: Use the text tool (T-shaped icon) to enter text, select horizontal or vertical rows, and set the font, size and color in advance; 2. Adjust the style and position: Adjust the style through the option bar or panel, such as adding a translucent background box, stroke effect, changing color contrast, etc.; 3. Let the text be integrated into the picture style: match the font according to the picture style, try embossing effects, blending modes, projection and other methods to enhance the sense of nature.
