


To complete this tutorial, the user must have the following:
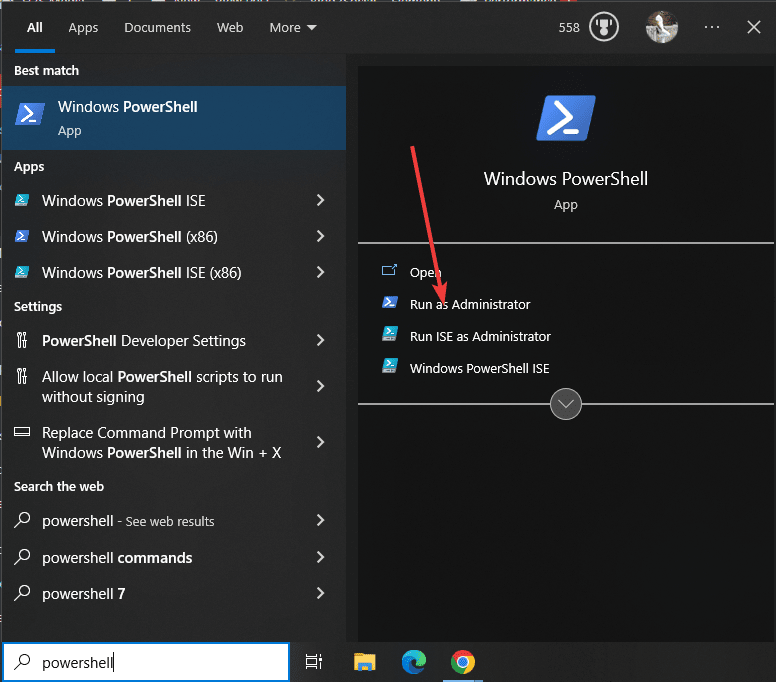
Here, we are using PowerShell to install the Azure CLI tool, however, the steps for the command prompt will be the same as well. So, first, open any of them you want to use withadminpermissions.
To do this, click the WindowsStartbutton and search forPowerShell, then hover over it and select "Run as administrator" option.
The main motivation for this tutorial is to install Azure on Windows using only the command line. Therefore, we will not visit any website to obtain the executable file of this CLI tool. So, like Linux, we also have a package manager in Windows 10 and 11 systems, also known as "Winget". To check if it is available, run the given command and you will see its version number in the output.
winget -v
In this step, we will execute the "winget" command which will not only download the latest available Azure CLI tool settings , the same setup can even be installed without user intervention.
winget install Microsoft.AzureCLI
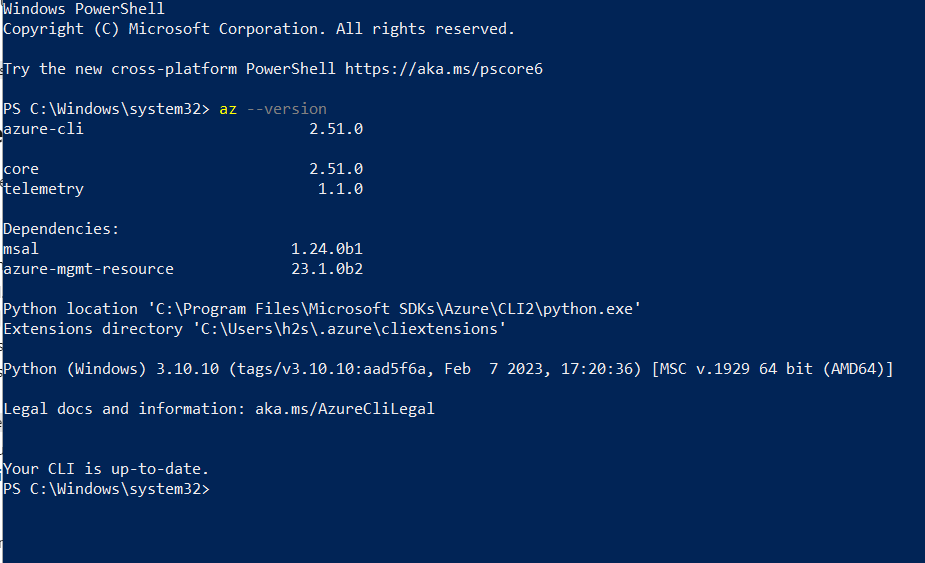
After completing the installation, first close the PowerShell or Command Prompt that you used to install it. Then open it again so that we can identify the path to the installed Azure CLI tool on our system. Once done, type the given command on CMD or Powershell and it will not only provide the only current version of the tool but also the extension directory of Azure CLI.
az --version
It is also very easy to remove Azure CLI from Windows if you do not need to use the command terminal. Use the same Winget package manager, but this time use the "uninstall" parameter.
winget uninstall Microsoft.AzureCLI

Now we have the Azure CLI installed on Windows, but using only the CLI. You can further check out the official documentation available on the Microsoft website for this tool to manage Azure resources, automate tasks, and streamline cloud management workflows.
The above is the detailed content of On Windows 11 or 10, use Powershell or CMD to install the Azure CLI. For more information, please follow other related articles on the PHP Chinese website!


![[Web front-end] Node.js quick start](https://img.php.cn/upload/course/000/000/067/662b5d34ba7c0227.png)


