
Struggling to create a PNG logo for your WordPress website? Not sure how to upload a PNG logo to WordPress?

Creating and adding a logo may seem difficult, but it's much easier than you think. This step-by-step guide will detail how to use online tools to create an eye-catching logo and easily upload it to your WordPress website.
Let us install a new logo on your WordPress site!
To create a PNG logo for WordPress, you can use an online logo design tool like Canva, or design your logo using graphic design software like Adobe Illustrator.
I highly recommend using Canva as it is an all-in-one graphic design software for all your logo design needs. The software is easy to use and you can get stunning results even if you have little knowledge of logo creation.
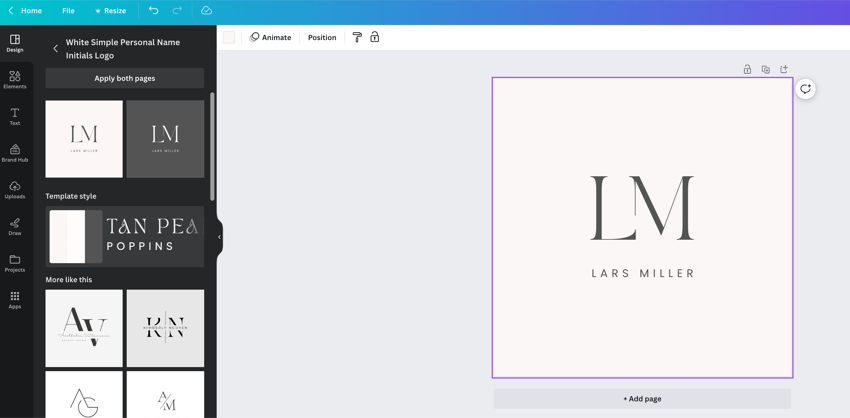
Creating a unique logo for your WordPress website is crucial and can be achieved using graphic design software.
To upload a PNG logo to WordPress, log into your WordPress Dashboard and go to Appearance Tab.
From there, select Customize, which will take you to a page where you can customize the look of your site.
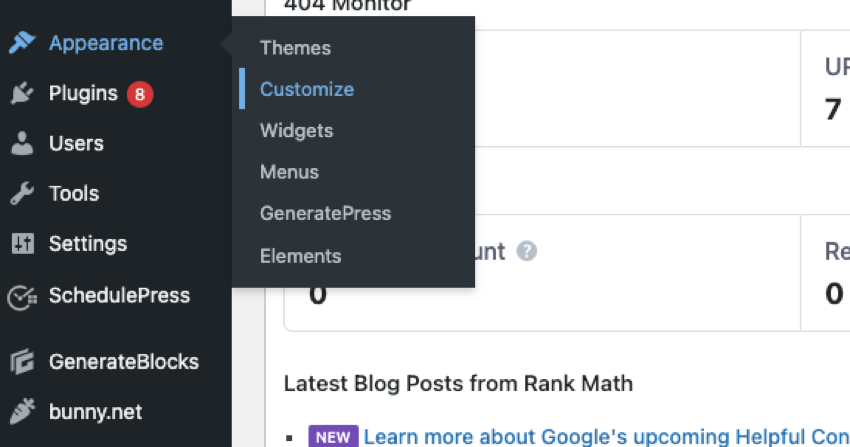
You can add or update your logo here. Just click on this option and select the file from your computer.
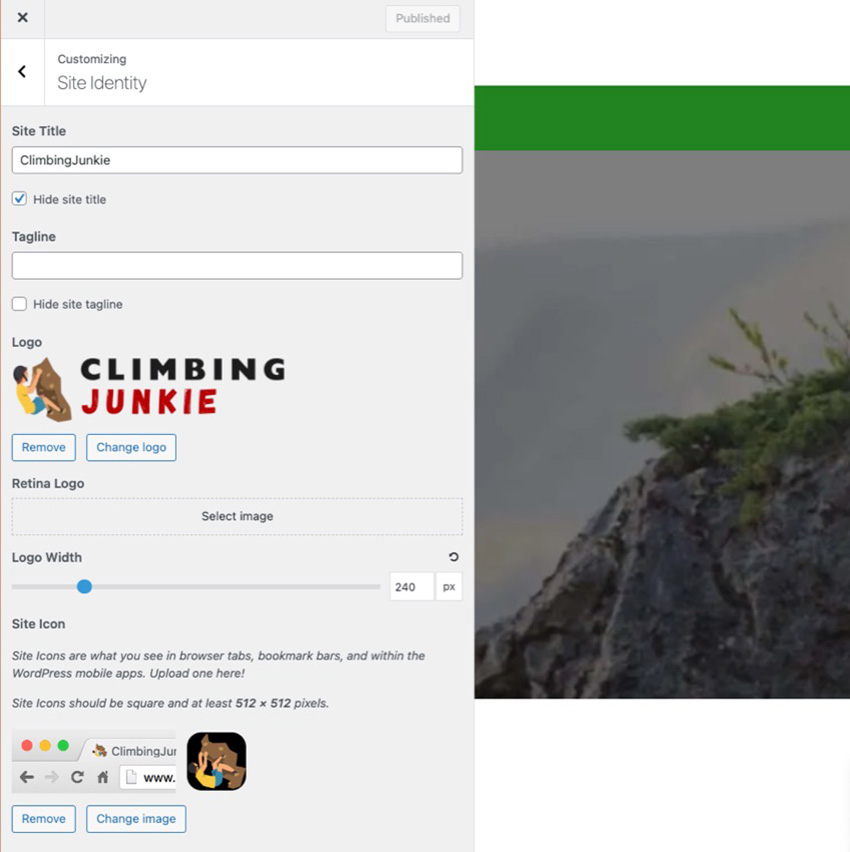
Remember that using a PNG file for your logo provides transparency to the image. This allows for seamless integration with different backgrounds and enhances branding and visual appeal.
After the file is uploaded, select the logo and click Save. It's that simple!
You also have the option to change the logo width using the slider provided in the same Website Logo section. As you adjust the slider to achieve your desired width, you can see the size change in real time.
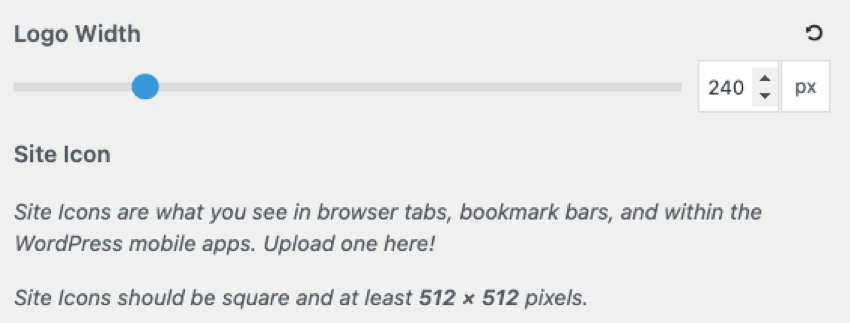
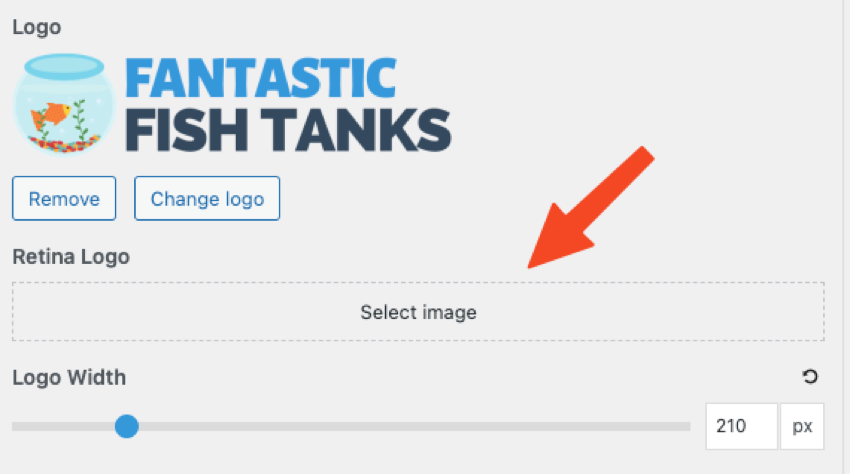
High-resolution screens like Apple’s Retina Display are becoming increasingly common on devices like phones and laptops.
Regular images and logos may appear blurry or pixelated on these high-pixel screens because they lack fine detail. To get around this, some systems allow you to upload a second, larger version of your image, only suitable for high-resolution screens.
Users can upload a separate logo image that is twice the size of a regular logo. WordPress automatically switches to this HD Retina logo when viewed on an Apple Retina display or other high-resolution screen. This ensures that the WordPress logo always looks crisp and clear, avoiding blur.
So the Retina Logo feature is especially helpful for making logos shine on Apple’s iconic Retina displays and other modern high-resolution screens.
When uploading your retina logo, make sure it is twice the size of the regular logo you upload.
To optimize your PNG logo for WordPress, make sure to resize and compress the image for faster loading. Use a transparent background for seamless integration and ensure your logo accurately represents your brand.
Keep reading to learn about optimizing your logo for maximum impact on your WordPress site.
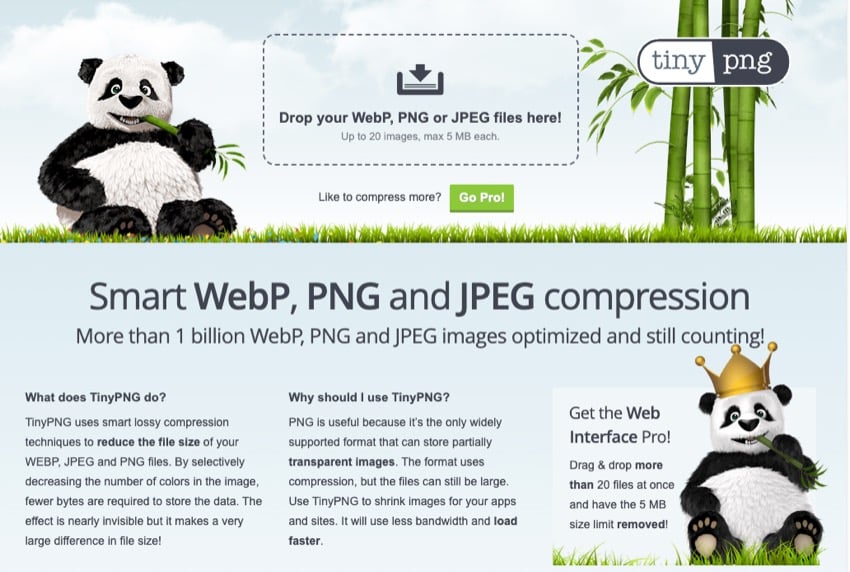
To ensure your WordPress website loads quickly and provides a seamless user experience, resizing and compressing your logo is crucial. Doing this allows you to optimize its loading speed without compromising quality.
Sites like Tiny PNG are great for resizing PNG files.
Resizing your logo to fit the desired dimensions prevents unnecessary strain on website resources. Additionally, compressing your logo can reduce file size while maintaining visual appeal.
This means visitors don’t have to wait for large files to load, speeding up page load times and improving overall performance. So remember, resizing and compressing your logo is crucial to optimizing its loading speed on your WordPress site.
To seamlessly integrate your logo into your WordPress website, you must use a transparent background for your PNG logo. This means removing any solid color or white background from the logo image so that it blends seamlessly with the rest of the website design.
Doing this ensures that your logo appears overlaid on top of other elements without any awkward edges or visual distractions.
A transparent background is especially important if you are placing your logo in different parts of your website where there are different colors or graphics. A transparent PNG logo lets these underlying elements show through, creating a cohesive and professional look for your brand.
hint When designing or optimizing your logo, always keep in mind aesthetic appeal and accurate expression of your brand identity.
Designing a visually appealing and accurate logo is crucial to optimizing your PNG logo for WordPress. Your logo is the face of your brand, so it should appeal to your audience and reflect your brand image effectively.
Research different types of logos and layout options to gather inspiration and make informed decisions about the design elements you want to incorporate. Consider your target audience and make sure the colors, fonts, and overall style match their preferences while staying true to your brand image.
Remember, an attractive logo can leave a lasting impression on your visitors and help build a strong brand presence online.
Take your WordPress website to the next level by adding high-quality themes and plugins. Check out the following resources and discover new tools and designs you can add to your WordPress website:
Creating and uploading a PNG logo in WordPress is a simple and effective way to enhance the visual identity of your website. You can use online design tools or graphic design software to create a stunning logo that accurately represents your brand.
Then, with just a few clicks in your WordPress dashboard, you can upload and customize your logo to give your website a professional feel. Follow these steps to make your website stand out and leave a lasting impression on your visitors.
If you need more high-quality plugins and themes for your WordPress site, use Envato Elements. You can access thousands of WordPress resources for a low monthly fee.
The above is the detailed content of Create and upload a PNG logo in WordPress: a step-by-step guide. For more information, please follow other related articles on the PHP Chinese website!


