
WPBakery Page Builder (formerly Visual Composer) is a WordPress plugin that allows you to create custom pages for your WordPress website without writing any HTML or CSS code. Its intuitive editor is perfect for non-coding designers who want to quickly transform their designs into fully functional WordPress pages. However, experienced web developers can also save a lot of time and effort by adding it to their development workflow.
In the previous tutorial, I introduced you to the user interface of WPBakery Page Builder. Today I’m going to show you how to use it to create a simple responsive landing page.
To continue, please make sure you have:
If you need help setting up the plugin, please see the following tutorials:
A landing page is typically a page built to convert traffic generated by a marketing campaign into leads or sales. In order for it to be effective, it must have clear goals. In this tutorial, to provide a practical example, we will create a landing page to convince visitors to purchase an eBook.
Start by opening the admin dashboard of your WordPress instance and navigate to the Page tag. Then press the Add New button to create a blank page.
Since people have short attention spans these days, a well-optimized landing page should have few distractions and have a very obvious call-to-action. However, most WordPress themes will automatically add elements such as headers, sidebars, footers, and navigation bars to newly created pages. These elements can distract visitors, so it's usually best to remove them.
The easiest way is to apply a blank single-column template to the page using the Page Properties section. However, the exact name of the template will depend on your current theme. For example, if you use the free and open source WP Bootstrap Starter theme, you can choose the Blank with Container template.
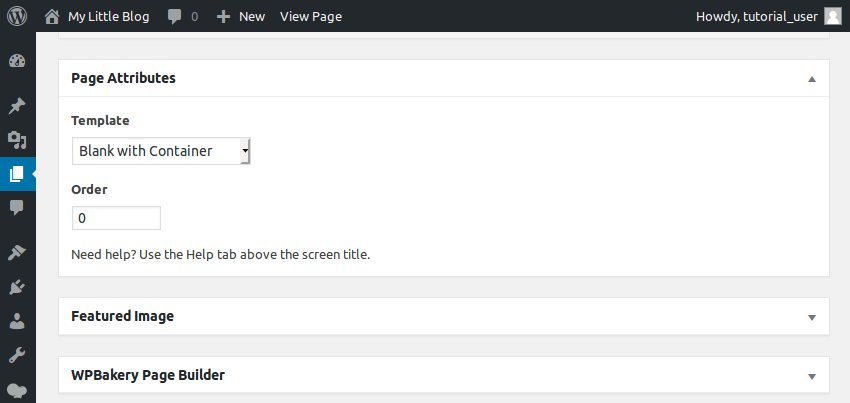
We are now ready to start adding content to the page.
The first and most prominent section of our page will be the Heroes section. It will contain the title of the e-book, a cover image, some details about the book, and a Buy button. Feel free to use any photo as your cover image. Alternatively, you can use Canva to quickly create one.
We will use the WYSIWYG front-end editor provided by WPBakery Page Builder to create our page. To activate it, click the Front-End Editor button.
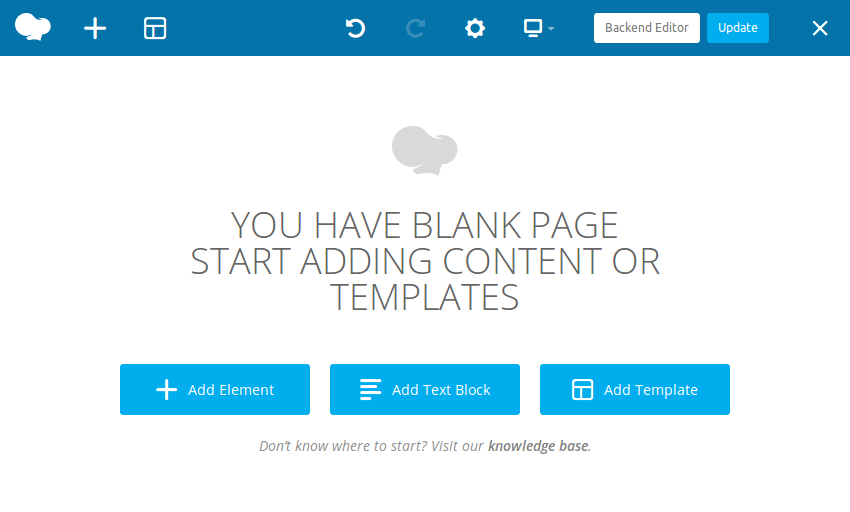
We will be using the Row element extensively in our landing pages. Doing this ensures that the page is both modular and responsive. Our first line will serve as a container for the hero section. Now create it by adding element > row .
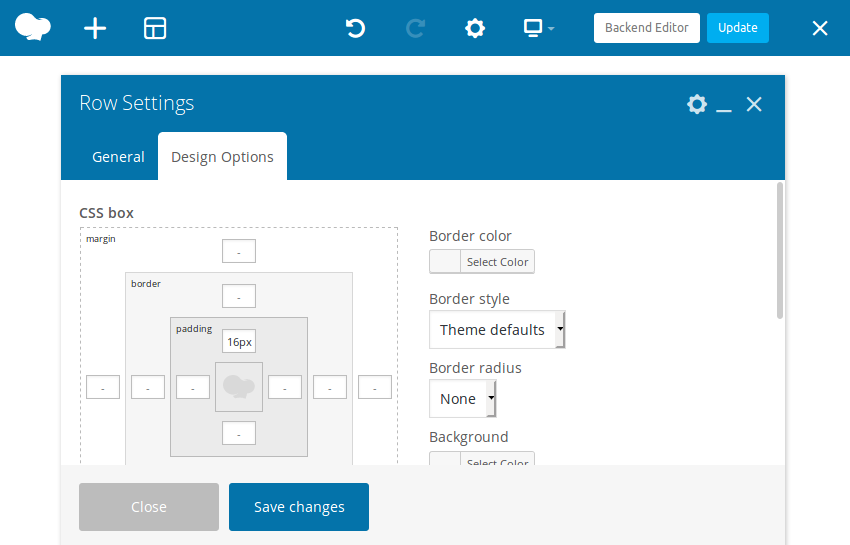
In the Row Settings dialog box, switch to the Design Options tab and give the row a top padding of approximately 16 pixels .
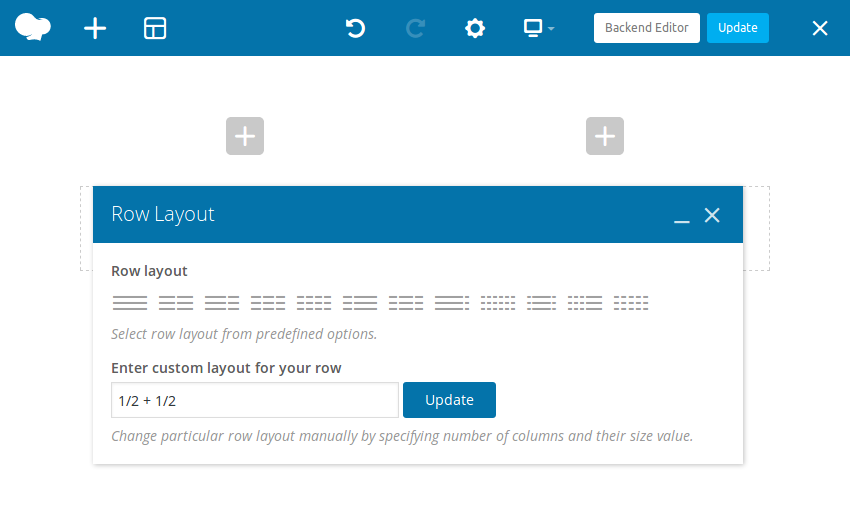
Next, open the Row Layout dialog box and select the second, Split the row into two columns layout option.
We will display the cover image in the first column of the row. So, click on the plus sign shown therein and select the Single Image option. In the pop-up dialog box, upload the cover image and press the Set Image button.
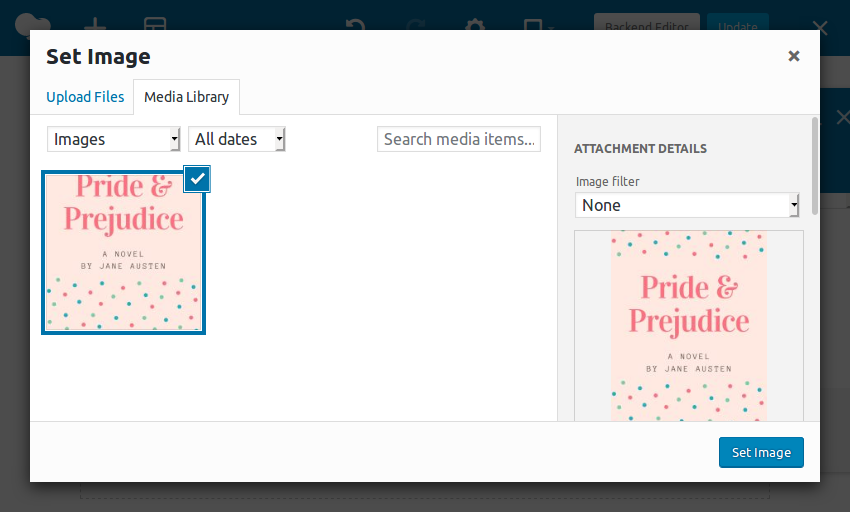
At this point, I recommend that you use the Single Image Settings dialog box to set the >Image Size to Medium, Image alignment is set to centered. If you're still not satisfied with the dimensions of your image, feel free to specify the desired dimensions (in pixels) directly.
The second column of the row will contain the title, description, and button. For the title, we will use the Custom Title element. Unlike the regular TextBlock element, this element allows us to use Google Fonts when styling text.
After the Custom Title Settings dialog box pops up, enter the title of the book in the Text field, and then use the Font Family drop-down list to select the one you want Google font family.
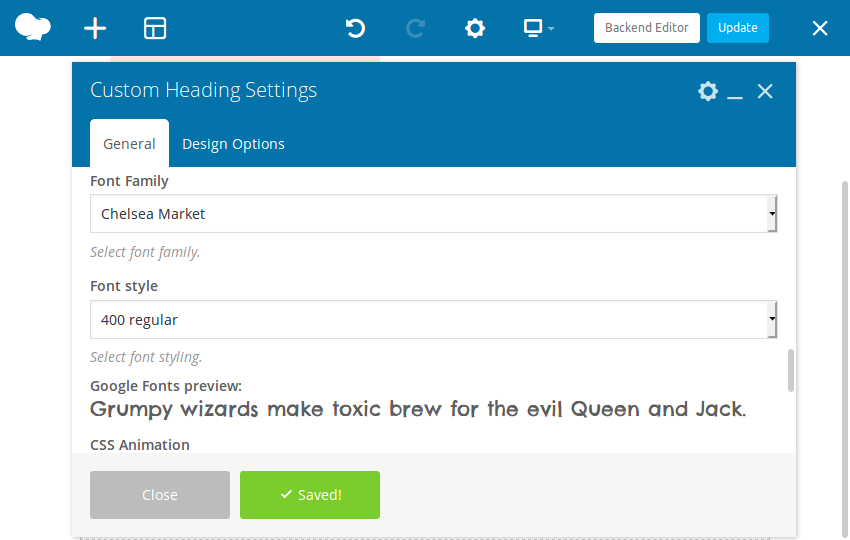
If you think the font is too small, you can use the Font Size来更改> field or use the Element Tag field to select a larger heading style, for example h1.
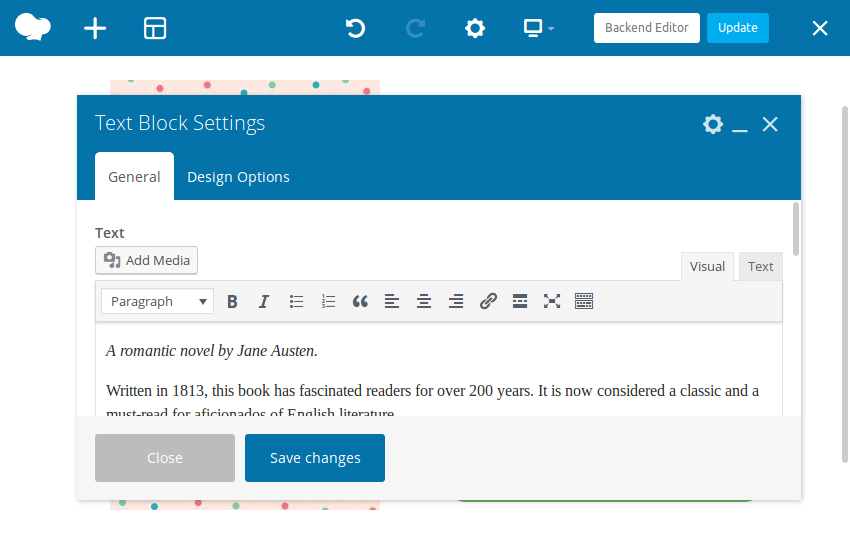
For descriptions, continue adding text blocks to the same column. Using the pop-up rich text editor, you can not only enter all your text but also apply simple styles to it.
Add the Button element as the last element of the column. In its configuration dialog box, add a label for the button and specify the URL of the page you want it to open. Currently, you can use any virtual URL.
To make the button look more refined, set its style to Modern and shape to rounded, And set its size to Large. By default, the button has a subtle gray background. Changing its color to Classic Green can make it more eye-catching.
Of course, you are free to try out all the other styles and shapes that WPBakery Page Builder offers.
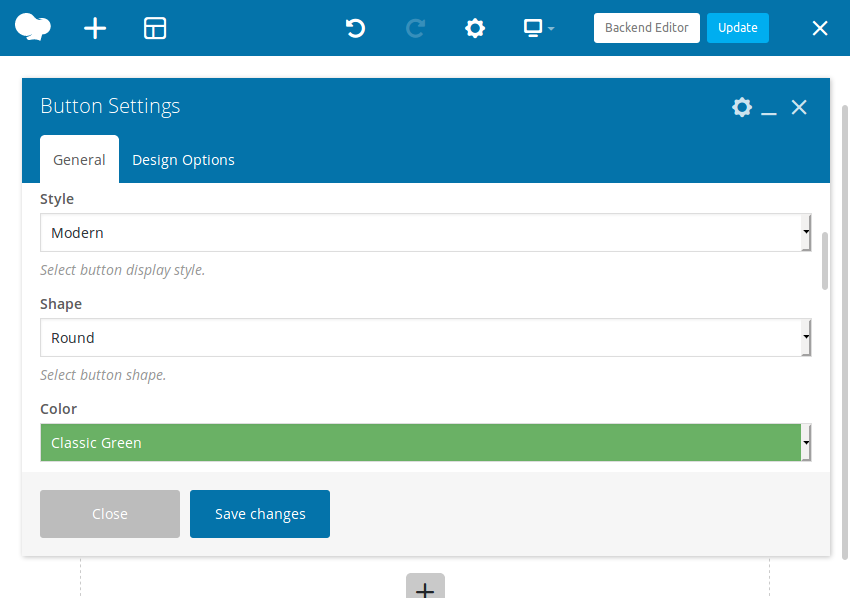
It's worth noting that if you want the button to be as wide as the column, you must also set the Alignment property to Centered, and then CheckSet full width button? Options.
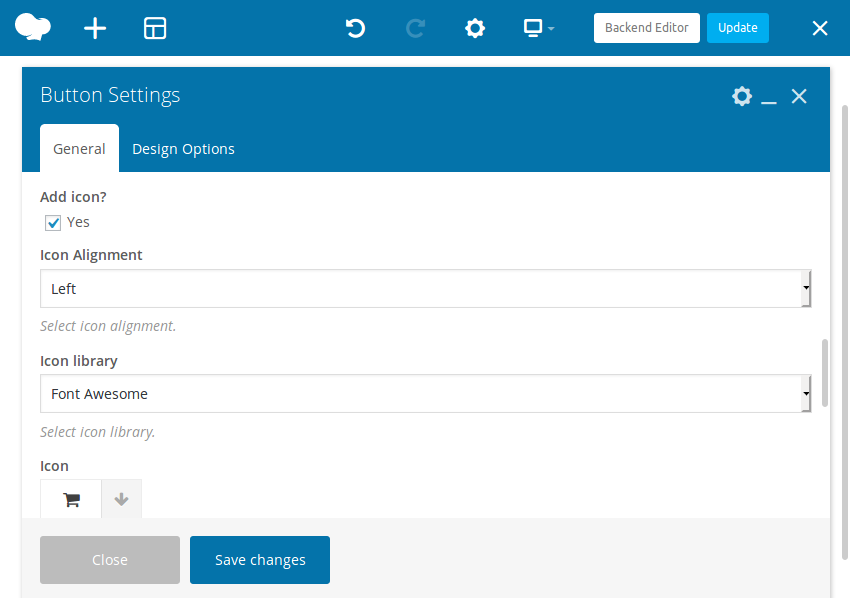
WPBakery Page Builder allows you to easily add icons from several different icon libraries to your buttons. To add an icon to a button, you must first check the Add Icon property. You can then select the desired icon library and icons.
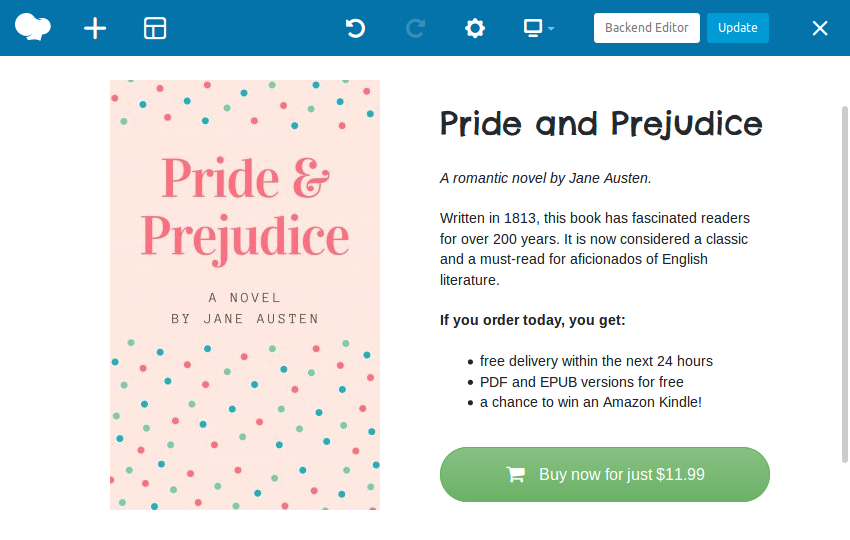
Our simple hero part is ready. It should look like this:
Reviews or testimonials are an important part of most landing pages. A few good and genuine reviews are usually enough to win the trust of your visitors. Now, let's add three comments to the page.
We will use another Row element as a container for all comments. Add it just below the hero section row and use its Row Layout dialog box to divide it into three columns.
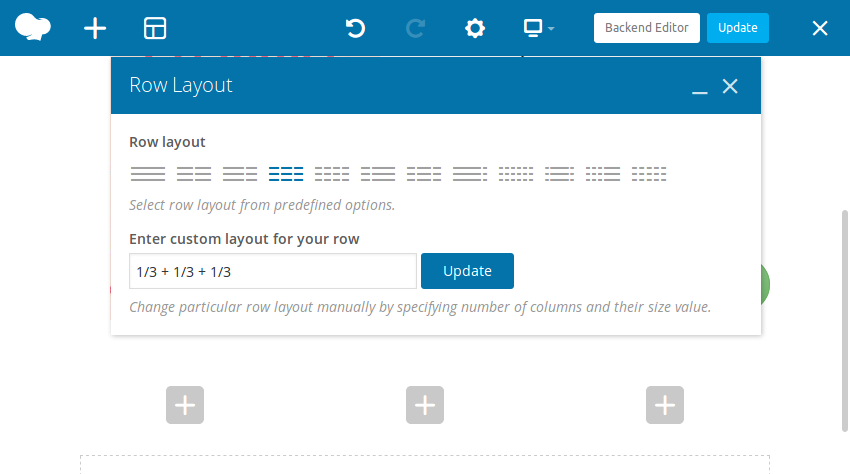
To differentiate the comments section from the heroes section, switch to the Design Options tab and change its background color to light gray.
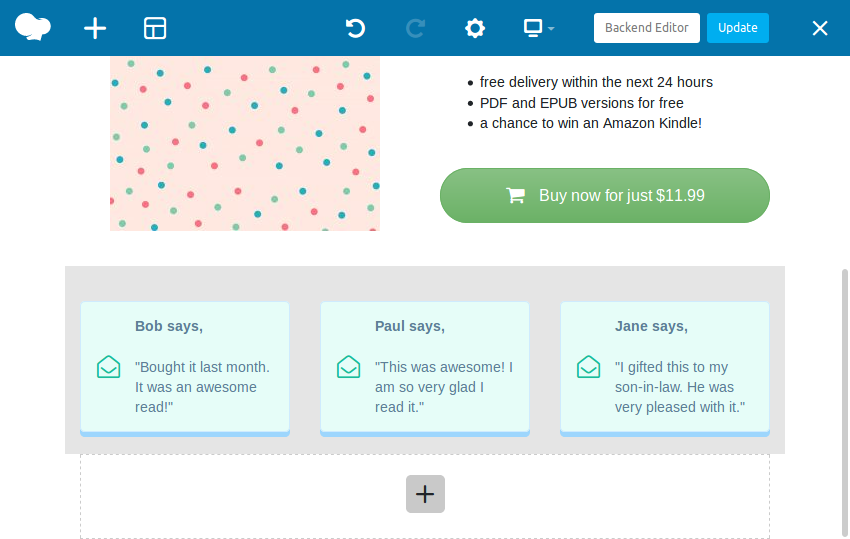
We can use the text block element to display comments. However, to try a different approach, we can use the MessageBox element. The main difference between the two is that message boxes can display a large icon next to their text. Additionally, message boxes come with more predefined styles and colors.
Add the first message box in the first column. In the Message Box Settings dialog box, set the Style to 3D, and then select the icon to display. Then use a text editor as usual to enter the comment text.
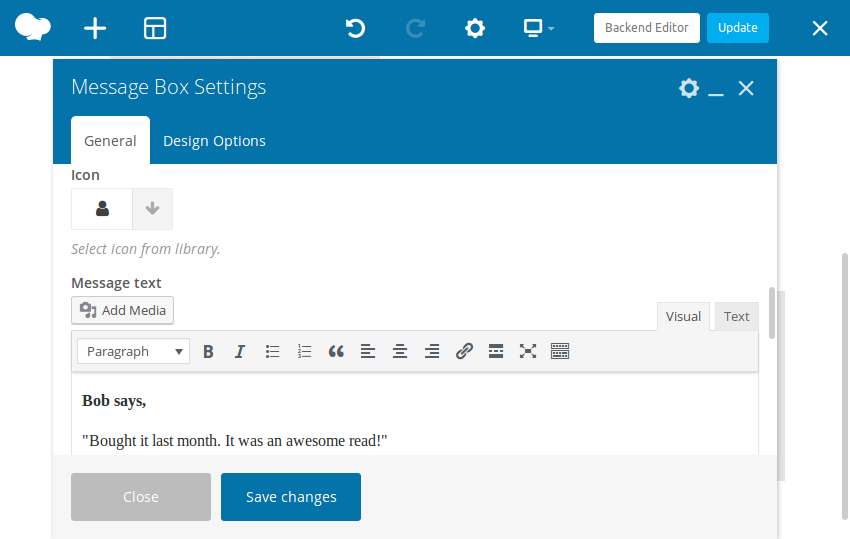
For the other two comments, you don't have to create the message box from scratch. Instead, use the Copy buttons to create two copies of the first message box. After changing their text content, you can simply drag and drop them into the second and third columns.
The comments section should now look like this:
Some visitors may still be unsure whether to purchase. To convince them, you can take a few different approaches. For example, you could try emailing them the first chapter of your book for free. Or you could invite them to subscribe to your newsletter and give them a chance to win the book. No matter which method you choose, you'll need a form to capture your visitors' contact information.
WPBakery Page Builder is compatible with most modern form builder plugins. In this tutorial, we’ll use the free WPForms plugin (which has over 2 million active users) to create a form. To install it, go to the admin dashboard and navigate to Plugins > Add New. Search for wpforms there and press the Install Now button to start the installation.
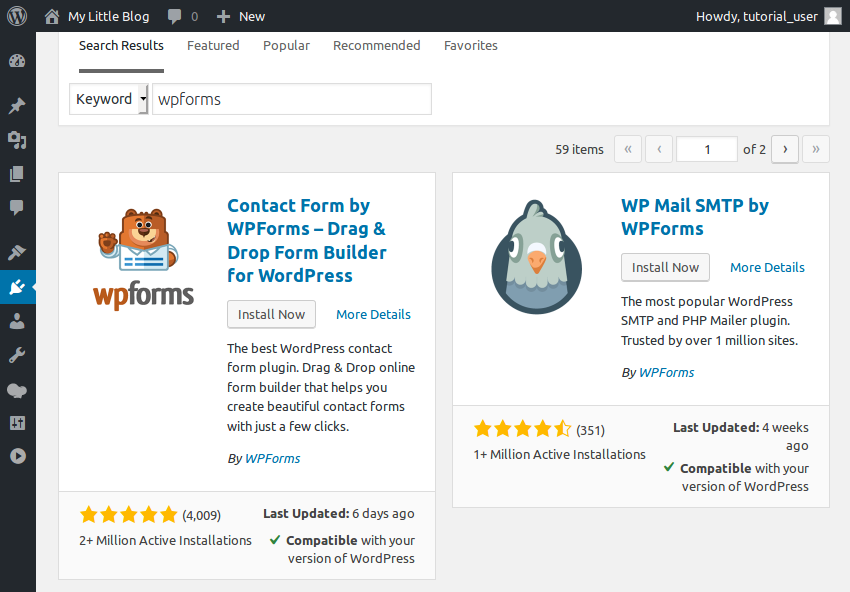
After the installation is complete, press the Activate button to start using the plug-in.
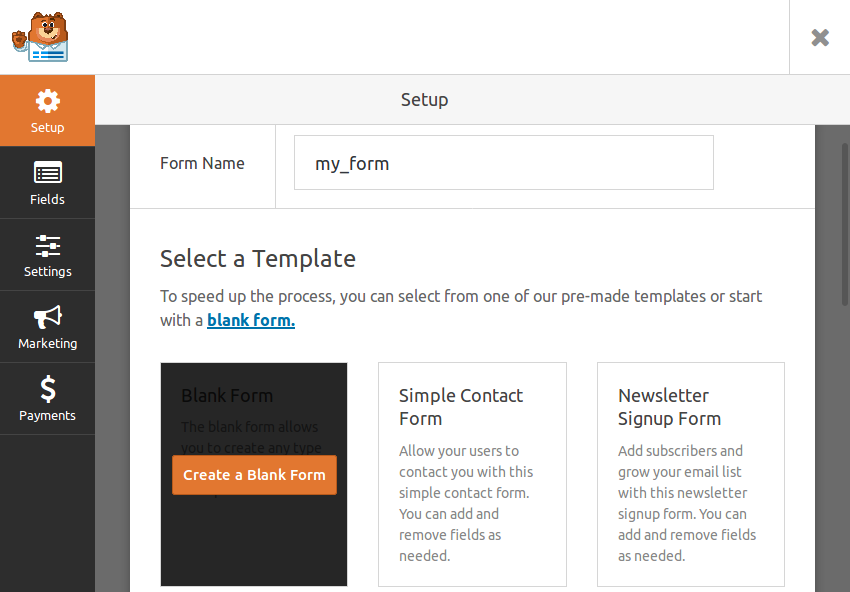
To keep it simple, let's create a form that only accepts the visitor's name and email address. So go to WPForms > Add New. In the form creation wizard, name the form and select the Blank Form template.
In the next screen, drag and drop the Name field and the Email field to the form.
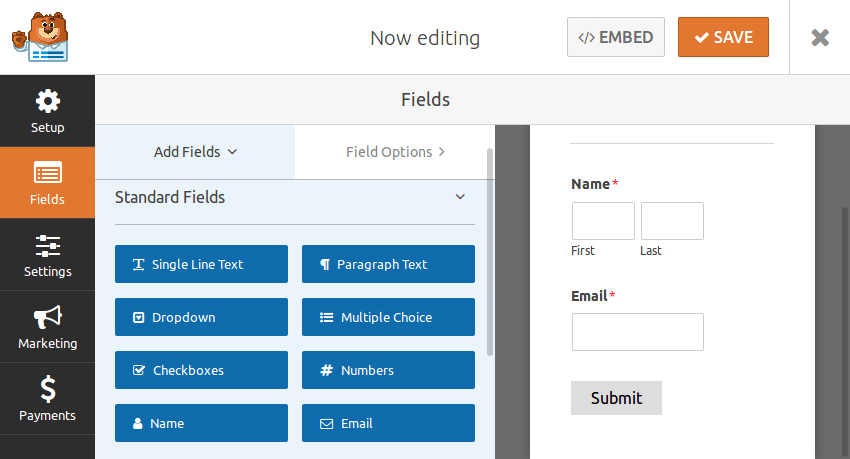
The form is ready, so save and return to the Form Overview page to get its unique shortcode.
All you need to do now is embed the form into your login page. To do this, return to WPBakery Page Builder's front-end editor and add a third Row element at the bottom of the page. Add a TextBlock element inside it.
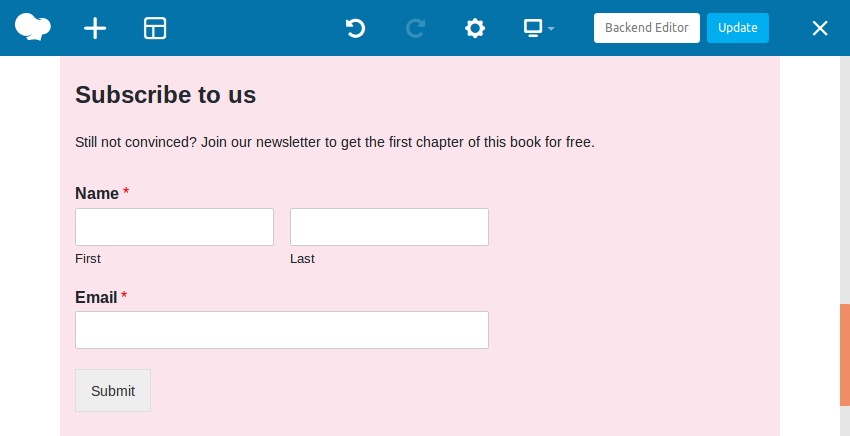
In the Text Block Settings dialog box, first add some text to explain to visitors why they should fill out the form, and then enter the shortcode for the form. After pressing the Save Changes button, you should be able to see your brand new form:
In this tutorial, you learned how to create a simple login page using the many different elements provided by WPBakery Page Builder. You also learned how to use shortcodes to interact with third-party plugins.
CodeCanyon is filled with premium plugins for WPBakery Page Builder. By using them, you can add complex functionality to your pages faster. The following article introduces you to the most interesting WPBakery plugins we have found:
The above is the detailed content of Design mobile-friendly landing pages with WPBakery (Visual Composer). For more information, please follow other related articles on the PHP Chinese website!
 What are the free php virtual hosts abroad?
 What does full-width and half-width mean?
 C language variable naming
 Solution to insufficient memory of cloud host server
 Webstorm startup project method
 What are the design patterns used by laravel?
 notepad++ official website
 Windows cannot access the specified device path or file solution


