In the previous article, we started discussing the checkout process using coupons and SSL security layer. We also configured the checkout page. In this article, I will explain the rest of the checkout options, which include checkout endpoints and payment gateways.
To make the checkout process even simpler, WooCommerce provides various checkout endpoints that users can add to the end of the different page URLs involved in the checkout process. Online store owners can set these endpoints according to their choice; however, some default settings are already in place.
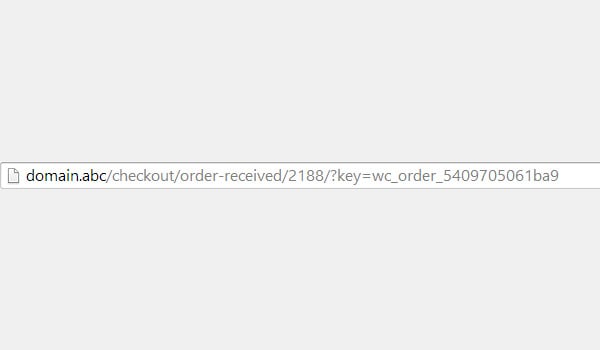
For starters, I will explain how and where these endpoints will appear in your online store. Let’s take received order as an example.
order-received.
page will open in your browser, and its URL will contain the endpoint order-received.

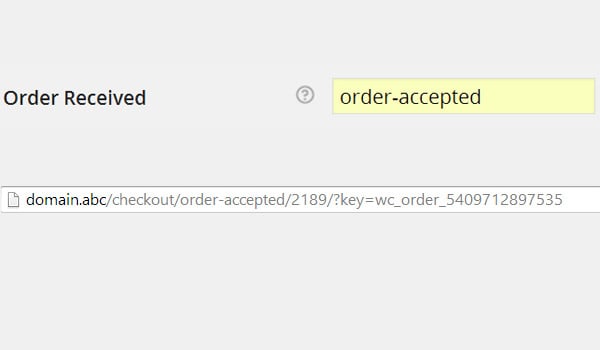
Now we set a custom value for the Received order endpoint instead of the default value e.g. Accepted order. Repeating the same process above will show that the URL now contains order-accepted as the new endpoint.

So, you can use default or custom endpoints for checkout process in WooCommerce. But I recommend you not to change or replace these default names for standard store features.
The success of any e-commerce website largely depends on the payment gateway it provides. Customers always want and look for the payment method that works best for them so that they can pay with ease. Here is Wikipedia’s definition of payment gateway:
A payment gateway is an e-commerce application service provider service that authorizes credit card payments for e-commerce, online retailers, brick-and-mortar stores, or traditional brick-and-mortar stores. It is the equivalent of a physical point-of-sale terminal found in most retail stores. 块引用>Any e-commerce website should provide all payment gateways to make the payment process as wide-ranging as possible. WooCommerce solves this problem as it allows you to offer multiple payment gateways to your customers immediately after installing the plugin. This is the last set of configurations in the checkout options section.
Gateway display
In this part of the configuration, you can see a table listing all automatically installed payment gateways. You'll see various rows and columns, each representing a unique payment gateway.
These columns include:
- Default: If the customer does not make an individual selection, the payment gateway provided by default is controlled by the radio button in this column. All you need to do is select your default gateway here.
- Gateways: This column lists the names of all available payment gateways.
- Gateway ID: This will uniquely identify the account for a specific payment gateway.
- Status: Users can see small icons in this column indicating whether the gateway is enabled and will be available to customers.
- Settings: The last column is where you can configure, manage, and control the settings for each payment gateway individually.
It is up to you which payment gateways are displayed and the order in which they are displayed on the frontend. You can control this sequence by simply dragging and dropping these gateways into a location of your choice. Let us consider the following payment gateway sequence:
On the frontend you will see the gateways displayed in the same order:
Now suppose you change the order as follows:
Now the result of the front end will be:
When you have made all changes, don't forget to click Save Changes.
in conclusion
This completes the setting of checkout options. In the following tutorials, we will edit and configure various sub-pages related to the settings of different payment gateways. There, you’ll learn how to manage the settings for each payment gateway offered by WooCommerce.
Until then, if you have any questions about checkout options, please ask in the comments section below.
The above is the detailed content of Exploring WooCommerce Checkout Options: A Comprehensive Guide for Beginners, Part 2. For more information, please follow other related articles on the PHP Chinese website!


